


by Brad Allen
While looking through photos of me posing with trophy animals I had taken on my 2008 hunting trip to South Africa, a mate’s wife commented to me, “Wow, how did you get so close, were they sleeping?” As hunters, we all know that it would be impossible to go that close to any live wild animal, asleep or awake, but her comment did bring home to me just how well my professional hunter had prepared and posed those animals before taking the photos. And I am sure that the lack of blood and gore helped greatly.
Professional hunters make their living by not only selling us the hunt, but also selling us memories. Apart from the trophy heads and skins that we take home with us, one of the best ways to remember any of our hunting experiences is through our photos of the trip. Consequently, professional hunters need to be good photographers, as it’s just another string to the bow of talents that they possess to make their living.
My laptop screen saver is set to scroll randomly through my hunting photos and I really enjoy just sitting and watching them click over every 10 seconds, reliving those cherished memories. By paying attention to a few basic points that I learned from my professional hunter on that trip, my own hunting photos have improved out of sight. I didn’t realise just how ‘ordinary’ some of my previous trophy photo attempts had been prior to that.
From experience, I know that animals rarely, if ever, die in the best position for a photo and it is a ‘given’ that you will probably need to move, drag or carry the animal preferably to a clear, level, open area and put them in position for the photo. It is not always possible, depending on the terrain and other variables, to reposition the animal to obtain the best angle for a photo.
But on most occasions, you will probably be able to ‘improve’ that position and pose the animal to some degree. Yet, there are exceptions to every rule and with large animals the size of a buffalo or sambar stag, it may be almost impossible to do very much at all to assist.
If you stand back and survey the area from different angles, you will quickly determine the best available position, hopefully with the light coming from behind the camera. But what you don’t want is anything obscuring the shot. After all, we are trying to gain a nice clear photo of the animal and the hunter. This is where a little bit of preparation will make a world of difference.
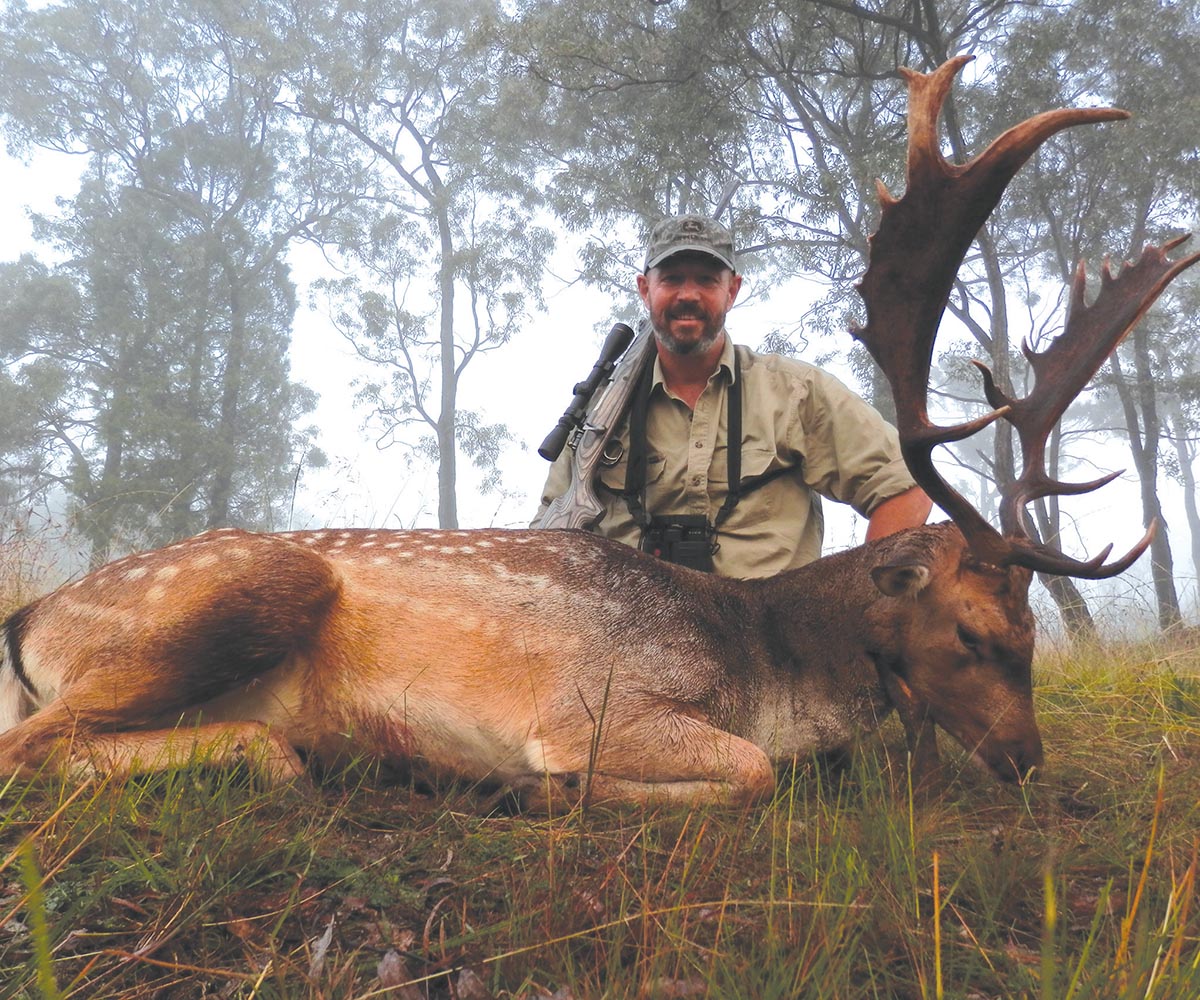
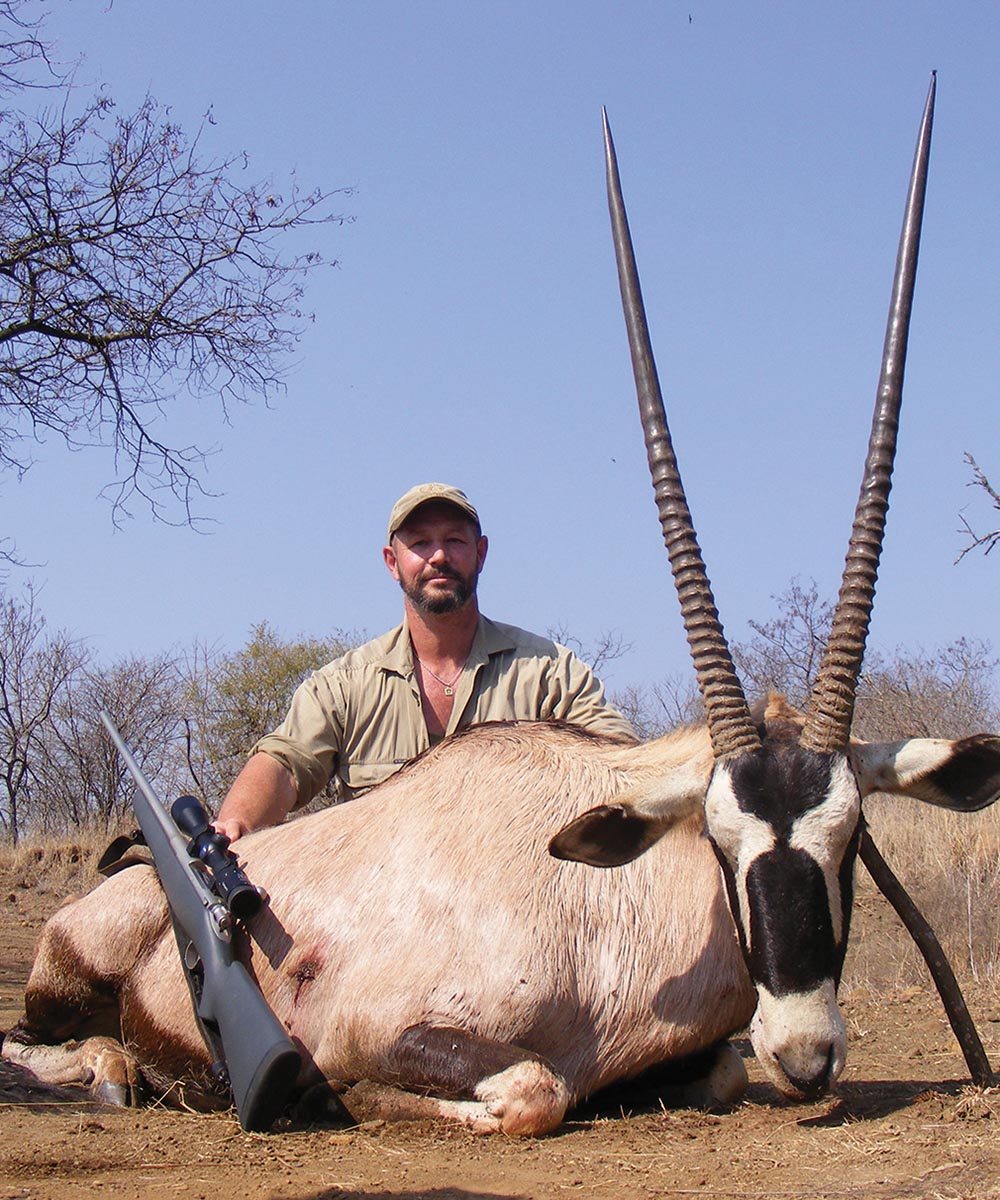
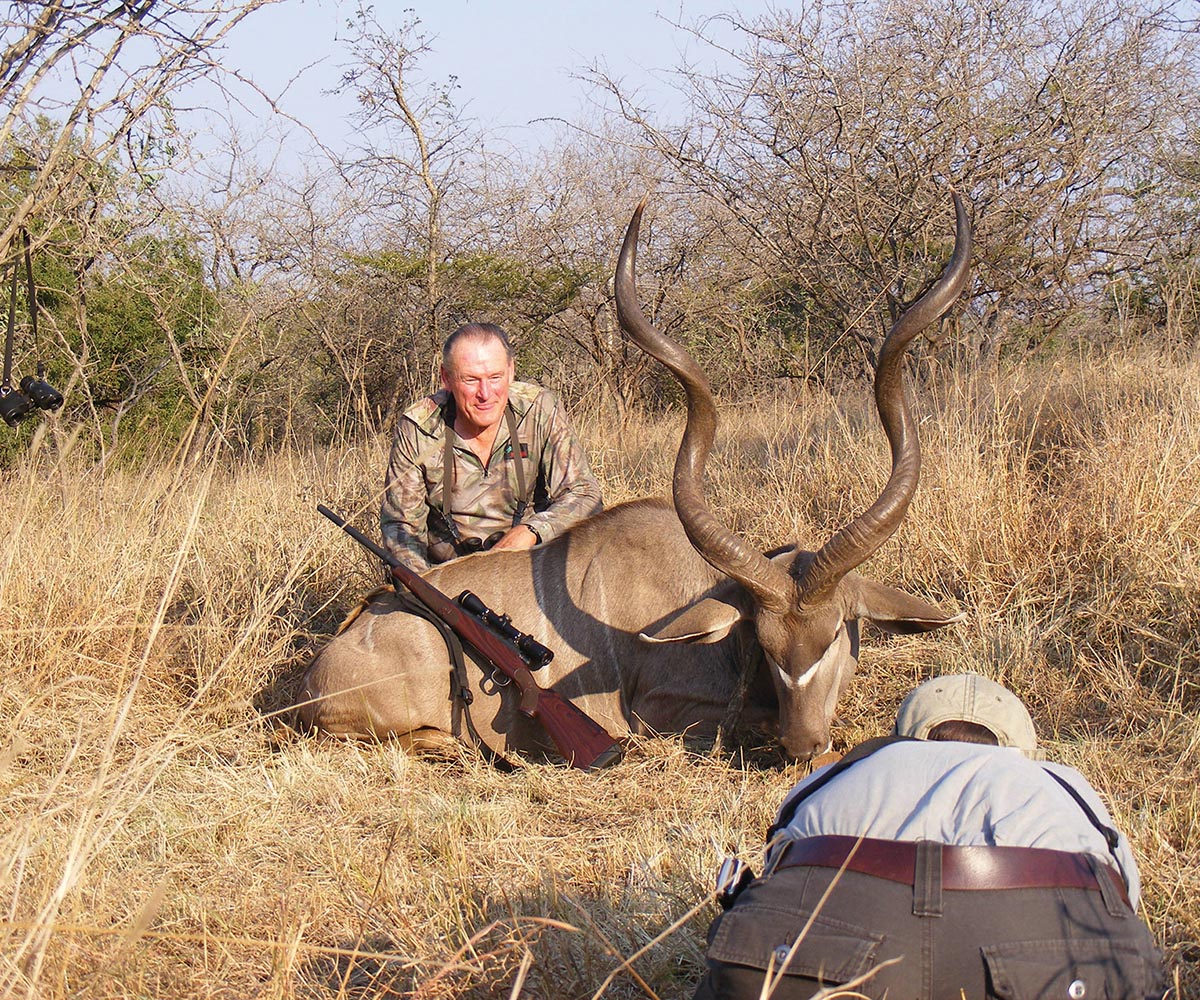
All the antelopes that I have taken in Africa were posed by the professional hunter for photographs, sitting up with their front and rear legs neatly tucked up under them, as if they had settled down for a sleep, with their heads vertical and horns level. In this position, an animal will just sit there. The only other thing that may be needed is to prop up the head with a strategically placed stick behind the ear. To further guard the dignity of your trophy, and quality of the photograph, always make sure to place any protruding tongues back into the animal’s mouth. It then looks natural, tidy and much more tasteful.
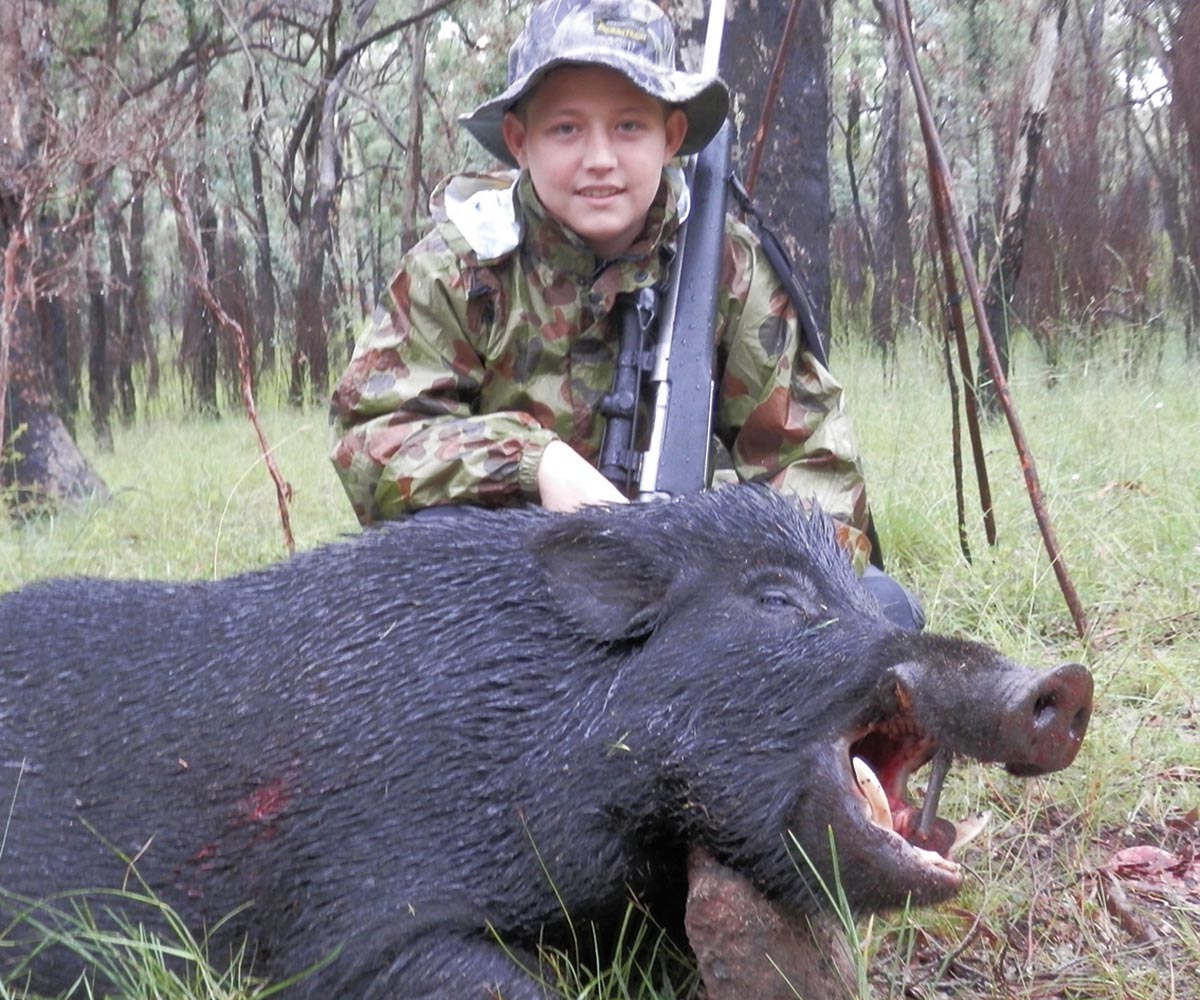
Handkerchiefs are a useful piece of kit and I’m rarely without one, as from the time that I started school, I have always carried one. Back then, it was with my lunch money tied in one corner. My ‘hanky’ is regularly used to wipe away any blood or other body fluids from the animal before the photo. No-one wants to see blood and gore in your photos, so it makes sense to wipe it away first. This also robs the anti-hunting crowd of an opportunity to complain about our chosen recreation and as stated, even non-hunters can then enjoy the photos.
If you are at all concerned about touching animal blood or body fluids directly, and you don’t carry a hanky, disposable rubber gloves and a piece of paper towel or old rag are a cheap, readily available option that will also work well and take up little room in your daypack.
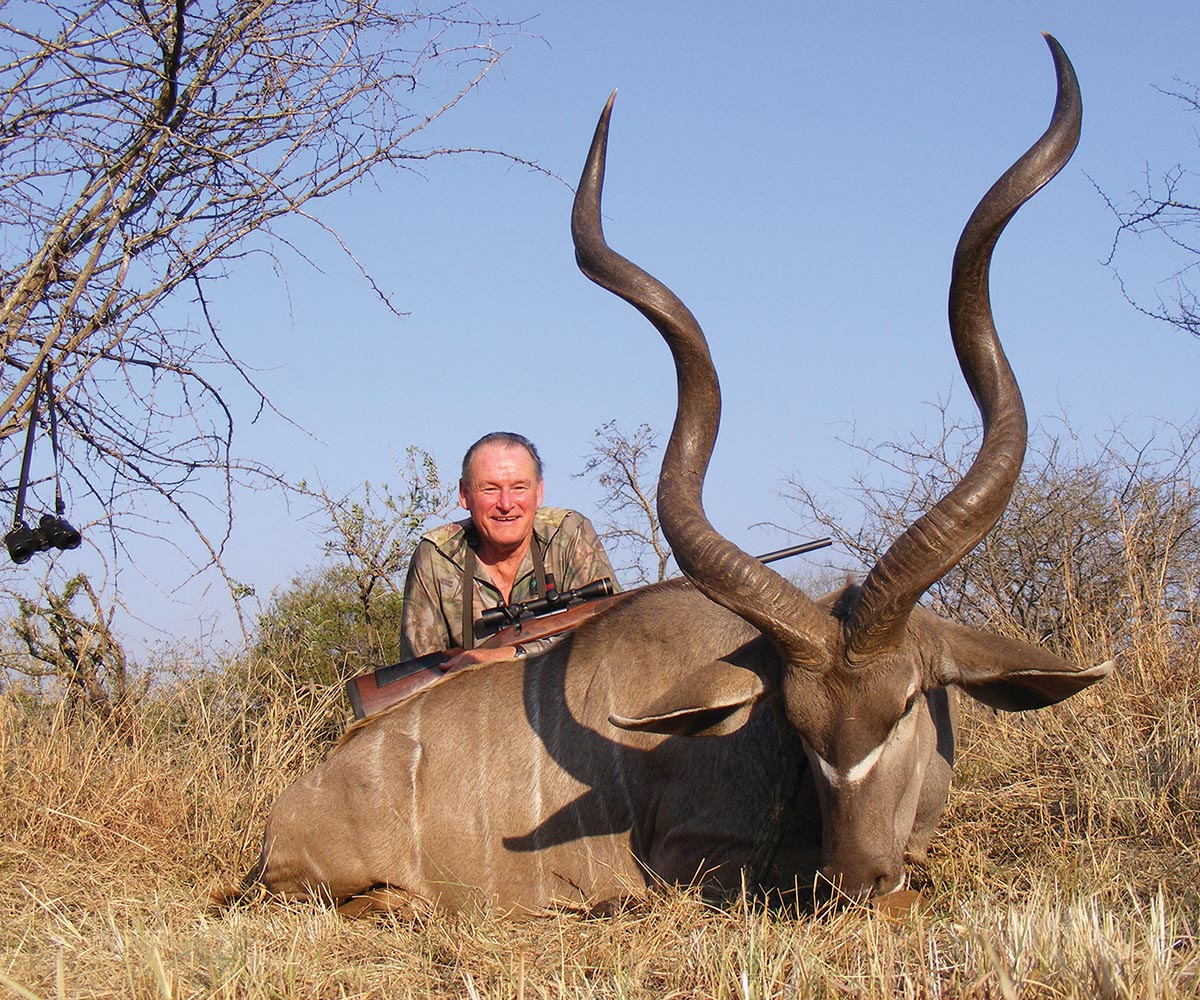
The background of your photo is extremely important and if you hunt deer or horned animals as I do, the best way to show off their head gear is to try and have a neutral background against which the horns or antlers can be seen clearly. With horns and antlers being the colors that they are, they can easily ‘blend in’ with any trees or branches in the background of the photo.
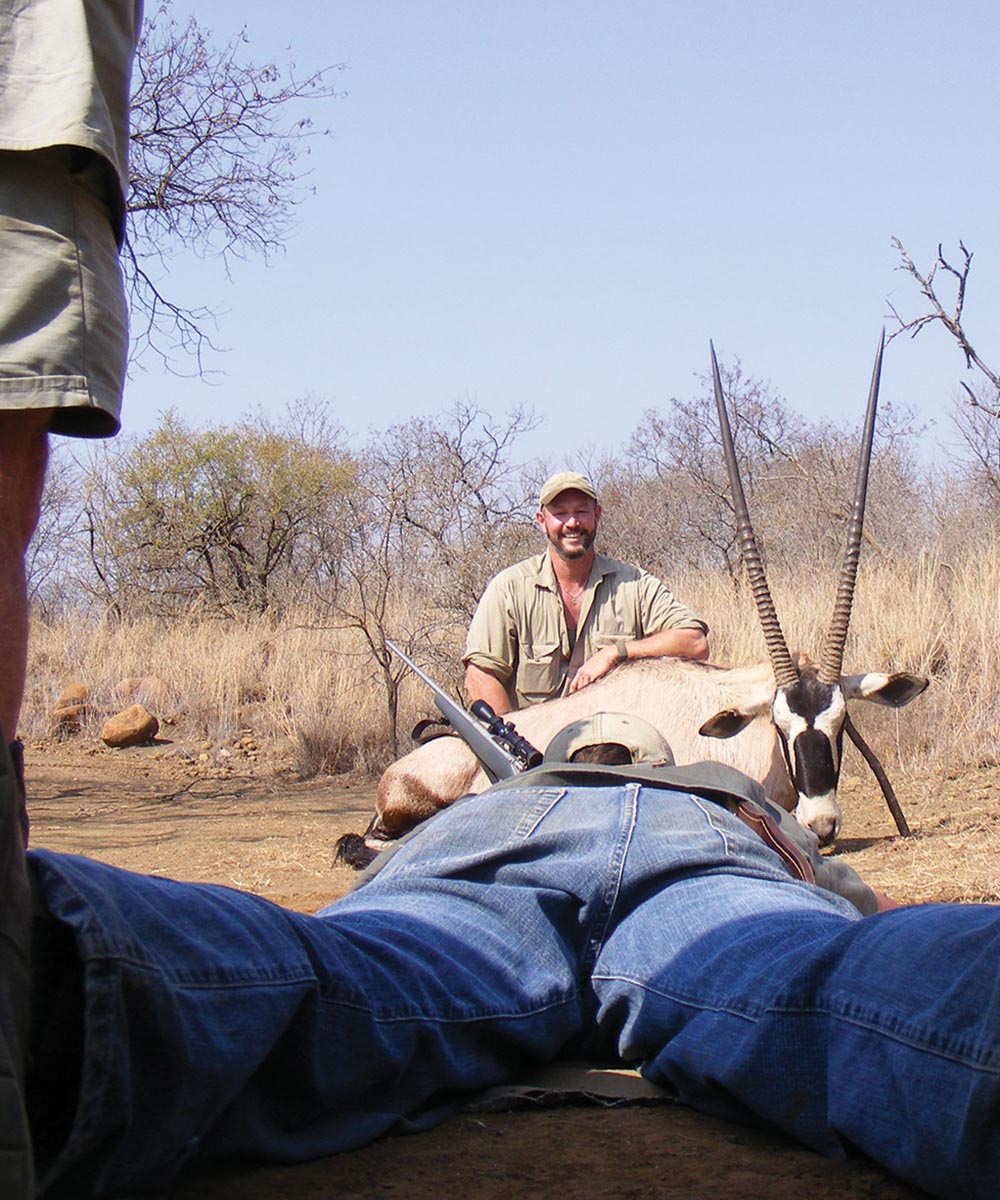
The sky or an area of clear grassland of lighter color than the horns or antlers behind the scene is in order. In Africa, my professional hunter often had the clear blue sky as the background behind the horns, where it was necessary for him to go as low to the ground as possible and take the photo looking up to the subject animal and myself. View your animal from all available angles to gain the best perspective of its horns or antlers. With antlers, try and make sure that all the tines can be seen clearly in the photo.
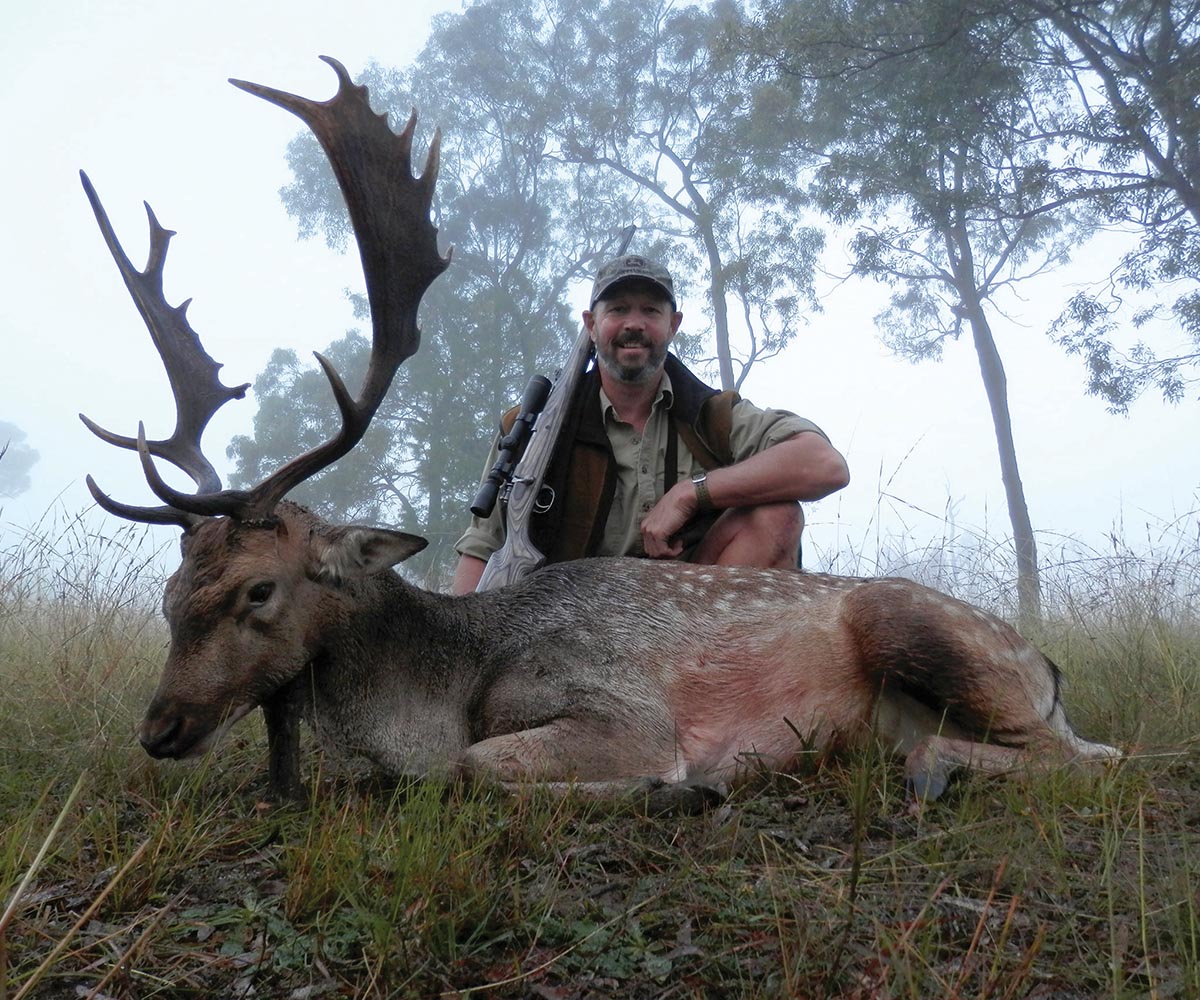
However, fallow bucks present their own special problems when being photographed. From a front-on perspective, it’s virtually impossible to see their distinctive antler palmation and invariably, each individual buck will look much better from one specific side. So determine your buck’s ‘best side’ and work from there. Take care to make sure the head and antlers are vertical and level, or as level as possible. If you are holding the animal’s head up, try not to obscure too much of the antlers, as this is what we are trying to focus on. Remember, it’s the little things that count and they all add up to making either a good photo or a poor one.
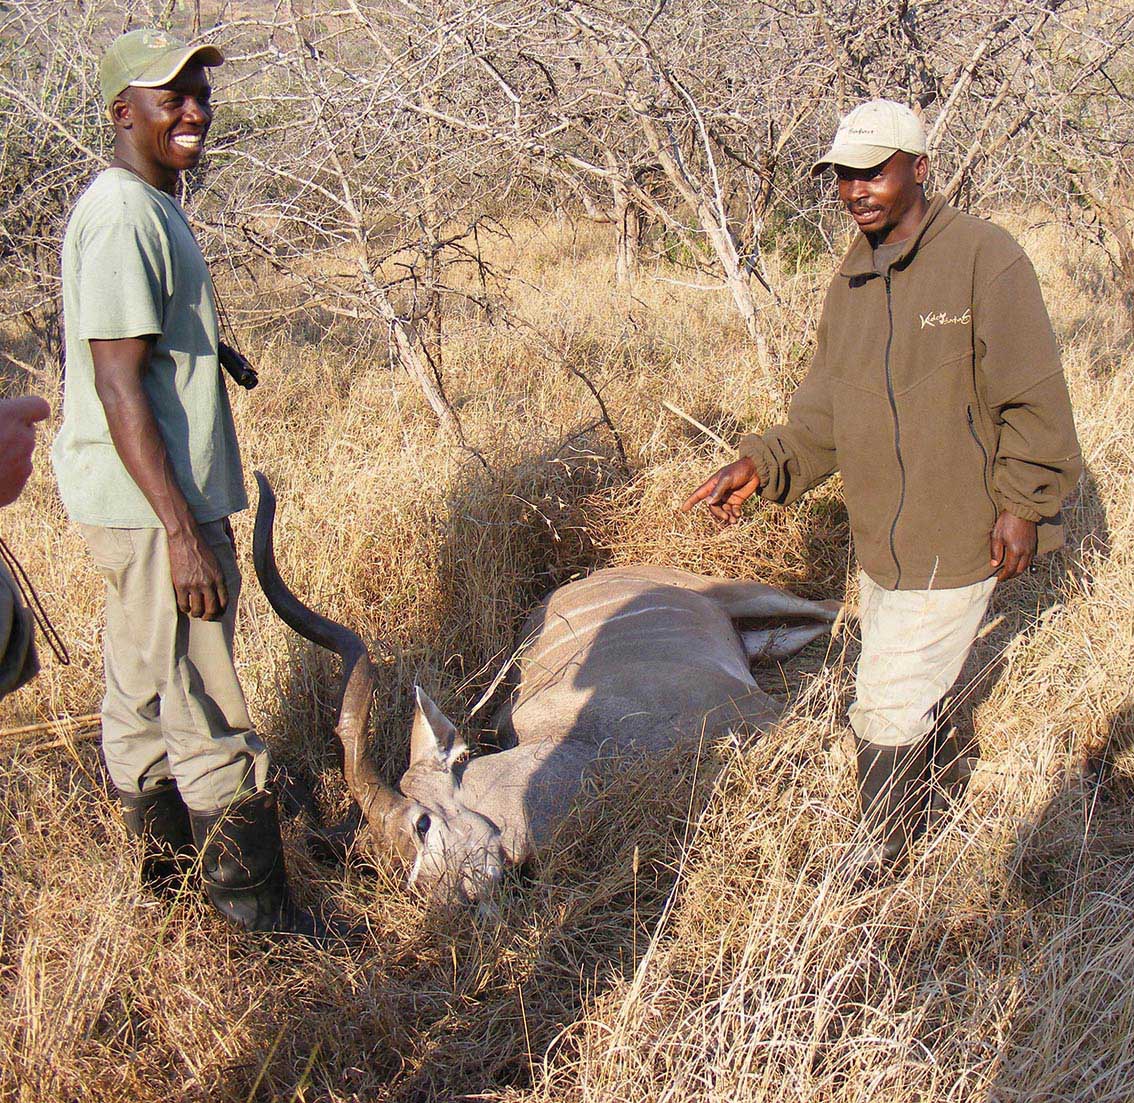
Once we have our trophy on a nice level, clear area, with the light coming from behind the camera and a good background (easy so far, right?), you will need to make sure that there’s no grass, bushes or rocks between the camera and the animal before you start taking photos. I have taken some quite good photos that were only spoiled by one piece of grass in front of the subject or even a tuft of grass that obscured some part of the animal.
Now back to Africa, where the professional hunter and our tracker Elias were always extremely conscious of having a totally clear view from the camera to the animal. If we were close to the vehicle, Elias would go back and grab the ‘lawnmower’. This was a cross between a golf club and a machete, with a short sharp edge on each side of the right angle foot. Elias cleared the larger obstacles by hand then used the ‘lawnmower’ by swinging it from side to side to cut the remaining grass low to the ground for a totally clear view of the subject animal, which is usually taken by lying on the ground, looking up. We probably don’t need to go to the expense of buying a similar machete, but you have the idea.
It’s important to work out which part of the subject that you want to focus on, to be the centre of the photo and then ‘fill the frame’ of your viewfinder. I have seen a lot of photos with good potential that were let down by not doing so. Having far too much background in the picture takes the focus away from the subject animal and the hunter.
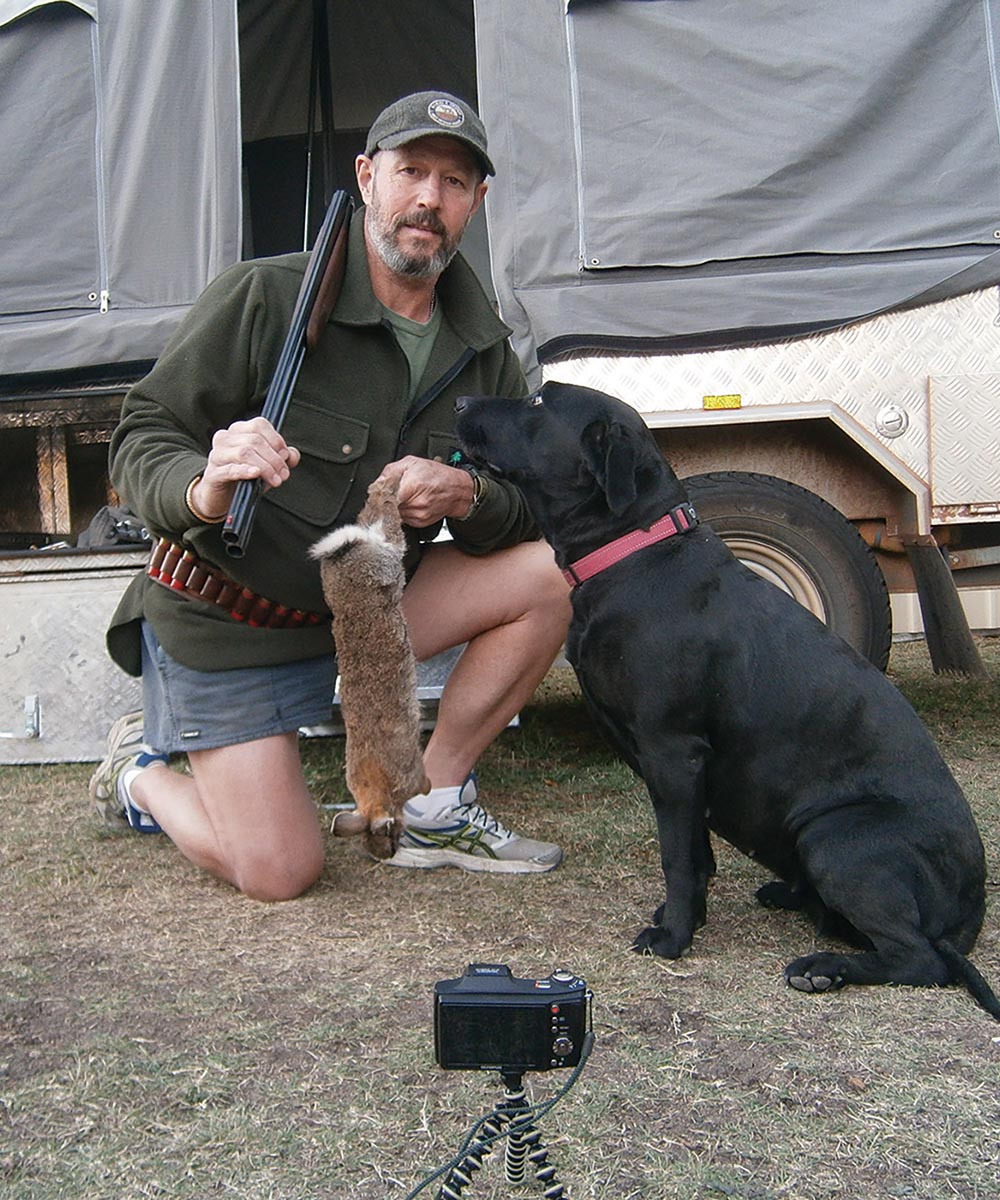
Most cameras these days have the ‘self-timer’ option that enables the solo hunter, like me on many occasions, to take photos of themselves with their trophy. The only thing that is needed to accomplish this task is some sort of tripod or other method of placing the camera in the appropriate position. There are some camera platforms that screw into trees, but a tree in the right place may not always be available.
Some years ago, after trialing a small aluminum tripod with telescopic legs with limited success, I eventually purchased a cheap flexible plastic tripod with legs about 20cm long, that can also be twisted around tree branches if required. It cost less than $10 delivered from eBay and is now my constant companion, living permanently in my daypack. I have used it on the ground (which is great, as it takes a photo from a similar perspective as you would if lying down) and by attaching it to bushes, trees and also from my shooting sticks. It is extremely versatile and I would not go hunting without it, as lacking some kind of mount or tripod for your camera, decent ‘selfies’ with your trophy in the bush are nearly impossible.
Compared to film photography, the digital equivalent has been a godsend to both amateur and professional photographers alike. The best part is instantly knowing if the shot turned out well. We could not do that with film cameras, having to wait several weeks to have film developed and photos printed, hoping that we had at least one good one. As long as you have a working battery (remember to always charge your camera battery or carry extra batteries for it) and enough room on your memory card, you can just keep taking photos. Take lots of photos, from different angles and with your flash on too if the light is poor. Then view and check them before you finish. That way, you are nearly always assured of obtaining at least a few really good photos. You can always just delete the ones you don’t want later.
I am certainly no guru when it comes to digital cameras and thankfully for most of us, with a bit of forethought, excellent results can be obtained from any good-quality unit. Whichever camera you purchase for hunting, one thing is certain: you will need to read the instruction manual and thoroughly familiarise yourself with its operation before you head into the bush and attempt to use it.
If you are anything like me, you will also enjoy taking photos of live animals as well as the ones we harvest. Every time I have hunted overseas with professional hunters or guides, the first time you pull out your camera, they will ask you if you have turned off ‘all’ the sounds on it. If you have not, they will do it for you. All those sounds that your digital camera can make can easily be heard by game animals at distances that will amaze you. This can potentially ruin a good hunt, so make sure those camera sounds are indeed turned off.
Finally, there are two important tips that I will share with you, especially for those among us who are ‘less than photogenic’, like me. It’s important to ‘smile’ for your photos, so that you look like you’re actually enjoying yourself. When the shutter goes off, try not to blink. Just remember the six Ps: ‘Proper preparation and planning prevents poor performance’. Then you are guaranteed to see an improvement.
Don’t worry, from time to time, I still take the odd shocker. I am constantly learning from my mistakes, but with a bit of forward thinking and effort, it’s not too difficult to greatly improve your hunting photos by ‘posing that trophy’. By doing so, you will enhance those cherished memories that will last you and your family a lifetime.