


Chris Redlich
Determined not to endure another freezing winter I installed a new wood heater in our living room. The heater came fastened to a standard 4’x4’ timber pallet, made of pine and in good nick. I hate waste and was determined to recycle the pallet in some form or another and as target frames come in all shapes, sizes and configurations a light bulb moment dawned – the dimensions of a half pallet would make an ideal portable target frame.
The soft wood makes it safe for bullet penetration and easy stapling of varying size targets, not to mention its light weight, so without further ado I began construction of my new portable target frame. Although built almost entirely on the fly, the following steps and photos should be a useful guide to building your own lightweight target frame from an old pallet for just a few dollars.
Step 1
If a pallet is not directly at your disposal, source one from a business which has them set aside for the bin or cheap sale – ask the owners and I’m sure they’ll be happy to help. Note: Don’t use a hardwood frame, they’re too heavy and generally labelled for re-use, not to mention potential splinters.
Step 2
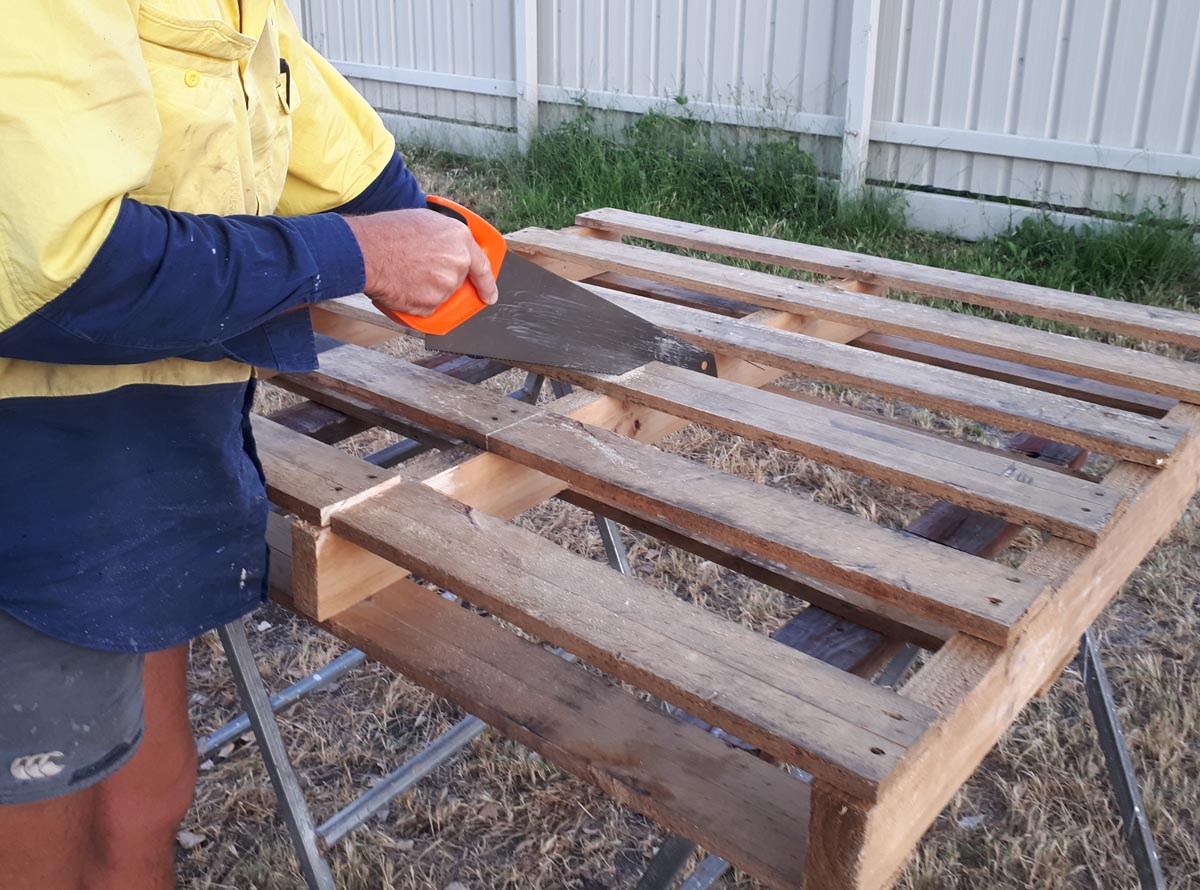
Mark the vertical length of cut for the frame height. One half of the pallet frame will be discarded during this process as two or the three full length supports will be required to hold the cross slats. Cut slats along the length of the inner support with a circular saw or handsaw. Pallets vary in size but mine has a cut dimension of 1160mm high x 600mm wide.
Step 3
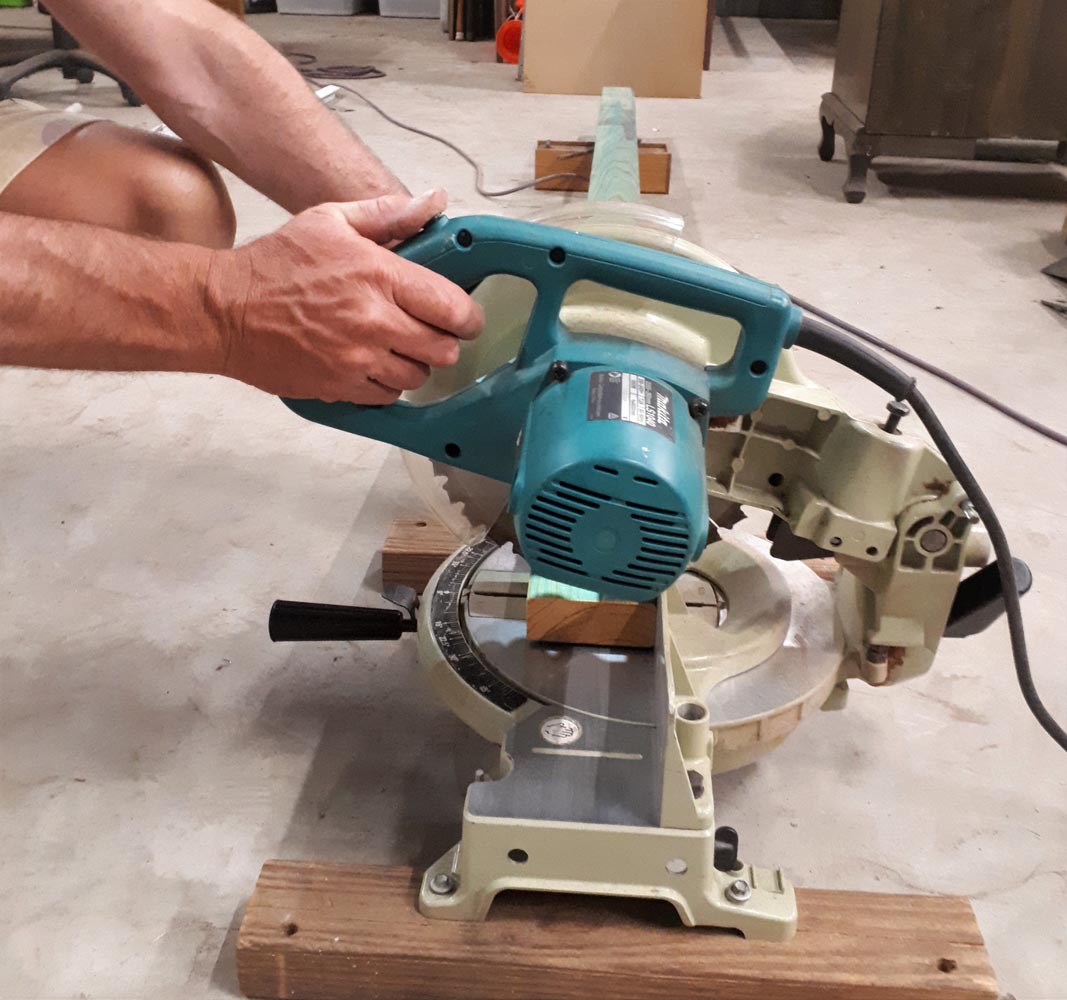
The frame won’t stand upright on its own so I attached folding legs. Sticking to the theme of recycling, I sourced offcuts of 90×35 pine frame. 90×35 or 70×35 pine framing is cheap and available from most hardware stores, a single 2.4m length sufficient for the job. Once again using a circular saw or handsaw, cut the folding legs to the same length as the frame, e.g. (frame height of 1160mm needs legs cut at 1160mm). Alternatively, a drop saw is perfect for cutting straight lengths of timber.
Step 4
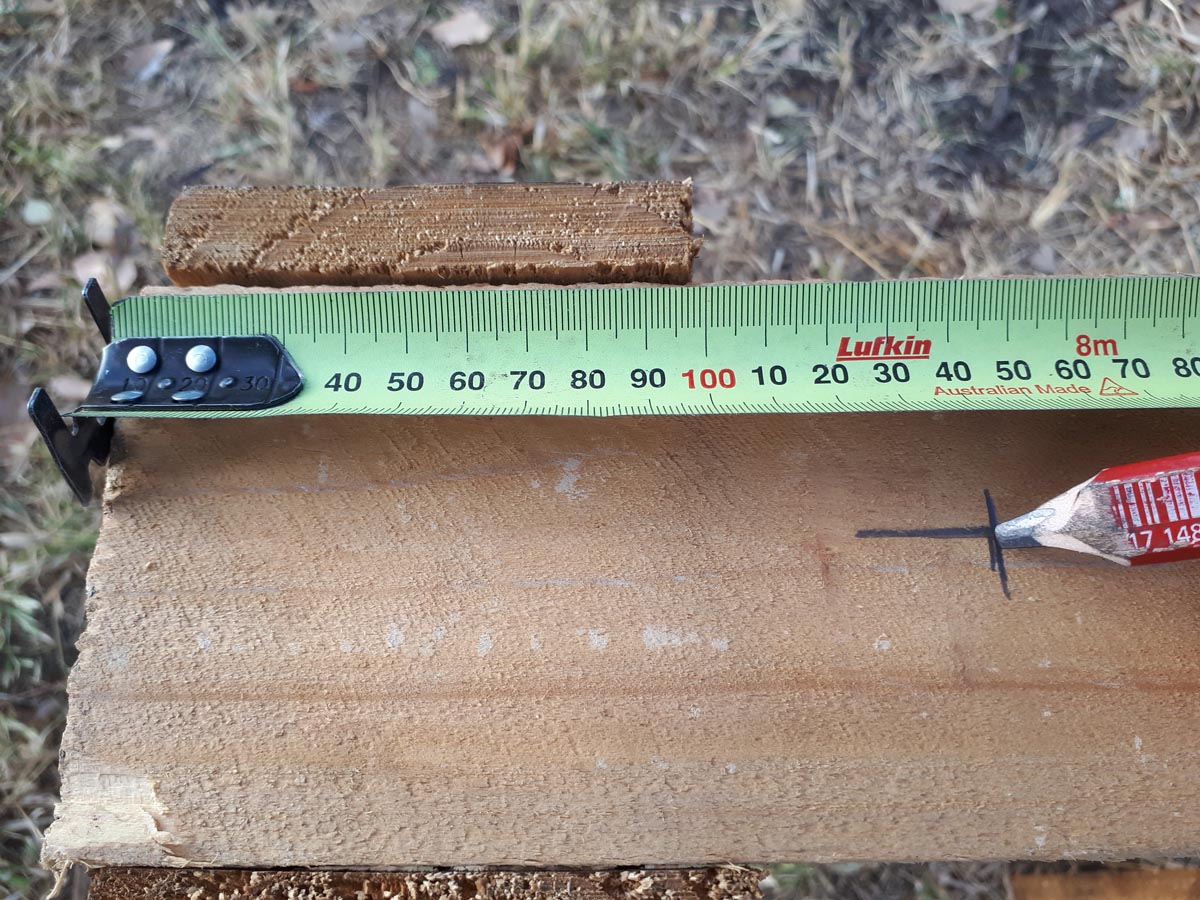
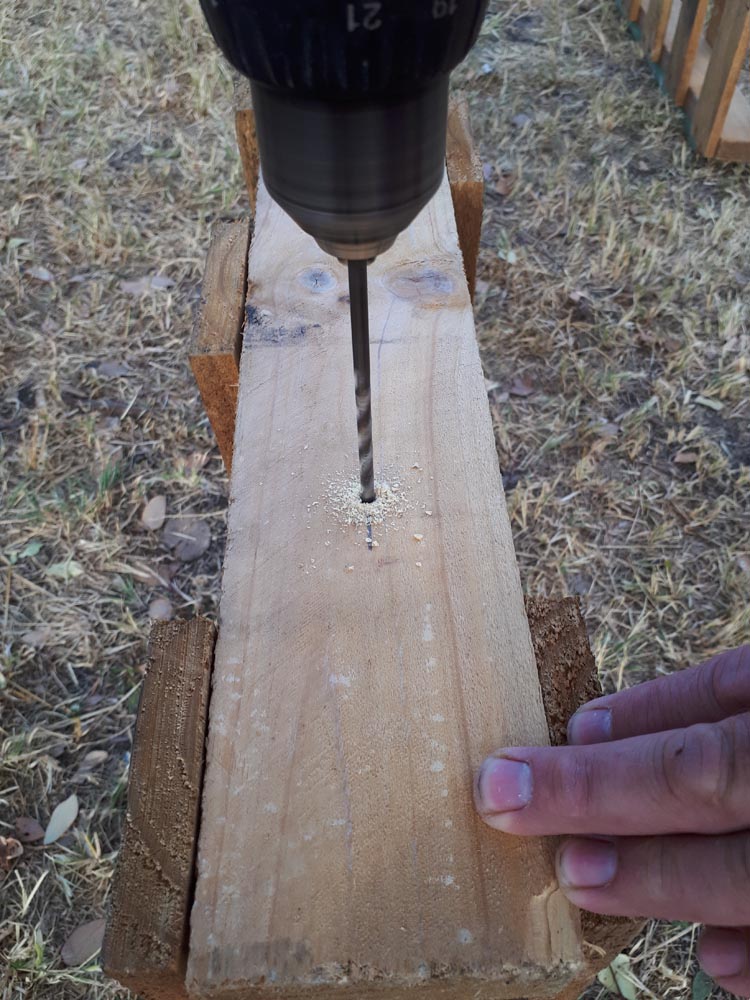
In order for the legs to support the frame as close as possible to a vertical stance, the pivot point of the legs needs to be set short of the frame height by around 100mm. My pivot point is set at 145mm from the top of the frame, therefore with my legs set 100mm below the frame height, mark and drill a 5mm diameter hole 45mm from the top of the legs. Drill a 5mm pilot hole at the 145mm mark on the vertical frame members as this is necessary for the ‘batten screw’ used as the pivot.
Step 5
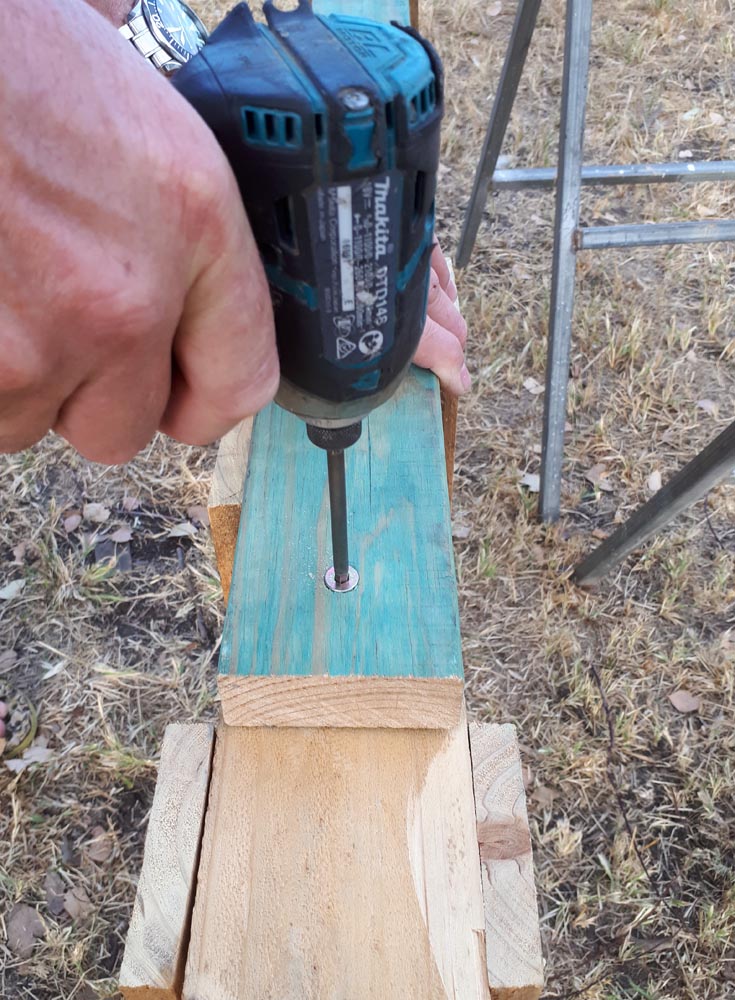
For speed of construction I used a bugle head batten screw no more than 75mm in length. Alternatively, a cup head bolt of ¼’’ or 5/16’’ diameter will do and can be used instead of a batten screw. Prior to drilling, place a metal washer between the two timber surfaces of the pivot point to reduce friction between the surfaces and enable easy folding of the legs. Using an impact driver tool, fasten the batten screw through the two pilot holes of the leg and frame. Do not overtighten – firm is sufficient.
Step 6
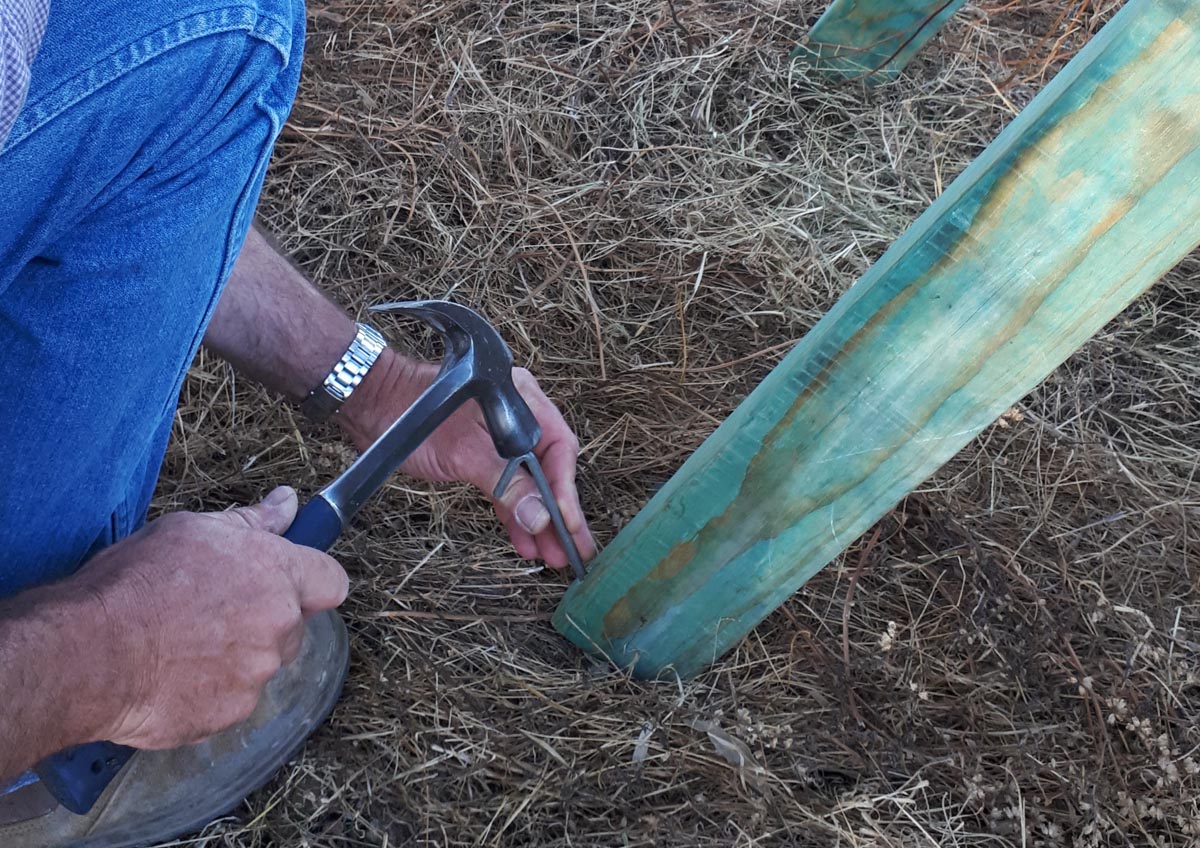
Stand the frame to its desired vertical position with the folding legs rearward then mark and drill a vertical hole in the base of each leg for positioning of a tent peg. For an 8mm tent peg use a 10mm hole to allow for clearance. Buy a pair of tent pegs from a camping or hardware store for hammering through the legs and into the ground, to provide a solid support for the frame while target shooting.
Step 7
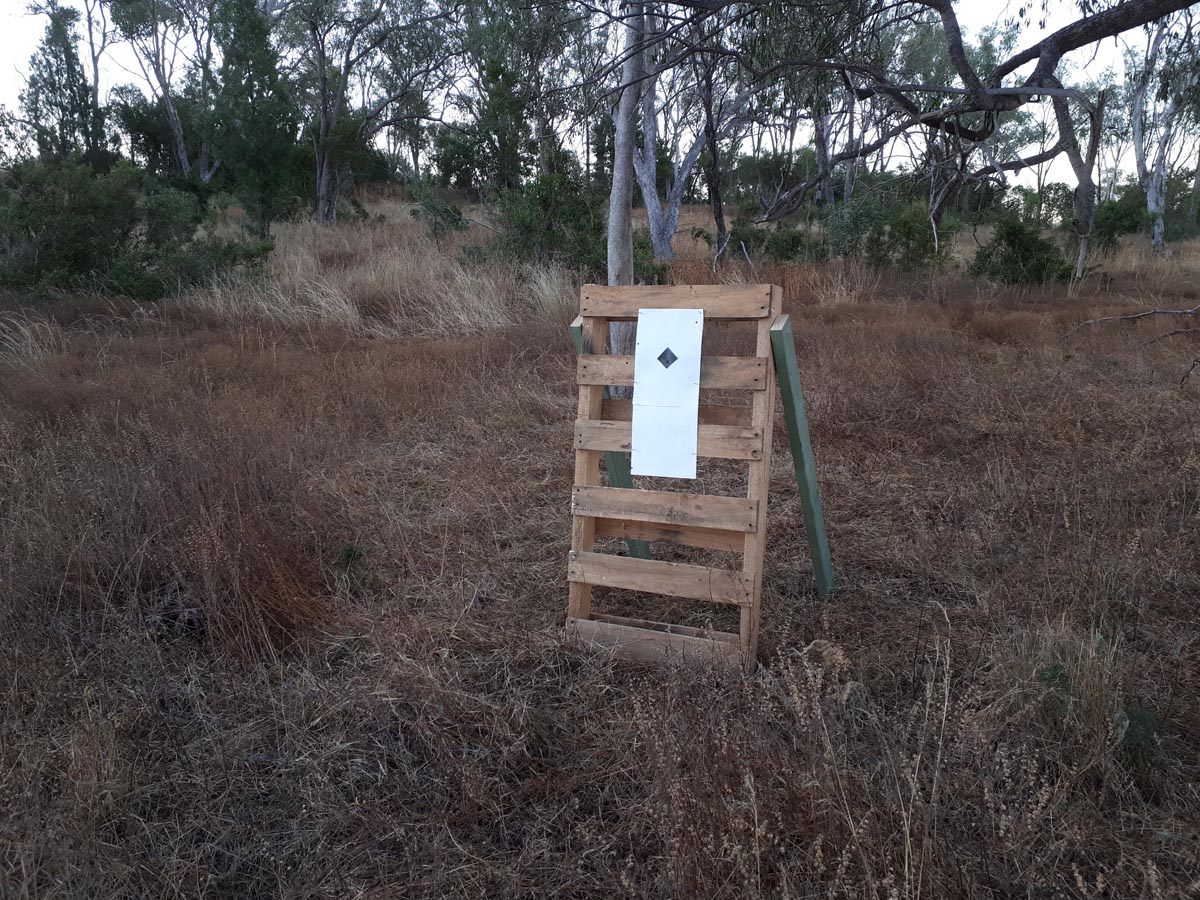
For ease of carrying the folding legs can be strapped to the frame with a pair of elastic ‘octopus straps’ and the completed frame is ready for use.
Conclusion
All up the pallet target frame will take a few hours to make, perhaps a bit less for the die-hard handyman with tools to hand, but this really is a basic project with a beneficial outcome. For those of us looking for something to pass the time in lockdown, making your own portable target frame using a recyclable product is very satisfying. Like everyone else I’m looking forward to the easing of restrictions and getting back to the field for some paper punching and the next trip will include my target frame. The advantage of this build is it’s simple, safe, sturdy and entirely portable.