
Mark van den Boogaart’s beginner’s guide to trail cameras
I was an early adopter of trail cameras. What that really meant was at the time, I paid top dollar for cutting‑edge gear whose average price point would eventually become so low it made me question my life choices. Back then, if you wanted a trail camera you had two options: Gamble on an obscure online hunting store with postage costing more than the camera, or drive laps around the local gun shops hoping they had one on the shelf. Today you can find ‘two for three’ trail camera deals at your favourite German supermarket.
Yet cost and availability weren’t the only hurdles. There was a time when trail cameras carried, for a vocal minority, the same accursed scent that thermals do today. The arguments were predictable: Cameras make it unfair, remove the mystery, cheapen the hunt, they’ll be the end of deer or, in other words, the sky would fall in.
Thankfully those days are behind us. Most hunters now regard cameras as a useful tool, landowners rely on them for monitoring gates and fencelines while wildlife watchers use them to catalogue visitors. I even once set up a camera to understand what our labrador got up to at night. Aside from a single 2am toilet break, he slept the whole time. Hardly David Attenborough stuff but at least we knew.
Trail cameras aren’t magic and don’t capture everything. A world of animal behaviour still happens just out of frame, beyond sensor range, or in the blind spots you never realised you’d created. But they tell you a lot. They make you a more efficient hunter by showing you what’s around, giving insight into how animals behave, when they move and why they choose one path over another. So here’s how I use trail cameras, what years of experimenting have taught me and how I make the most of them.
Choosing a camera
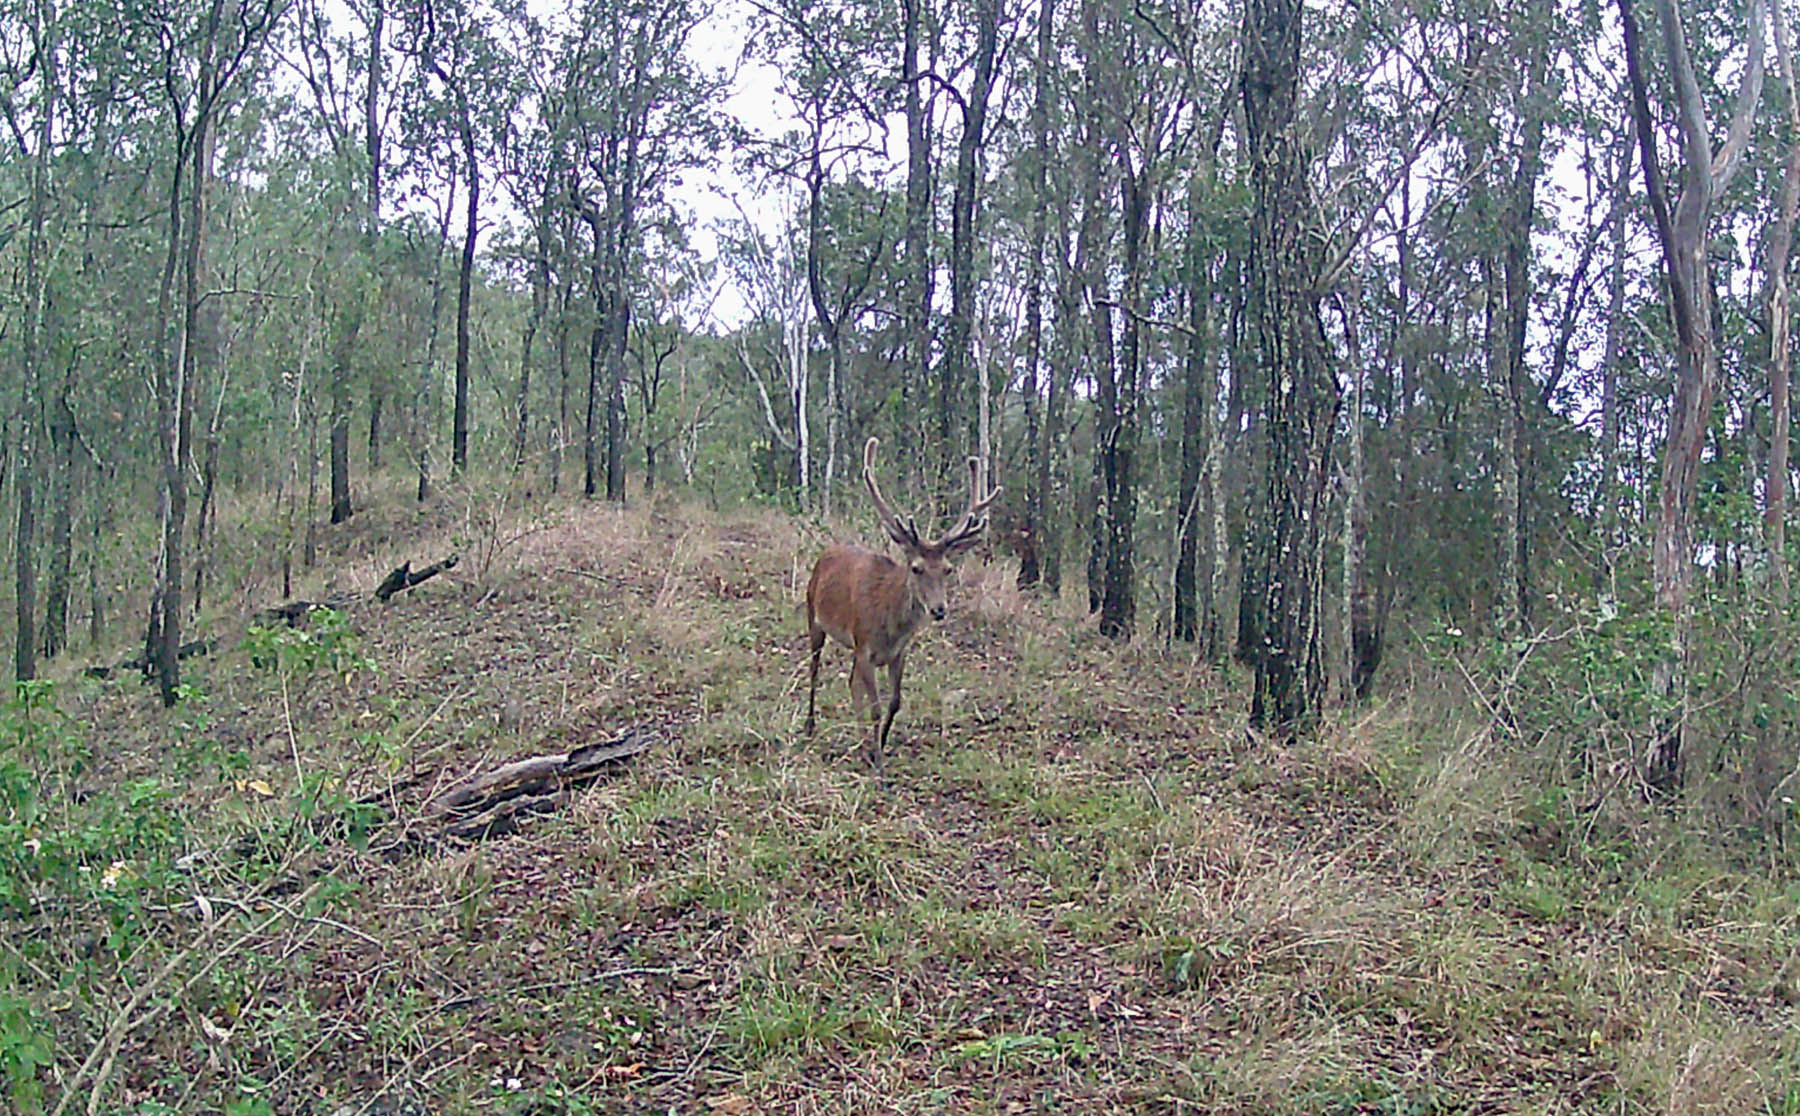
My trail camera goal is to build a long-term picture of red deer populations on the Brisbane Valley properties I hunt. Numbers, patterns, behaviour and the seasonal rhythm of their movements. When I’m choosing a camera, I want one with high-resolution stills and decent video. Now the gap between budget and premium has narrowed massively but I still want clean images, recognisable antler detail and video clear enough to read posture and intent.
Next is power and I prefer units which run on standard AA batteries. These are available in bulk and, with a large enough battery compartment, the camera will keep running for months and in some cases a whole year. Night capability is basically standard now, though not all IR systems are equal. Good range and clean nighttime images matter, especially when animals linger at distance or when fog, drizzle or low contrast make things tricky.
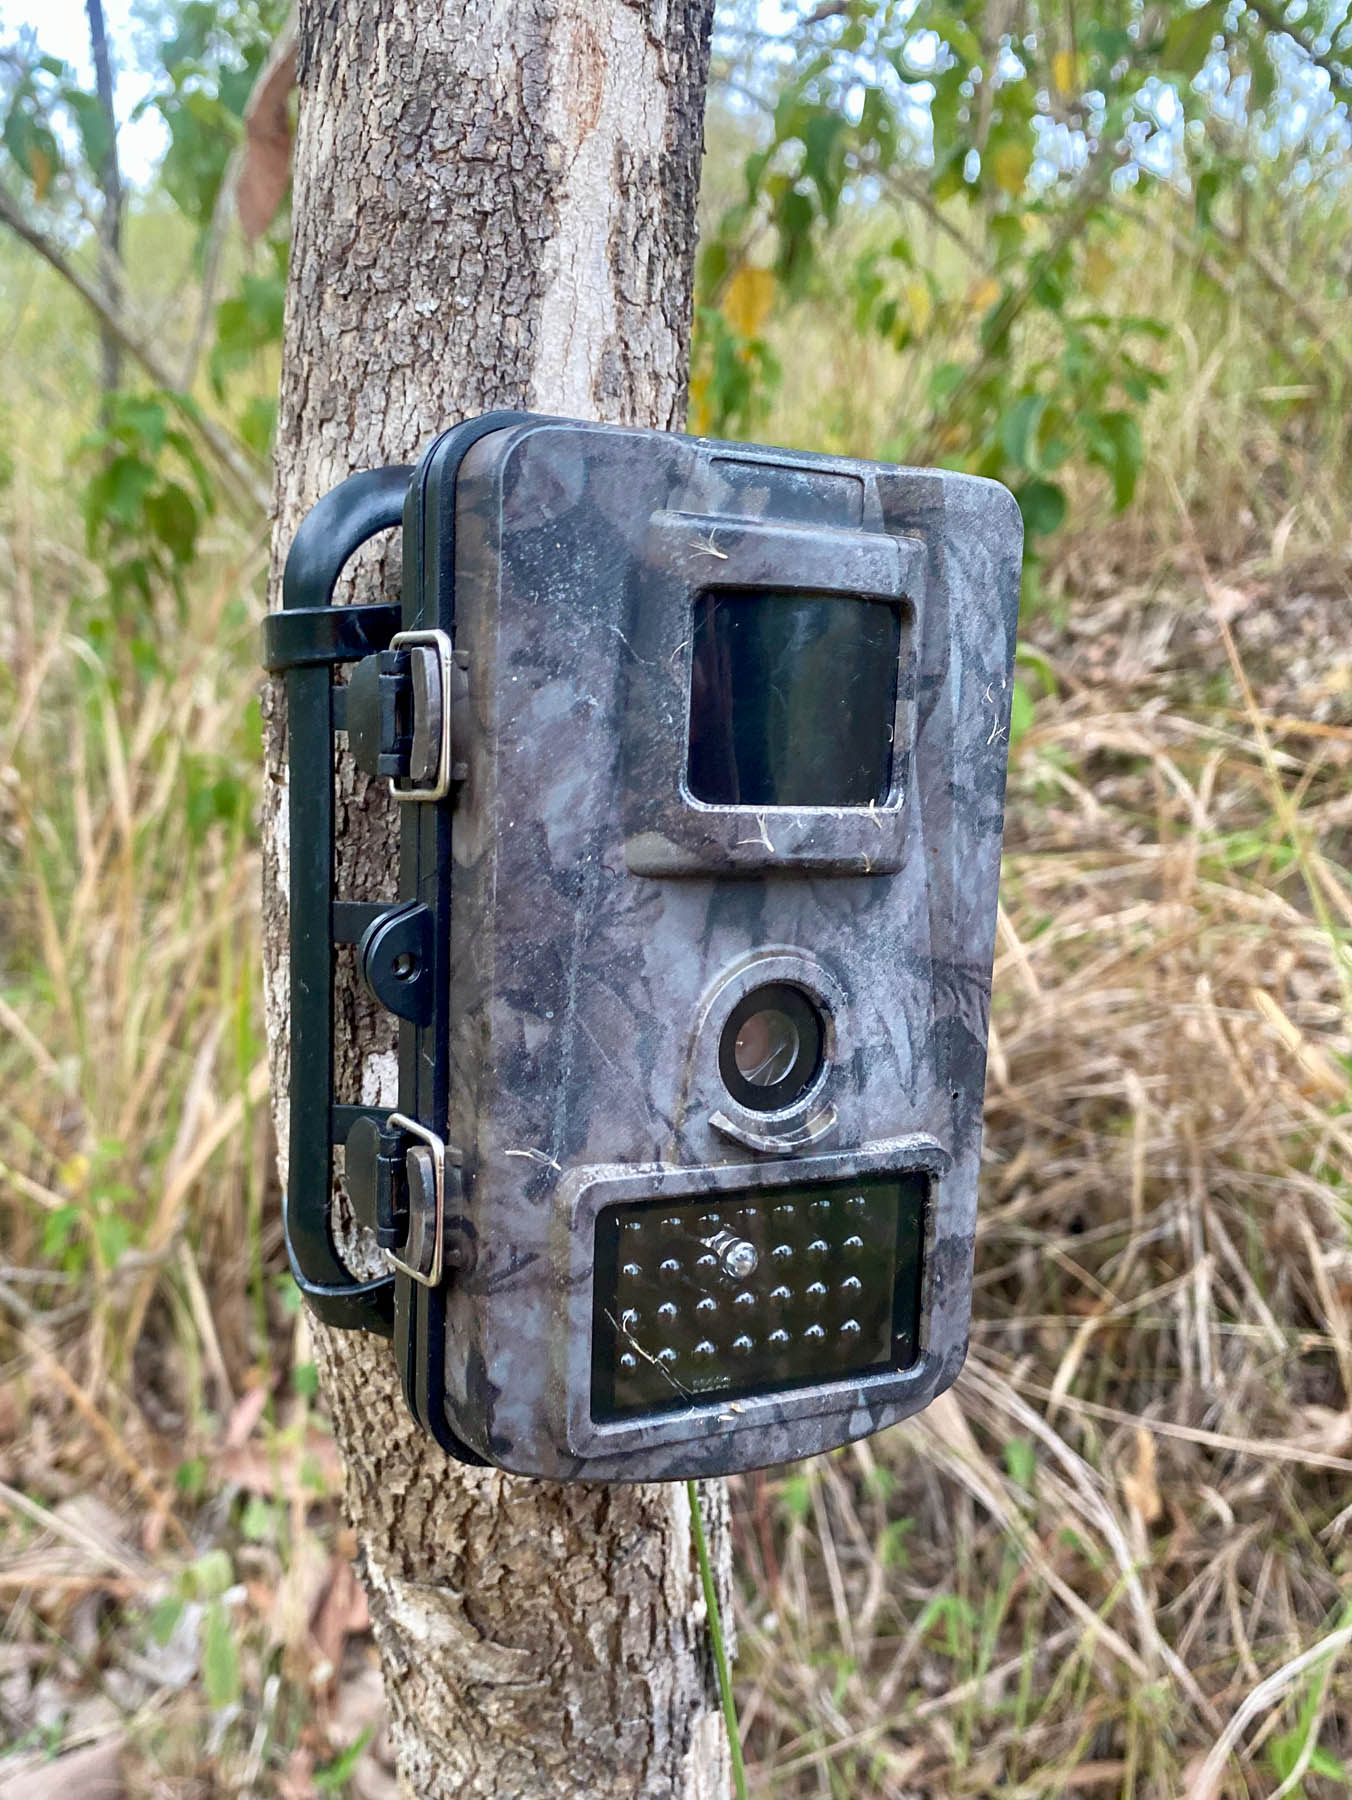
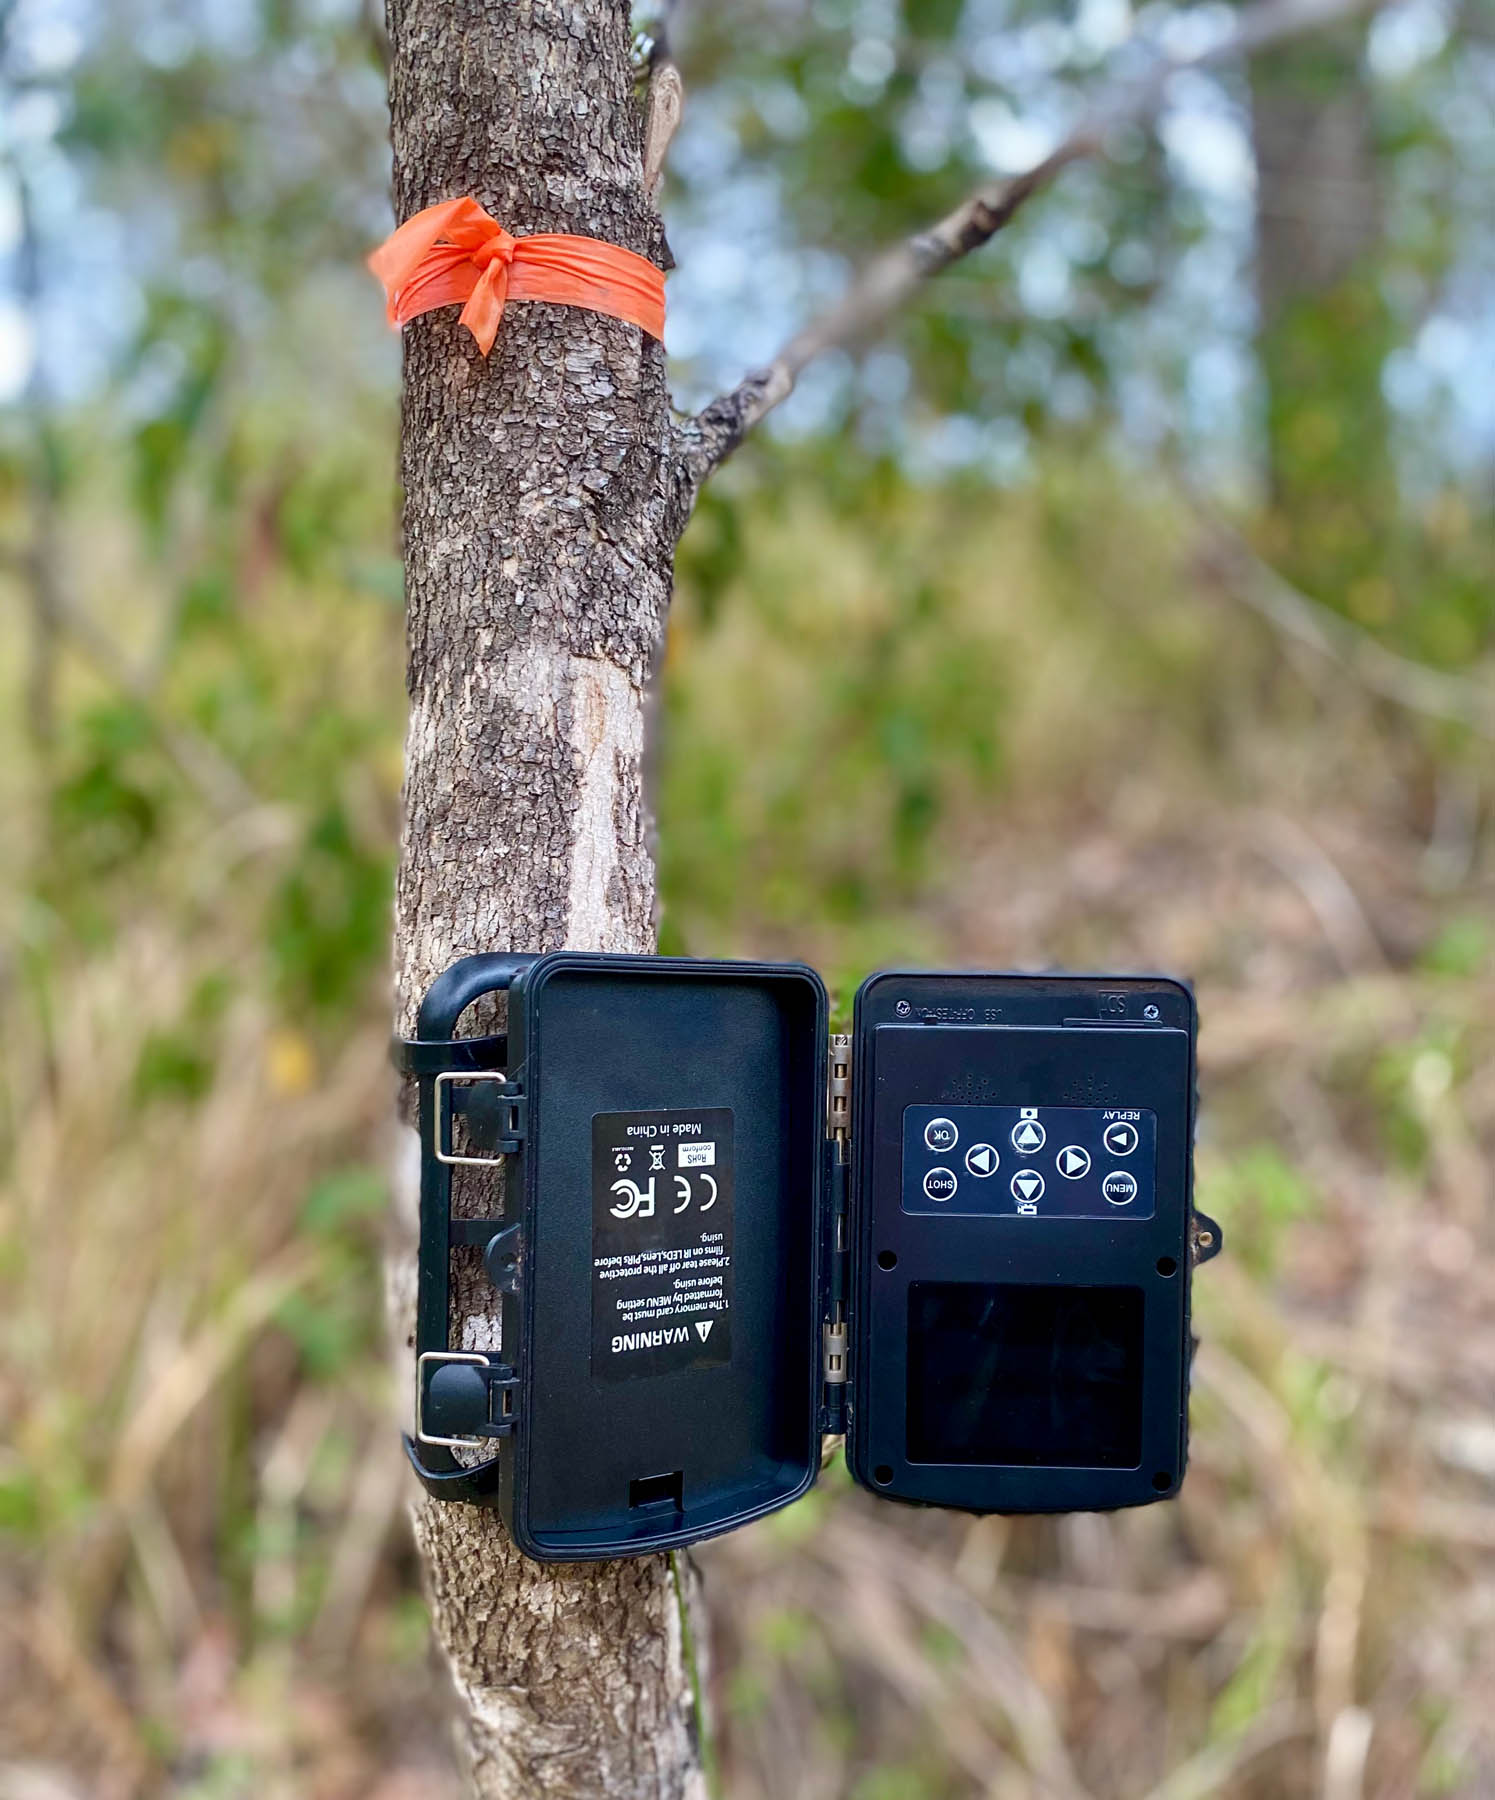
Over the years I’ve changed the type of equipment I use. My Generation One cameras were the traditional book-style layout, where you secured the camera in place then opened it like a book. Inside was the control panel and viewing screen and honestly, they were a bit of a pain. You’d have to set them in shooting mode, take a shot, open the camera back up, check everything was right, adjust as necessary and repeat until you were happy with the result.
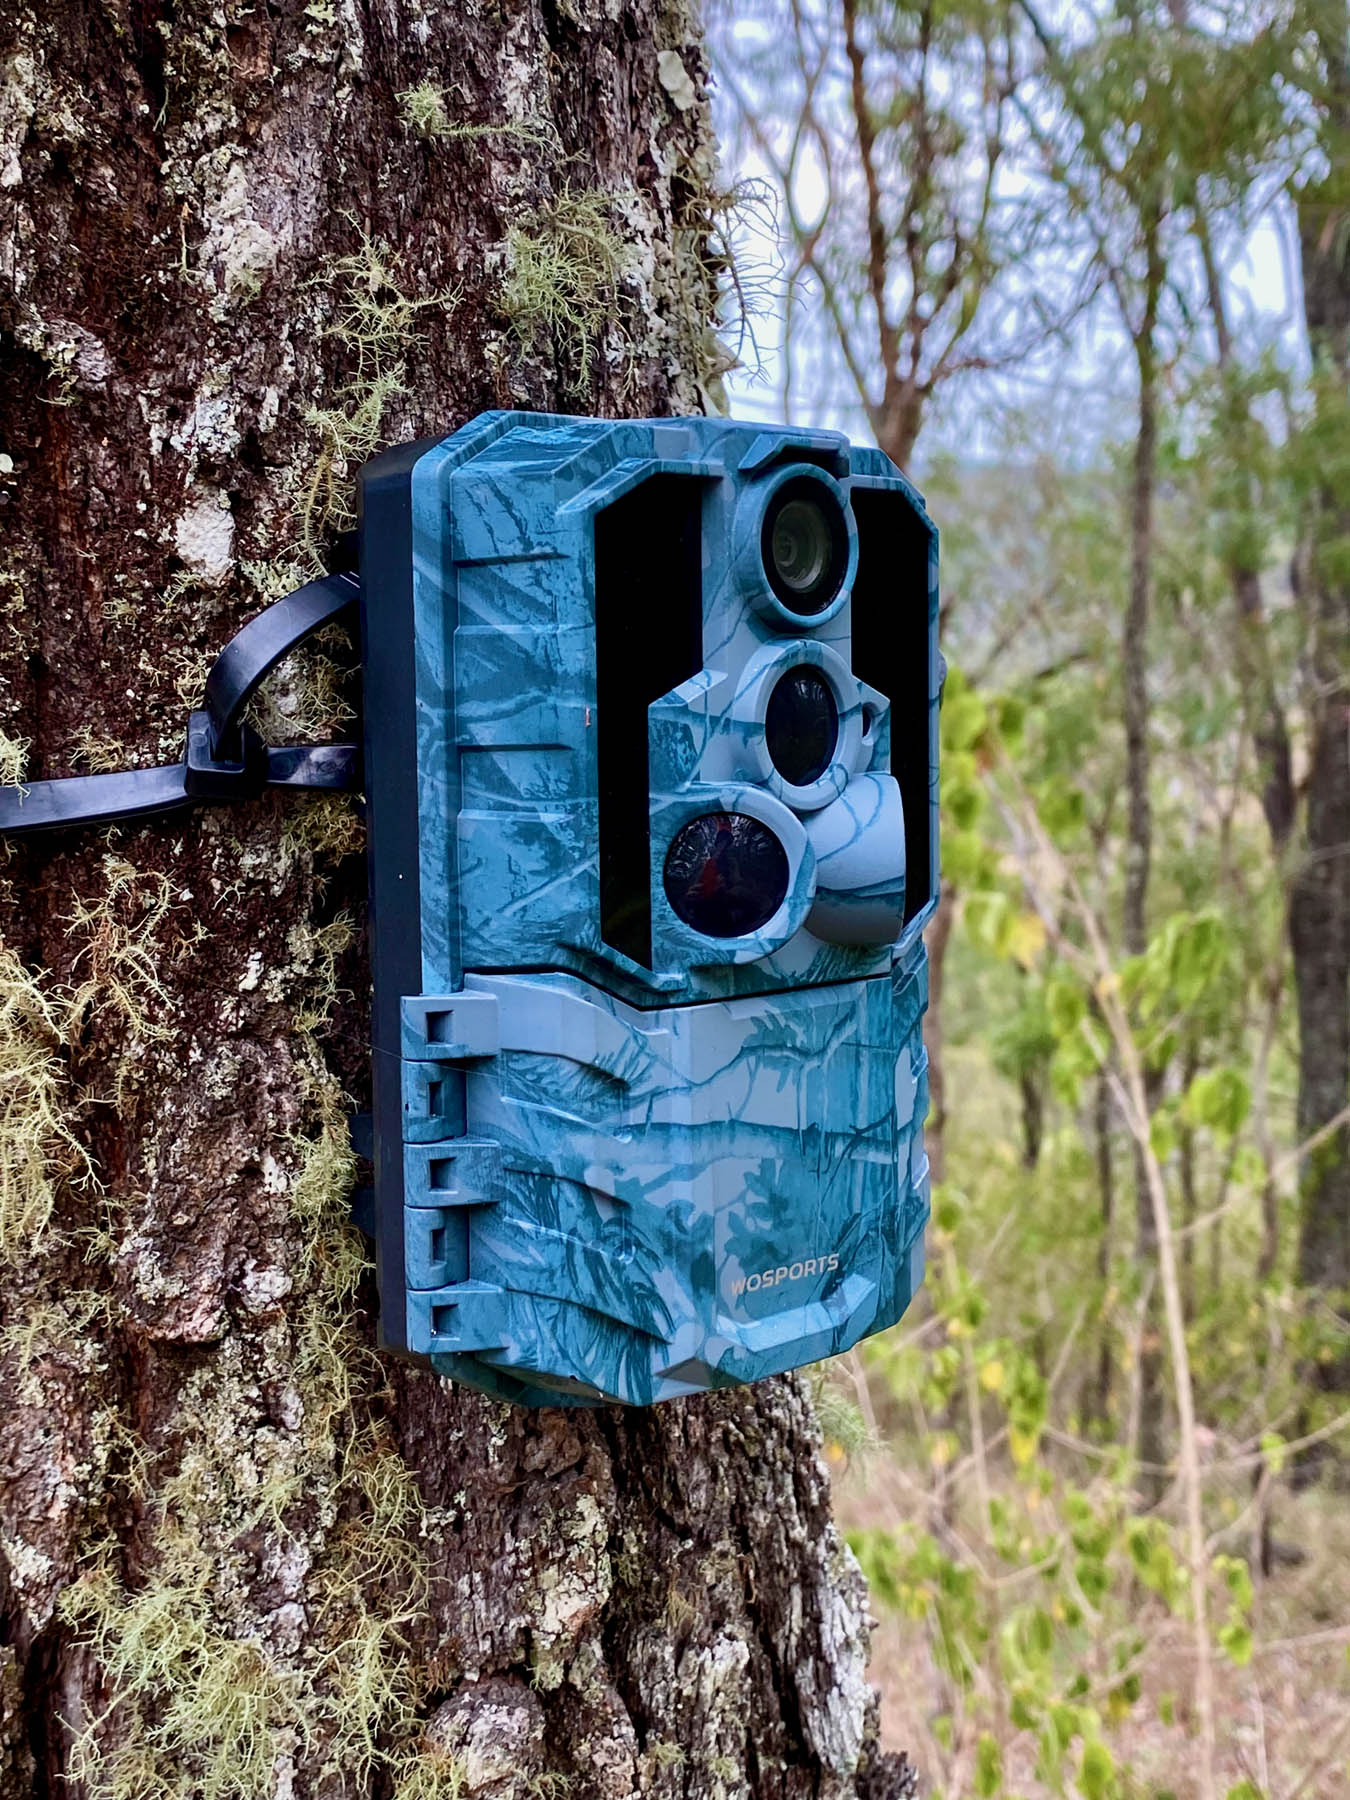
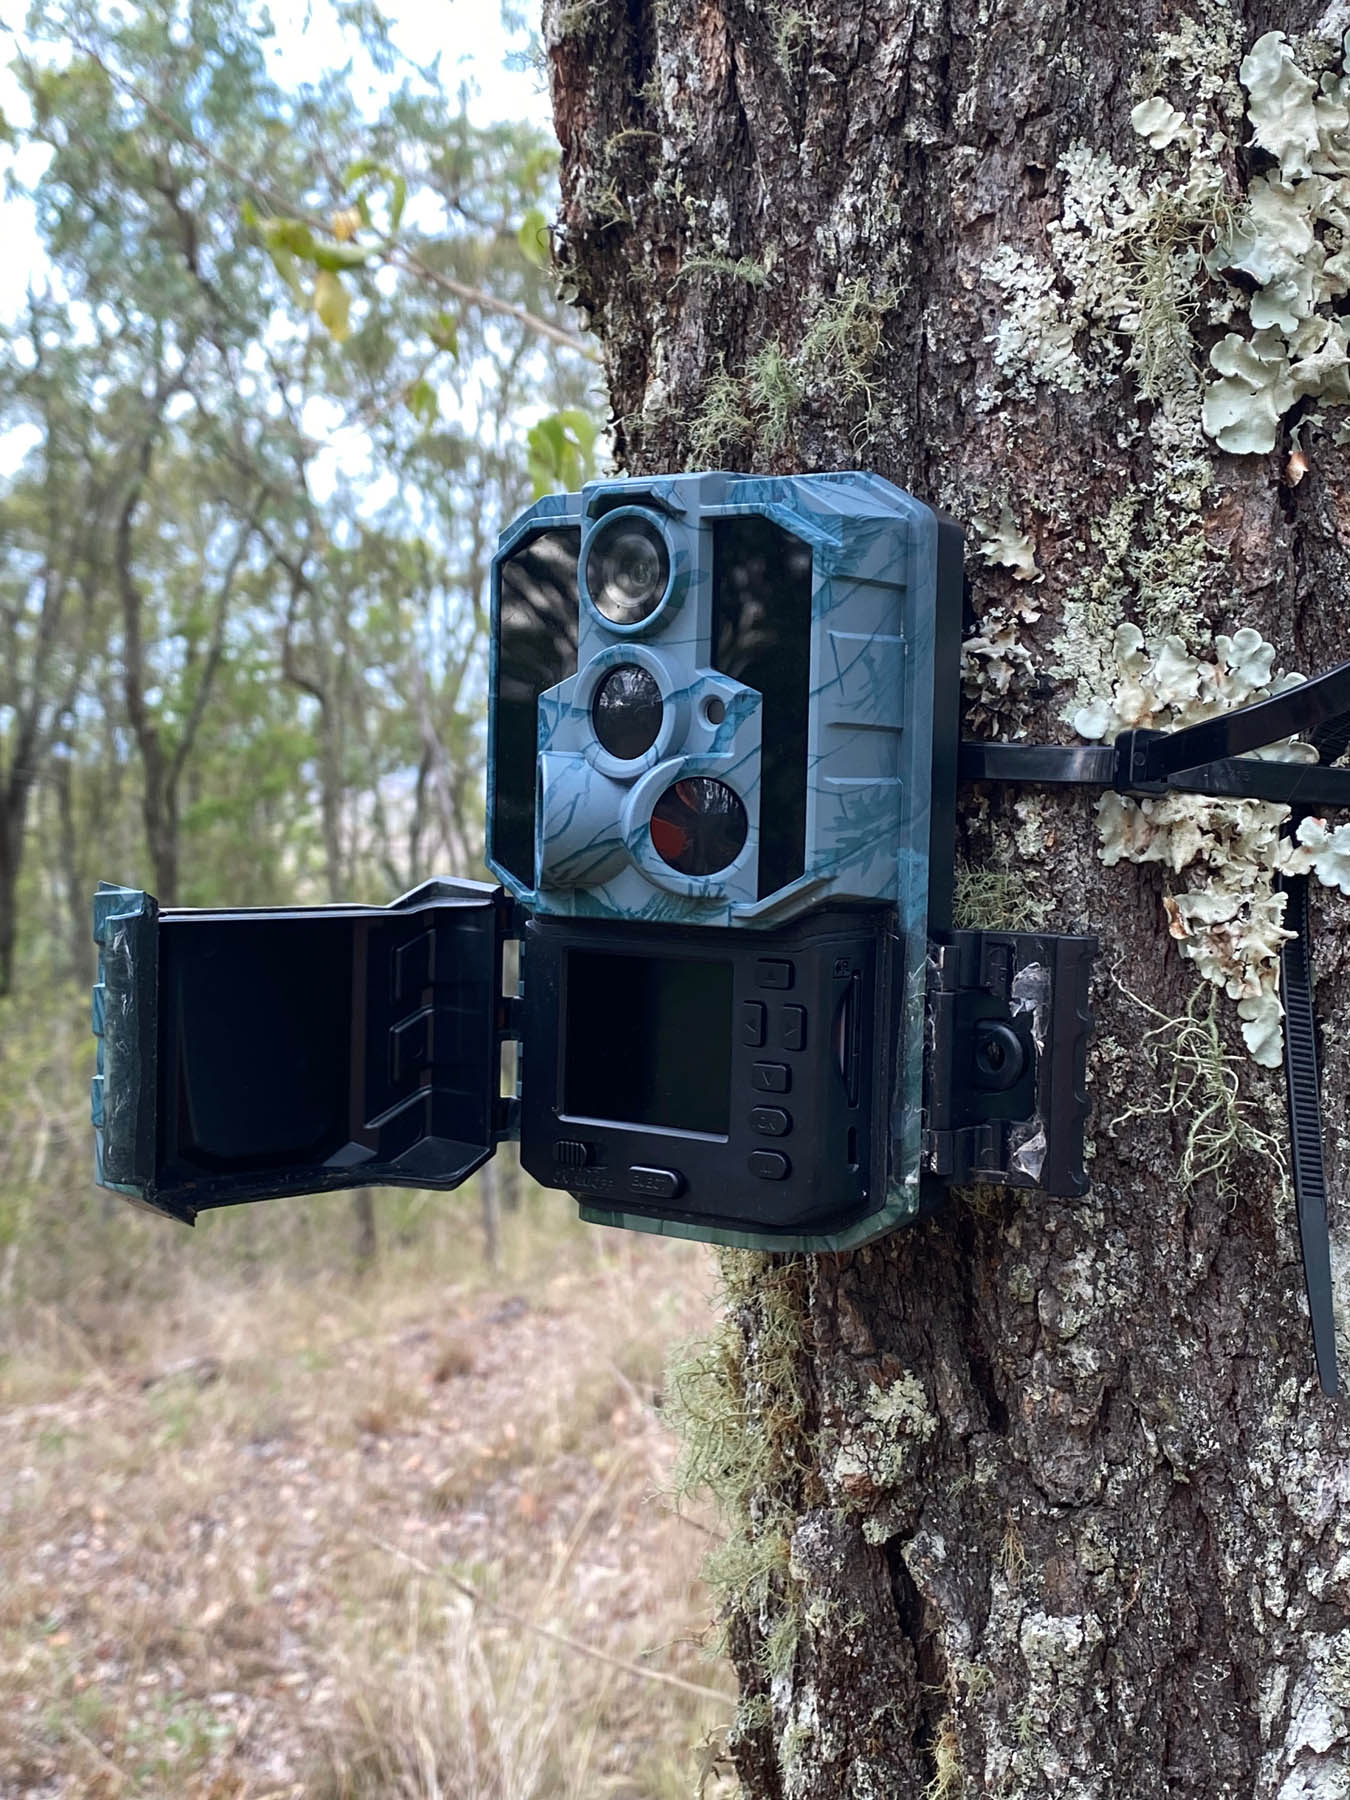
My Generation Two versions incorporate a forward-facing screen on the front of the camera, protected by a hinged cover. Think ‘selfie’ on your phone where you can see what the camera’s seeing. It makes set-up a lot easier, especially when mounting at tough angles over gullies, on steep banks or tight against a game funnel.
Securing the camera
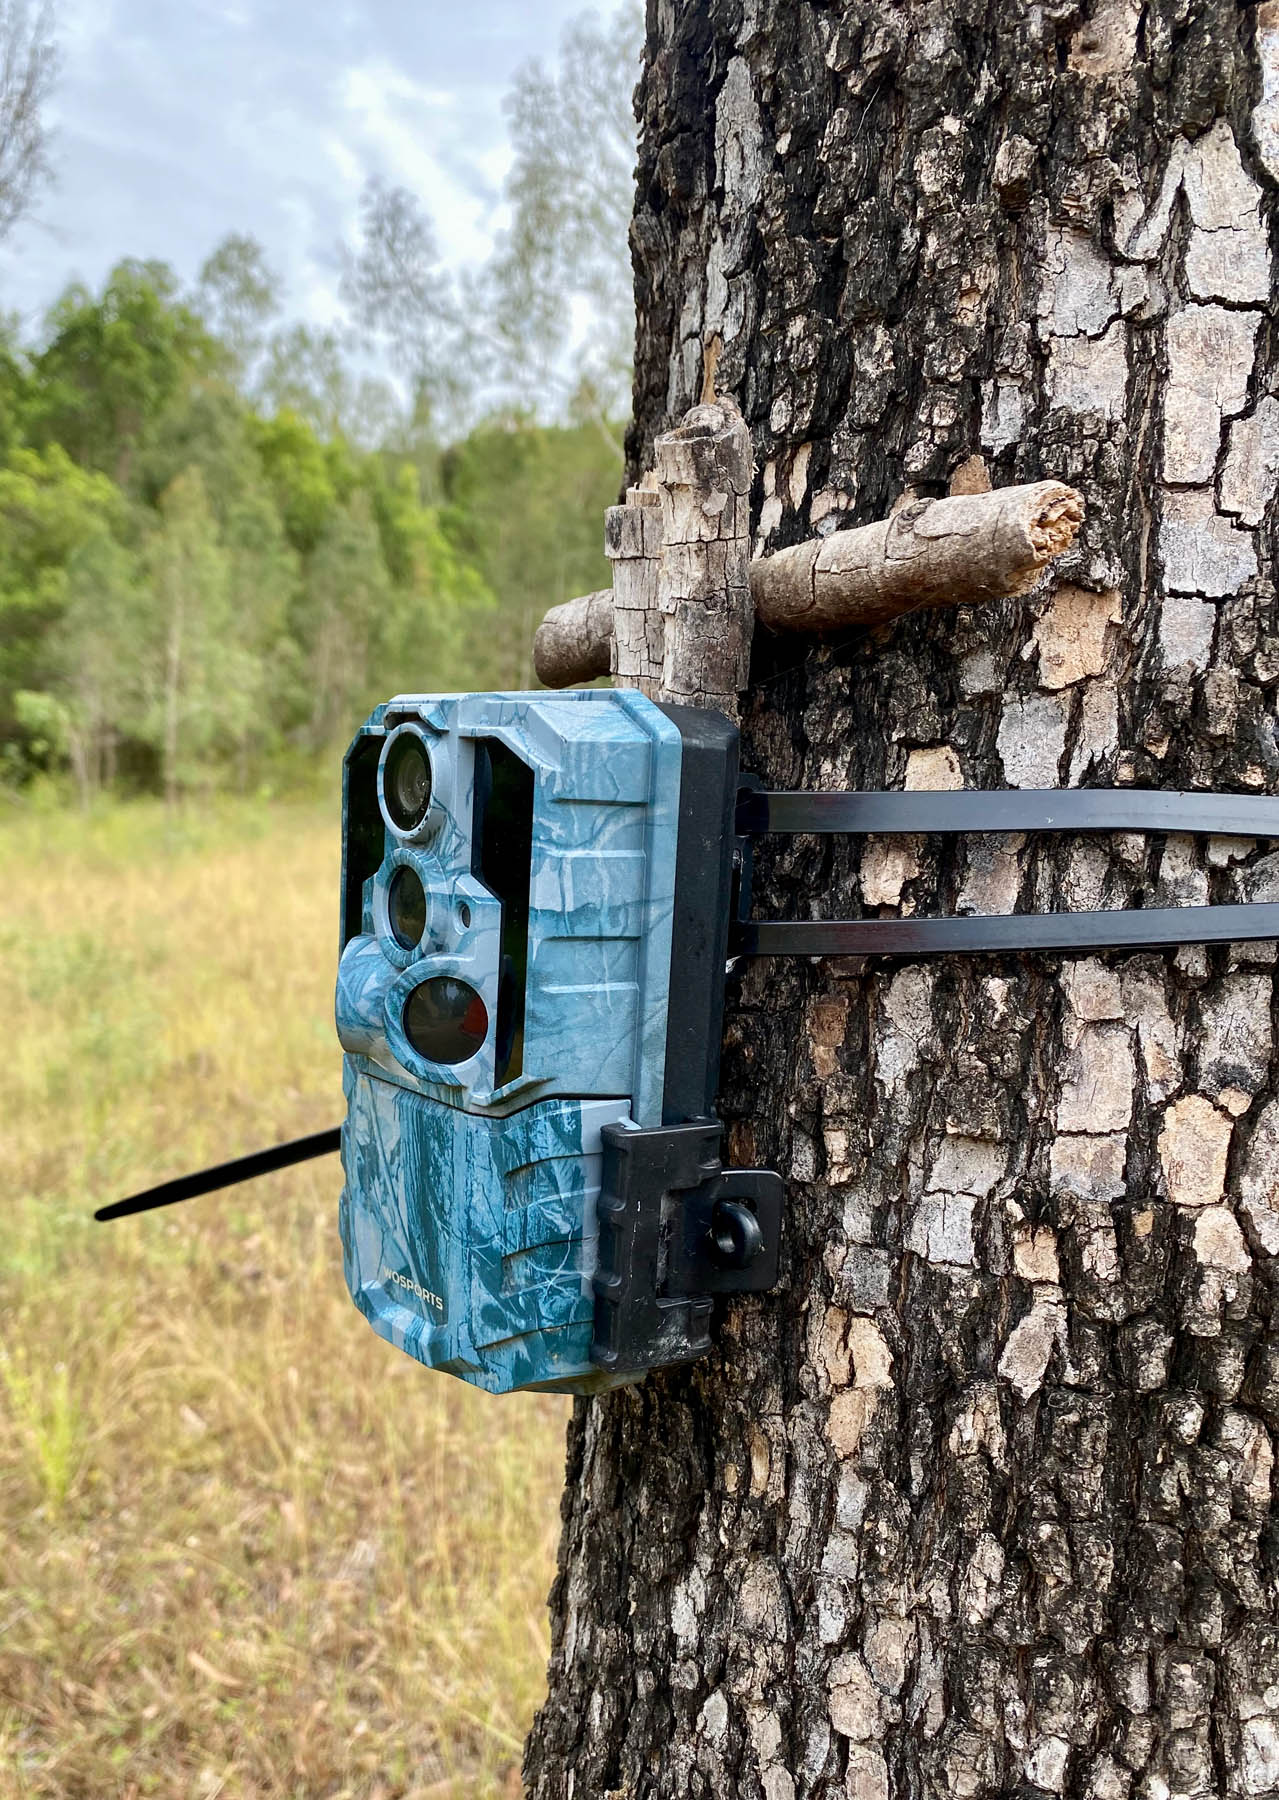
Most units come with both a strap and more permanent metal screw-affixed mount with a ball-jointed mounting arm. I never carry the permanent mounts as they aren’t really suited for bush conditions. I used to use the supplied strap until Queensland summers put a stop to that. Rain, heat and humidity meant they rotted fast.
My solution was 600mm (or longer) heavy-duty cable ties. I buy them at the same place as the batteries. One tie is usually enough for a medium tree with larger trunks getting a cable tie ‘daisy chain’. The ties don’t rot, they’re light, reliable and if you leave the tail accessible, you can cinch them tighter throughout the season.
How much should I spend?
My advice is to check out the budget range of cameras, as today’s cheap options are as good or better than mid-range units from a few years ago. Unless you’re chasing professional-grade footage you’ll never notice the difference. As for cellular cameras, the ones that text you photos, I skip them. They’re power-hungry, expensive to run and will send you hundreds of shots of wind-blown grass or curious cows. If you must have real-time alerts fine, but expect noise and lots of it.
The main reason I buy cheap is numbers, as two cameras see more than one and five see more than two. I run seven and plan to add more. When one fails, and they all do, I’m not heartbroken and replacing them doesn’t require a loan. How do they fail? Seals go, housings warp, water creeps in, spiders take up residence and ants build empires in the battery compartment.
I’ve found the seal at the top of the camera is usually where the rot sets in, especially in the older ‘opening book’ ones. When I inspect a camera and find water inside I clean it up, make sure it still works then remount it upside down. The photos come out inverted, though I can fix that later and I often squeeze another six to 12 months out of it before its done.
Laying them out
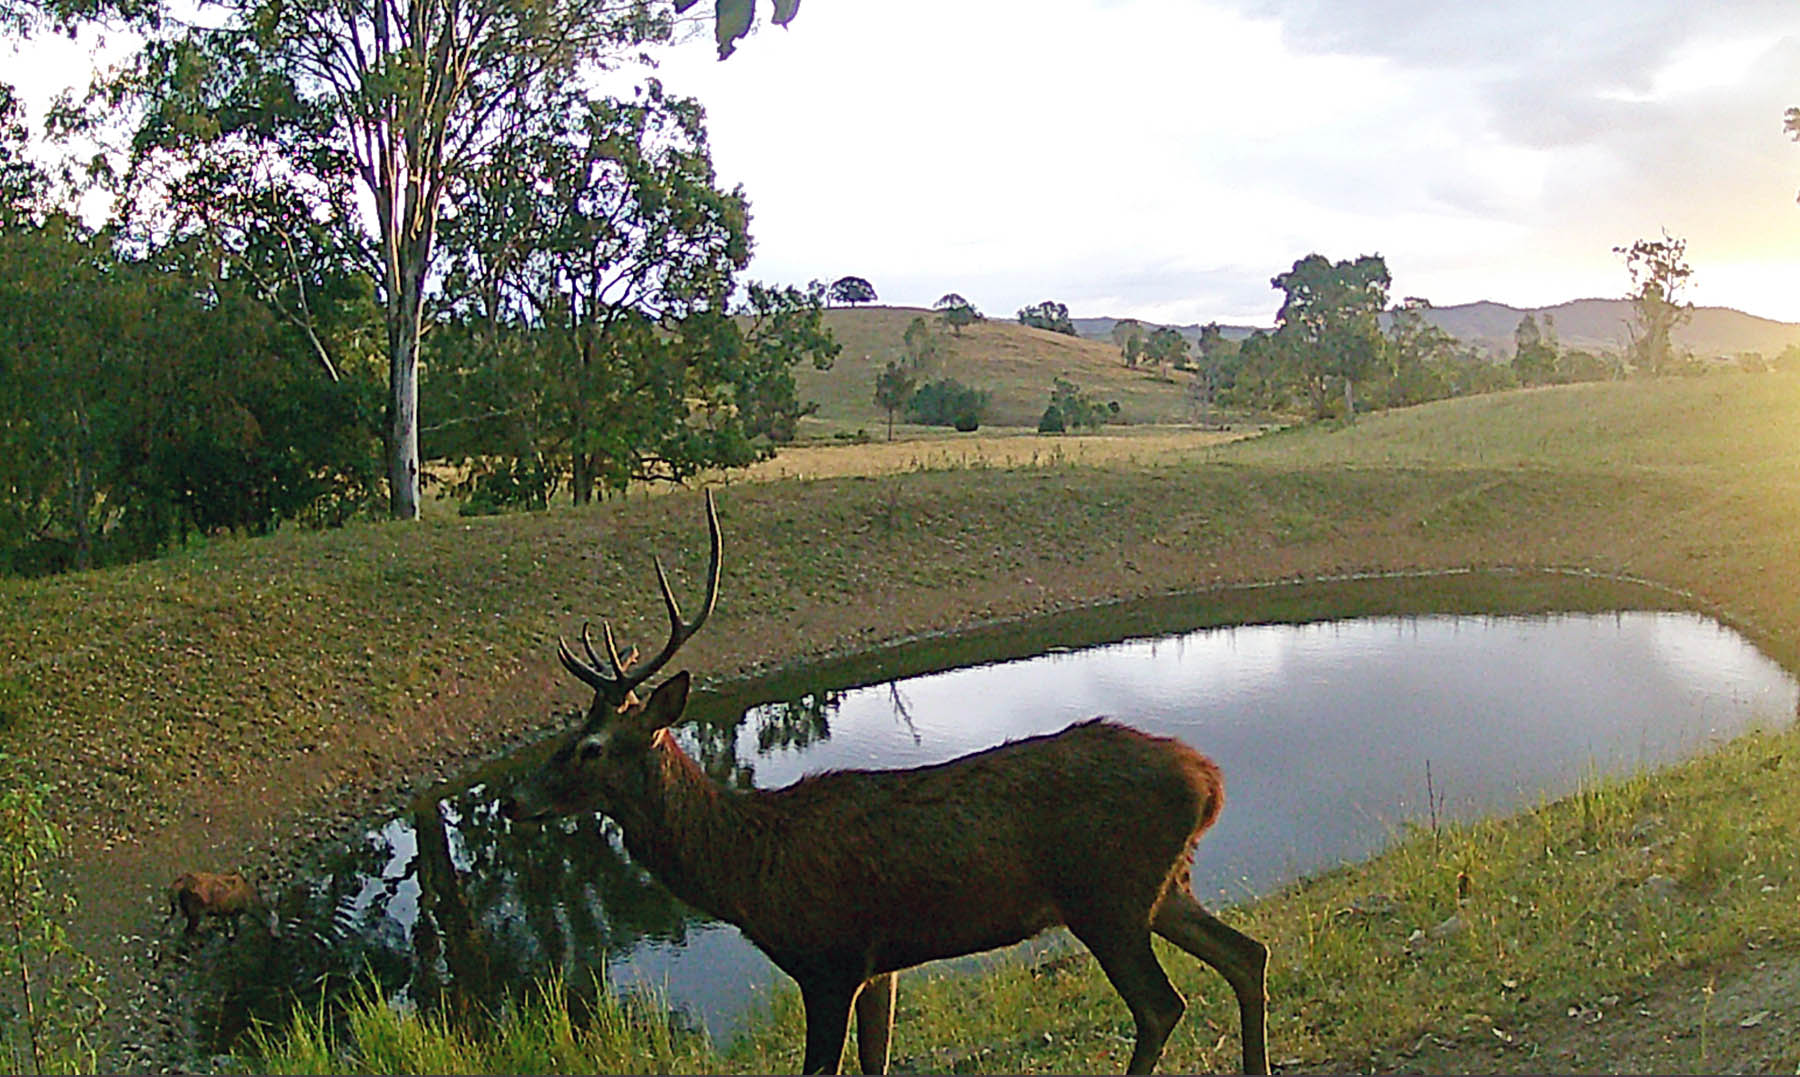
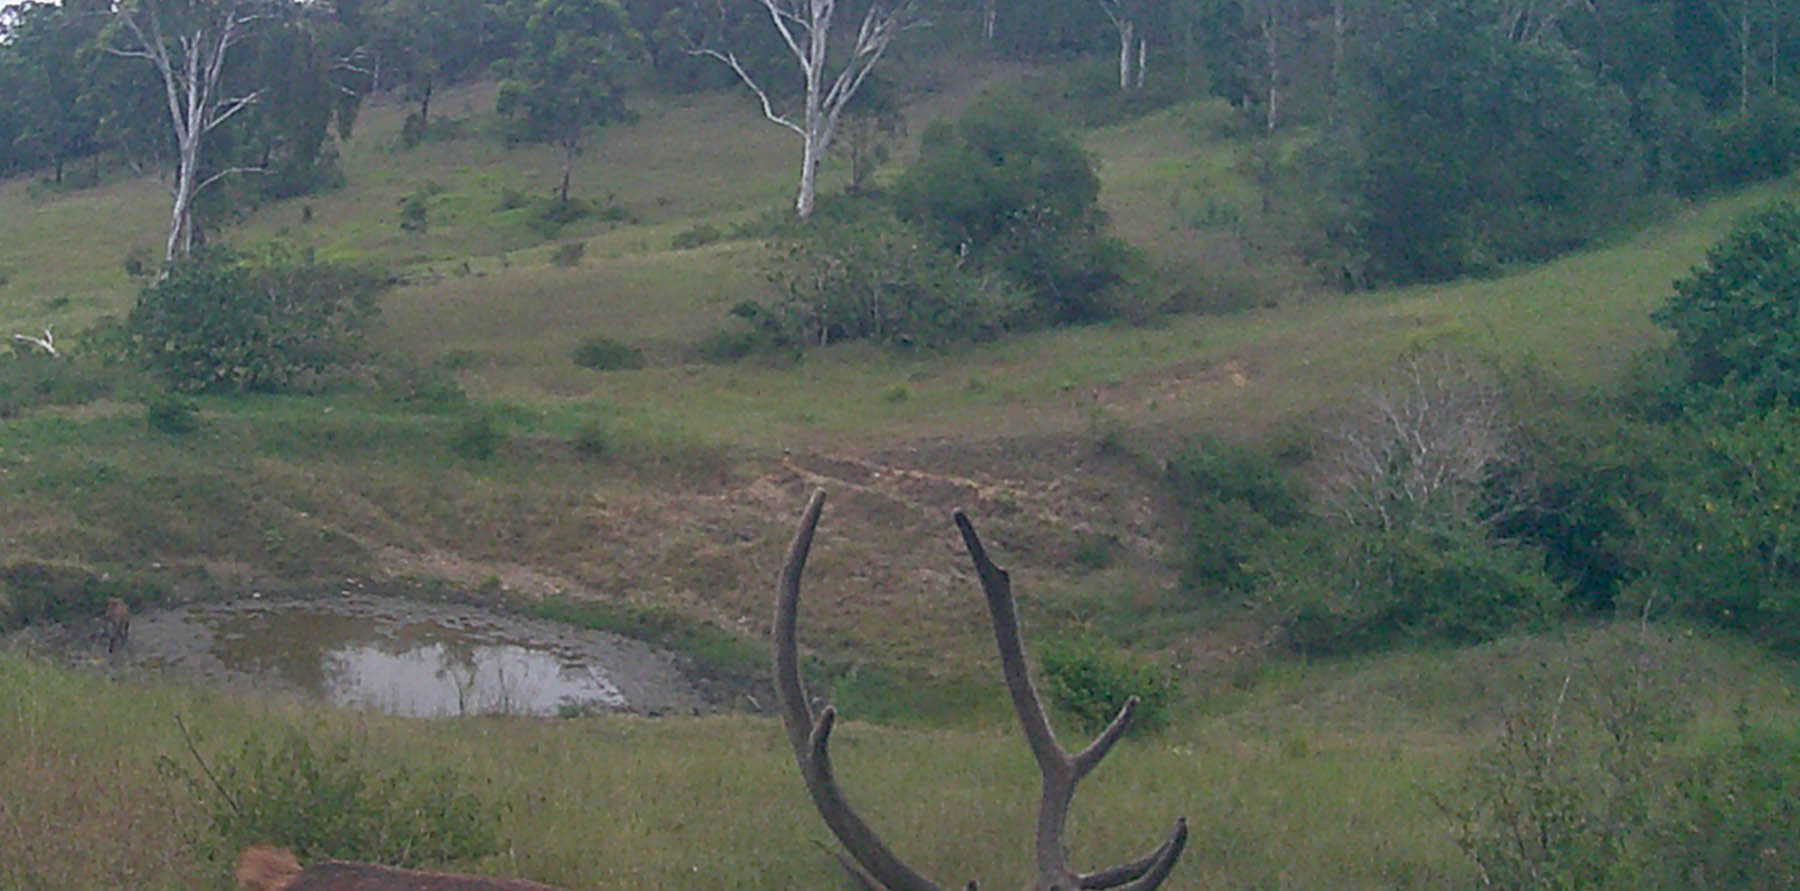
Where I hunt, the red deer roar peaks around the first week of April, though I start setting cameras out in October. It takes months to build a reliable picture and longer to confirm patterns. I begin with known hotspots like old rubs, established trails, fence crossings, water sources and shaded ridge paths. I generally mount cameras to trees and even once built a rock cairn and installed one inside, to watch over an otherwise treeless dam. I avoid fenceposts as cows and fences have a long, destructive relationship. No need to put a camera between them.
I check cameras every fortnight. Sometimes I move them, sometimes I leave them as a bone-dry creek might fill again and draw animals. Cattle can turn a game trail into soup and cameras track these changes better than I ever could. I like using two per site, angled about 60 degrees apart, as I want to create an overlap for better understanding of movement. I usually have one set for still imagery and the other for video. The former gives clarity and the latter records behaviour and movement.
Maintenance
Simple but essential. Before taking my cameras out I make sure they have fresh batteries, reformatted SD cards, clean lenses, sensors and housing along with a couple of cable ties. In the field I watch battery levels closely. High-resolution video drains quickly and summer heat certainly adds to that power drain. If a camera will be unattended for a long stretch I adjust settings to shorter clips, fewer bursts and longer delays.
Managing data
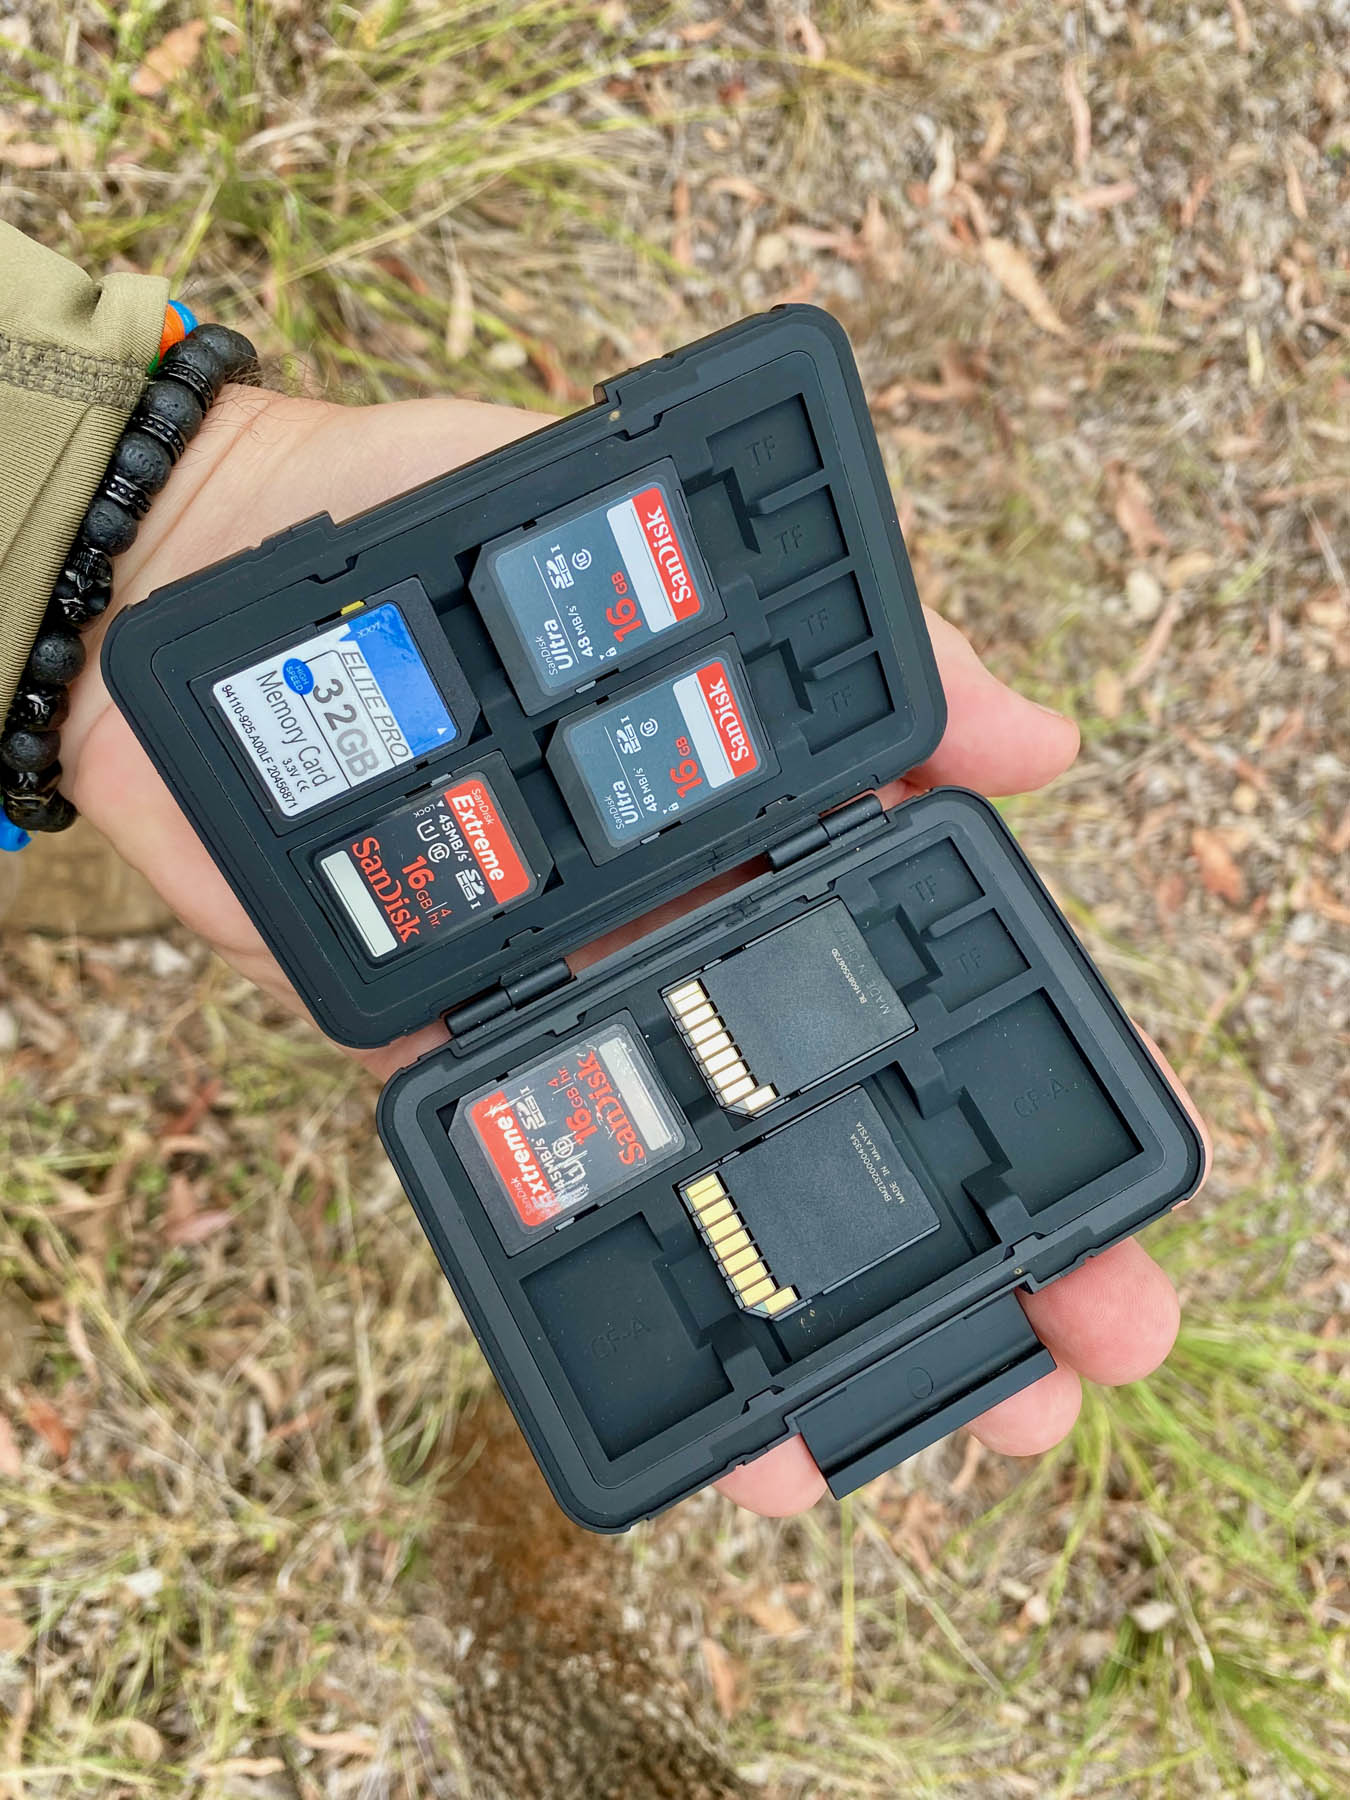
I buy mid-range 16 and 32GB SD cards in bundles and run two cards per camera, one in the unit and one in my kit. When checking a camera I preview images, decide whether to move it and swap cards. The camera stays active while I take the old card home for proper review.
The result
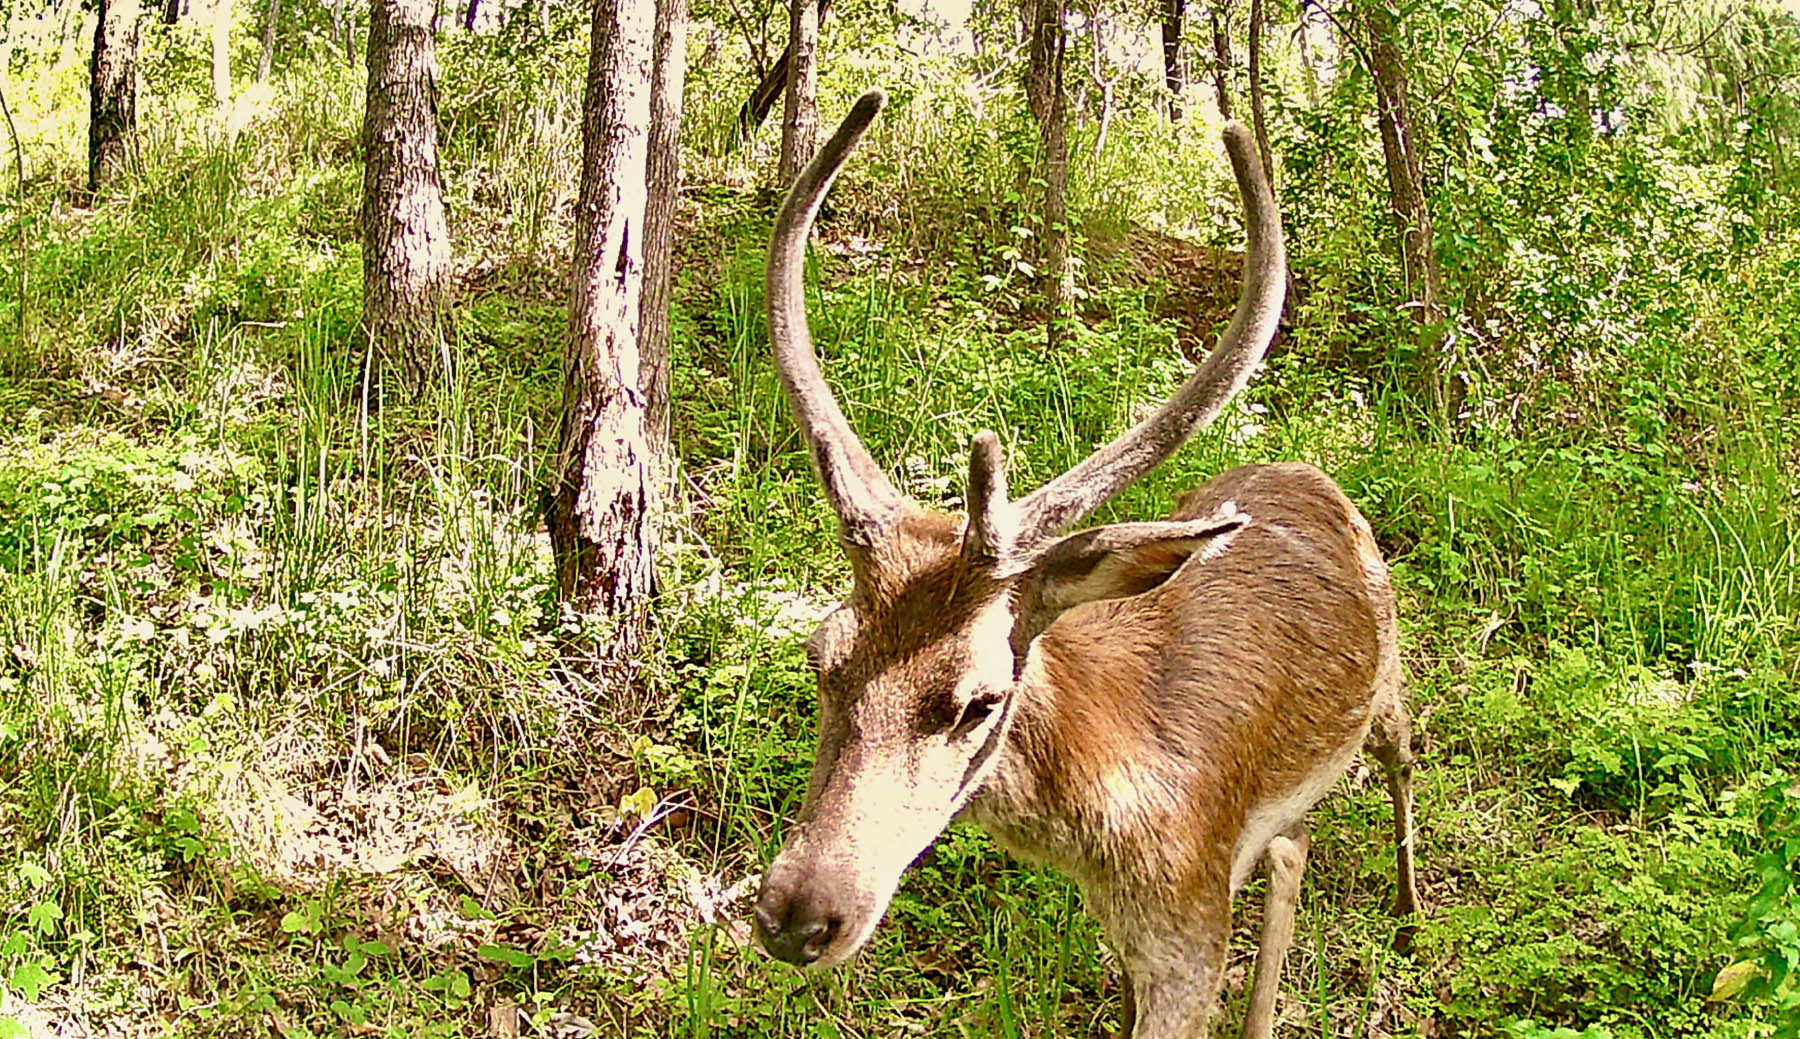
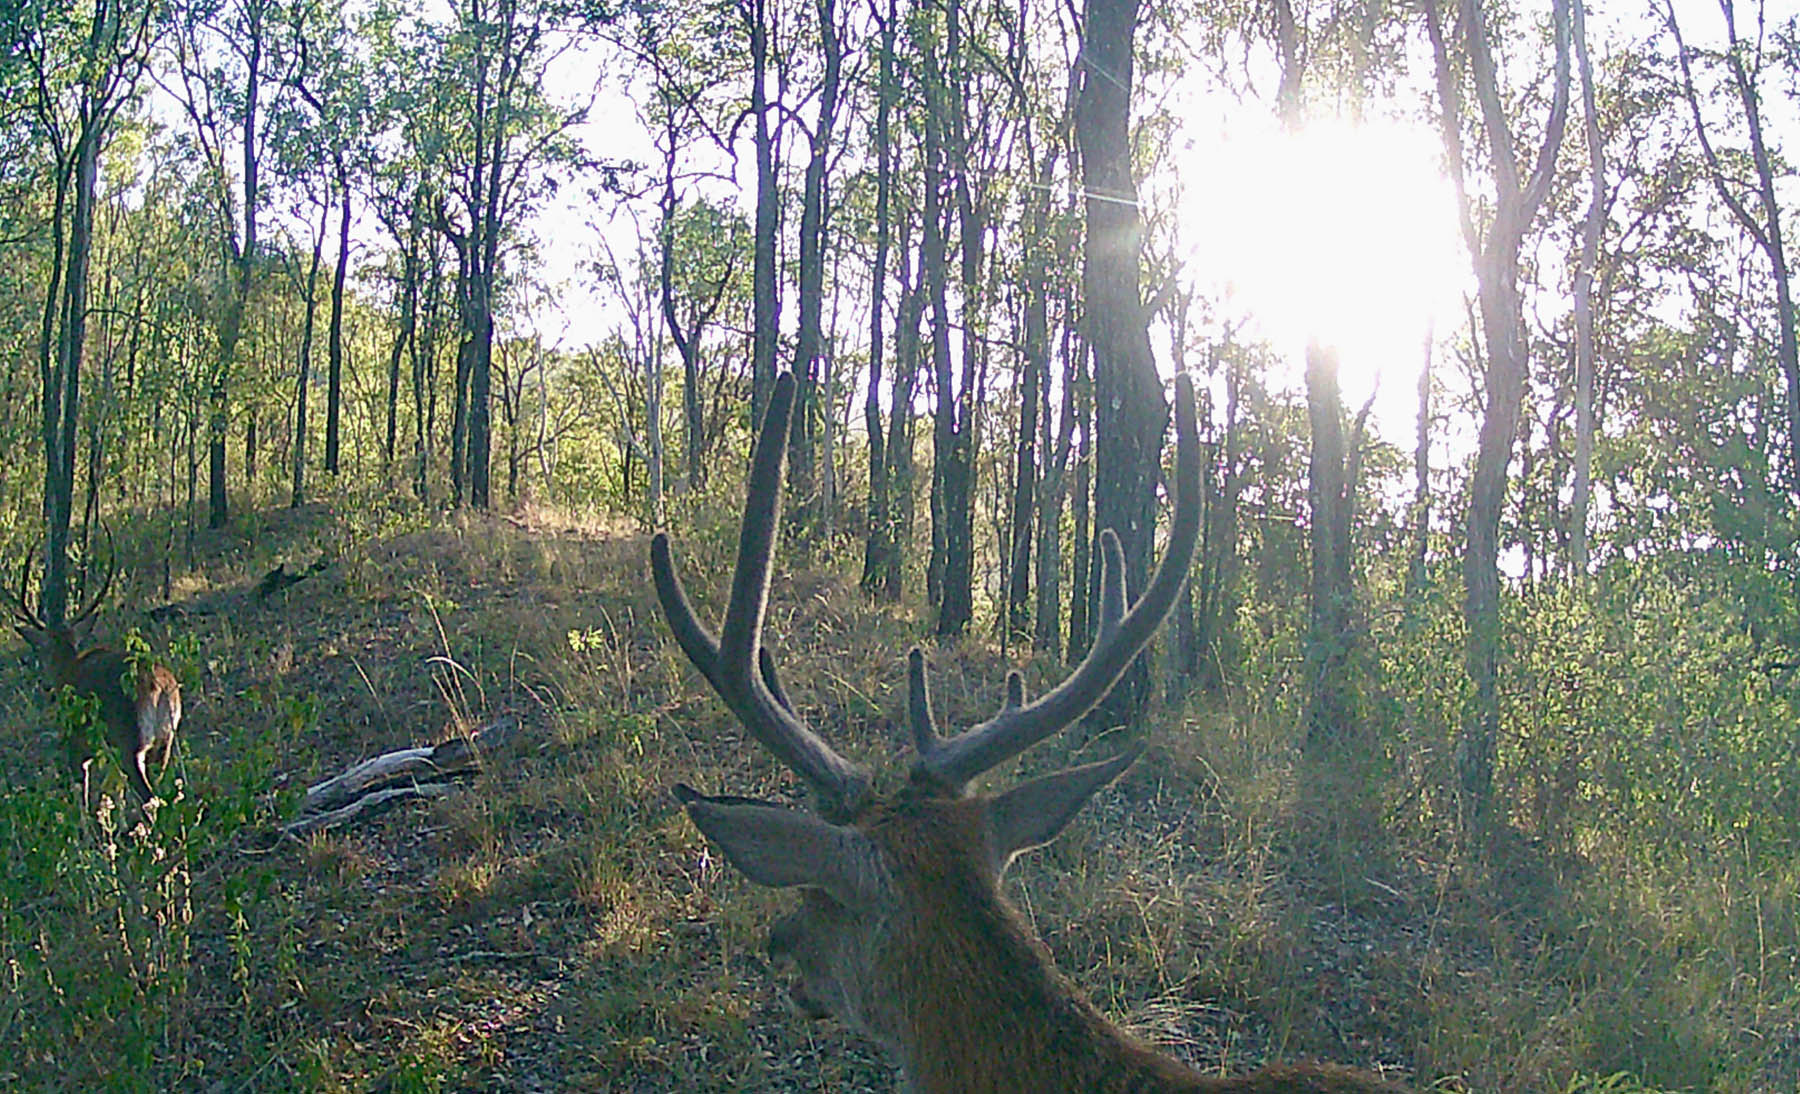
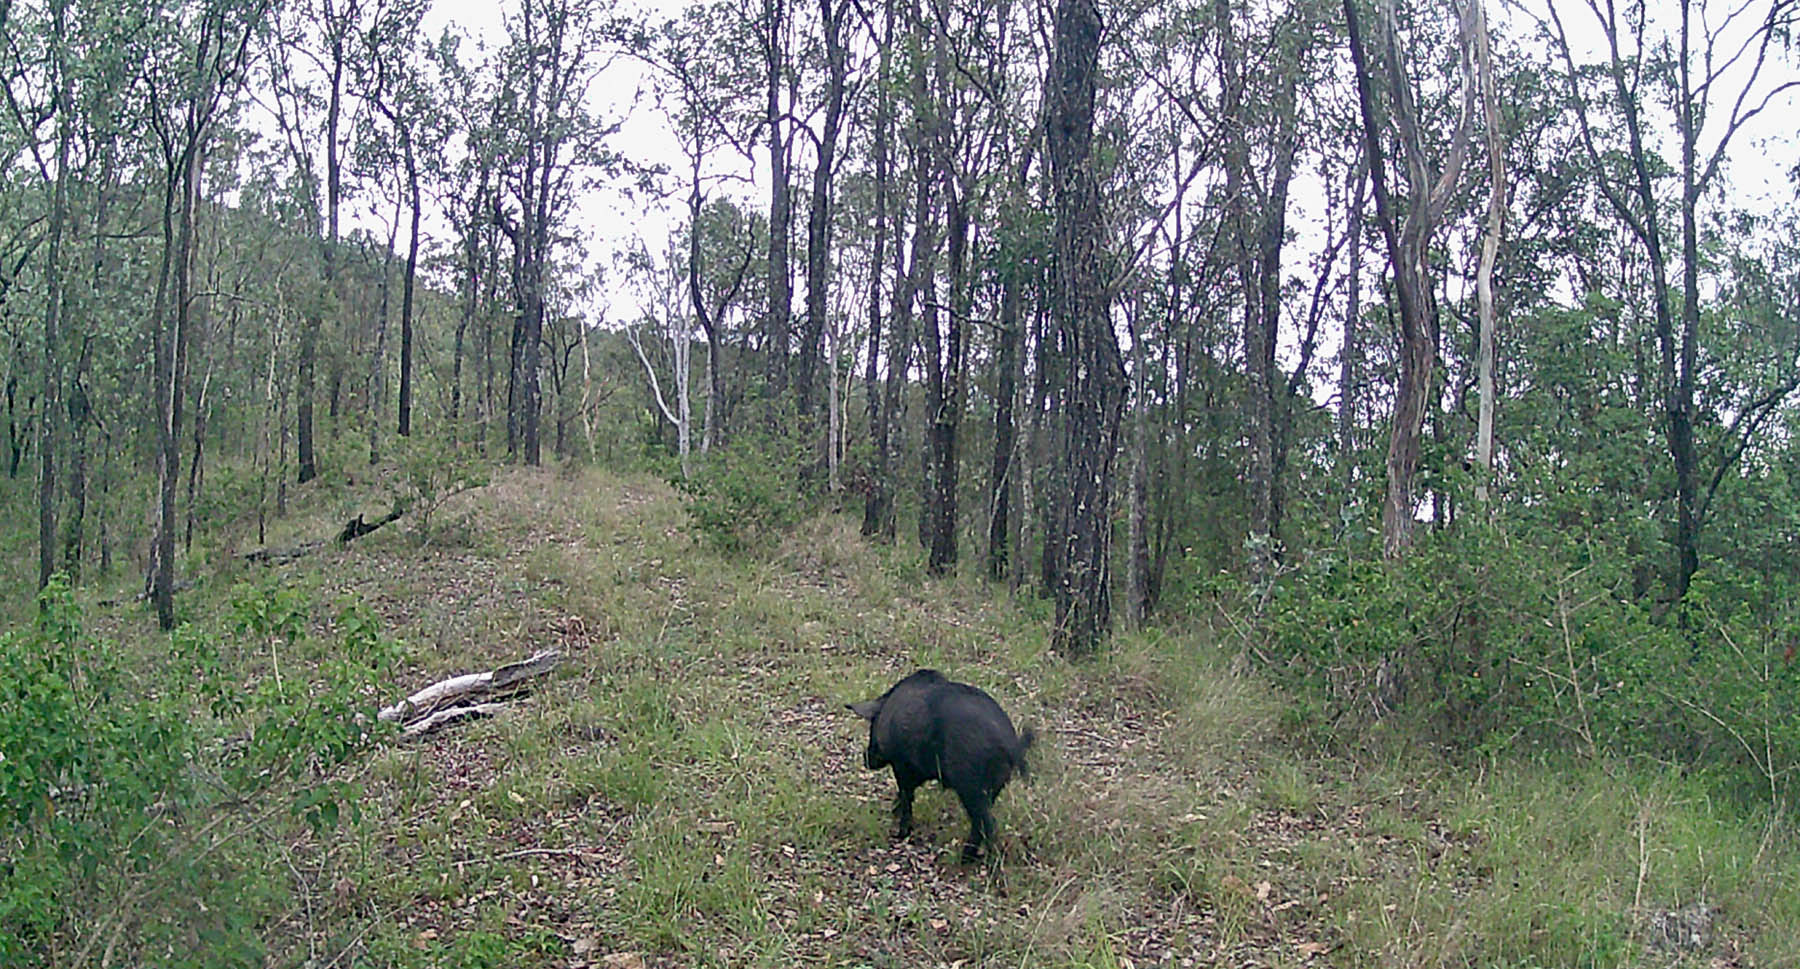
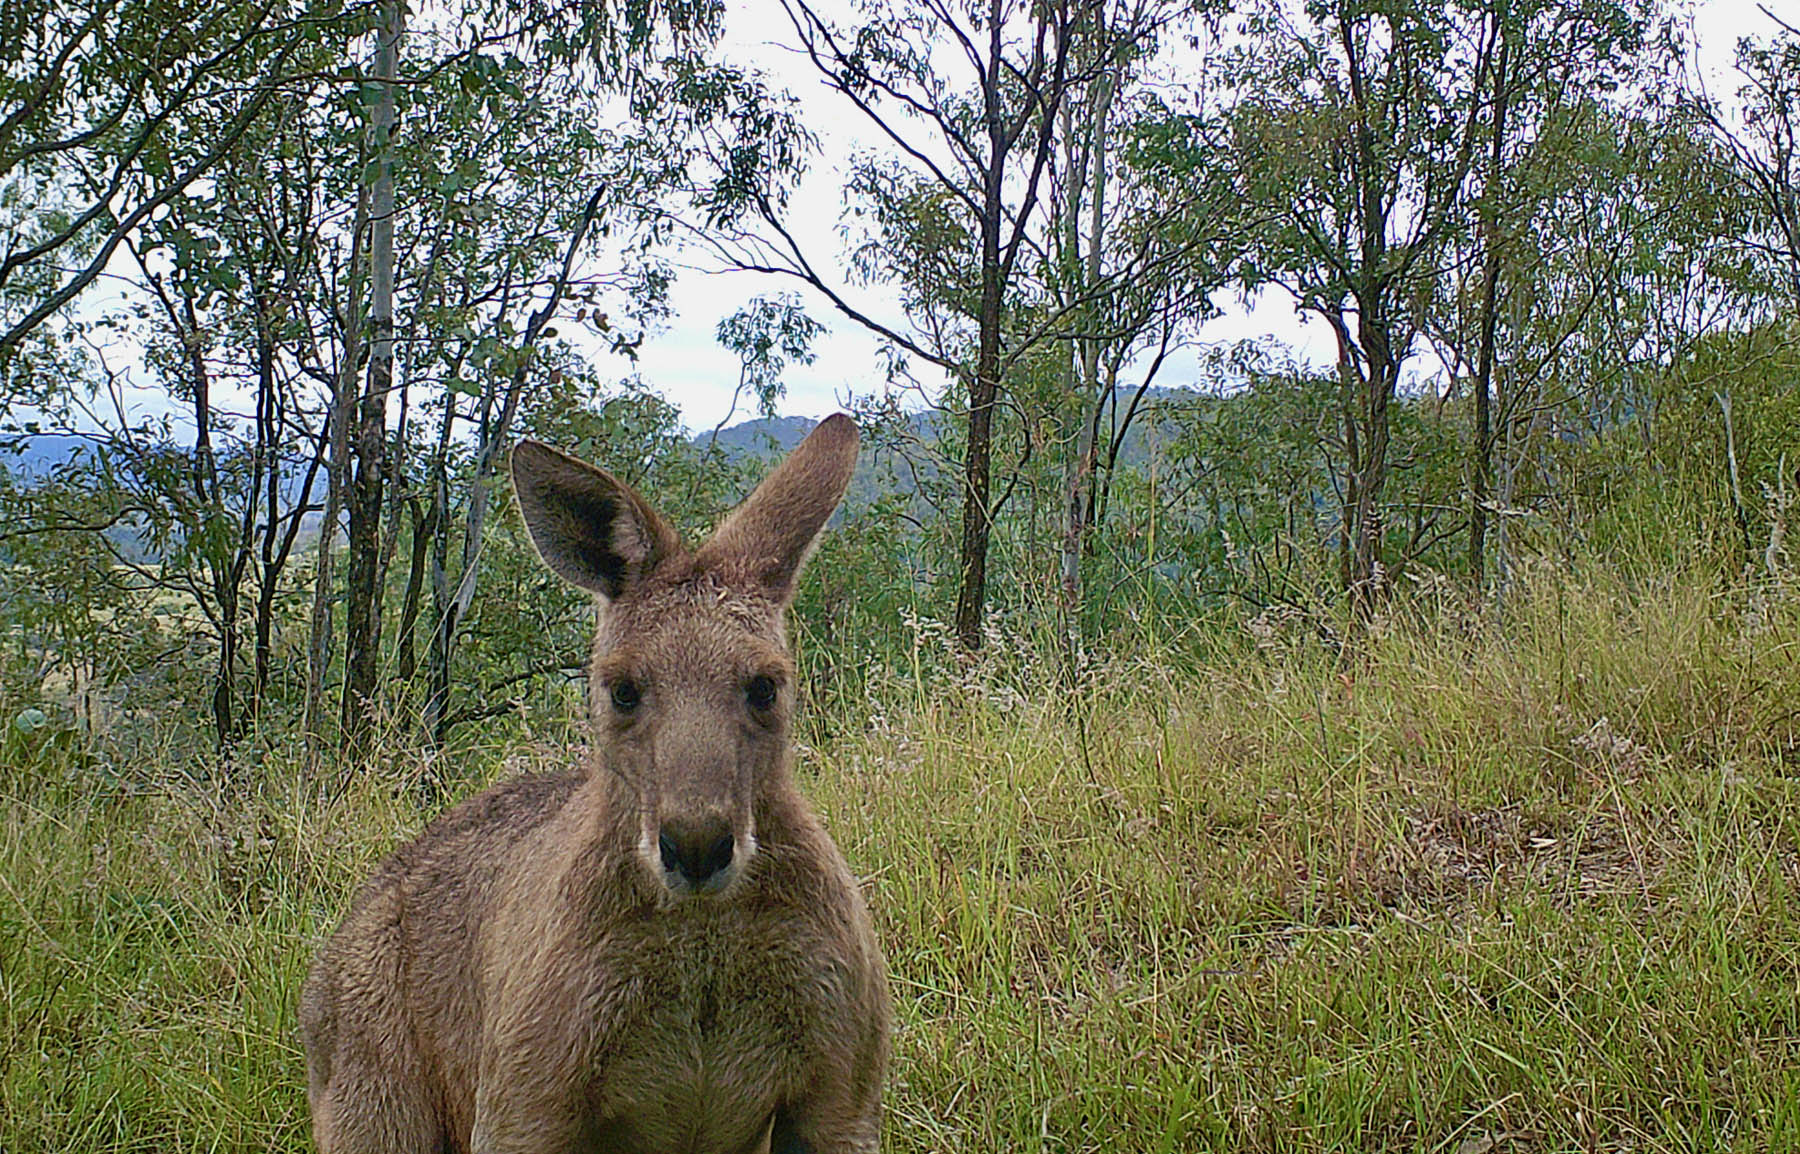
What you get from all this is a deep, ever-developing dataset on everything that moves. Deer, foxes, pigs, hares, dingoes, curlews, echidnas, cattle and even the occasional ’roo punch-up. Sometimes you might capture a two-legged visitor and in the Valley mostly everyone knows everyone. In late 2025 during my first check of the season, I caught a group of young red stags forming a bachelor mob. They wandered off towards another camera and, sure enough, they’d all passed it, seven animals clear as day.
As I write this in January, I’m somewhere high above the Middle East with my eldest asleep slumped against me after watching an inflight Jurassic Park movie marathon. As my mind drifts back to the Brisbane Valley hills, the good news is my trail cameras will be doing their job and give me a pretty good idea of what kind of April I can expect when I get home.
- Update: Check out these images from my first trip back to the Brisbane Valley for 2026. Things are looking up.