


Eric Evans
When it comes to cleaning rifles some shooters advocate this after every use, some occasionally and others almost never. My opinion and practice are based on 45 years’ experience and all my firearms have performed well, suffering no corrosion or excessive wear – I’ve achieved a practical, commonsense balance between effort and outcome.
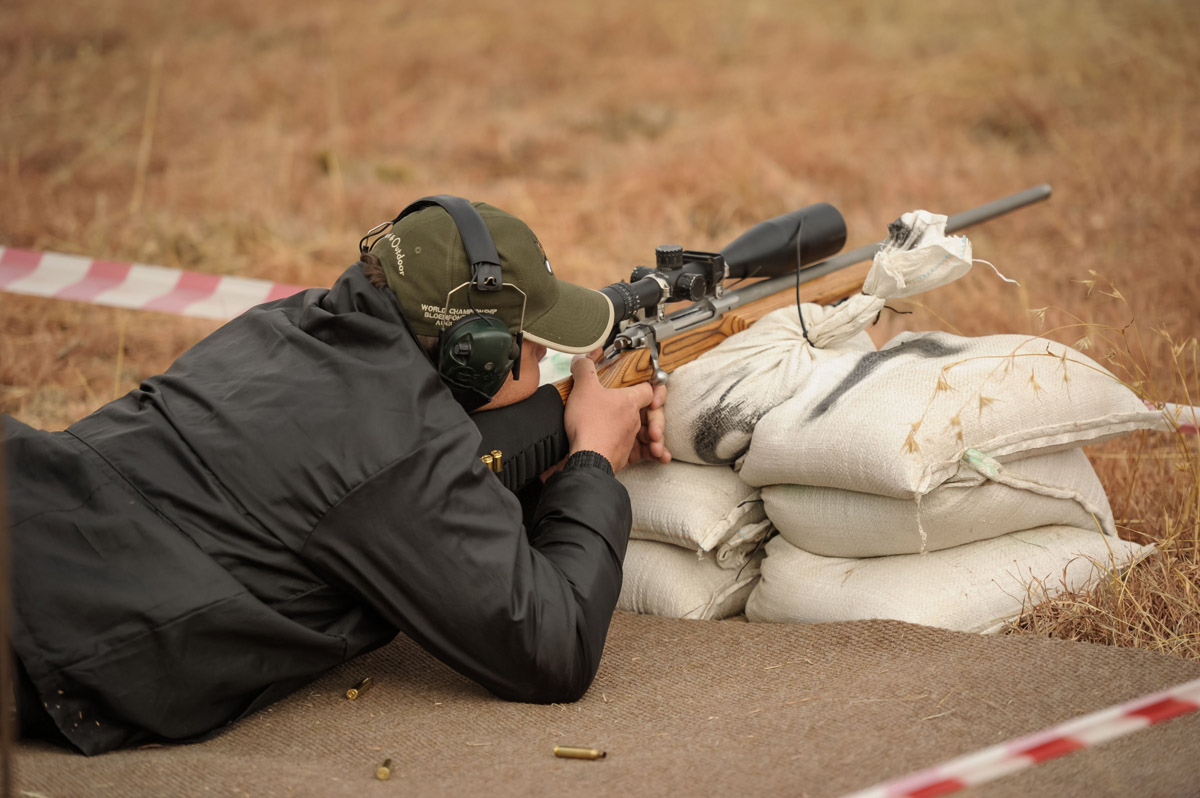
Modern rifles are robust, able to withstand treatment I’d call abuse – but there are limits as they’re complex pieces of kit and some periodic maintenance is necessary to keep them functioning well. Some claim it’s possible to over-clean a rifle which they say poses risks such as excessive wear and/or damage while at the other extreme are target shooters, fastidious about cleaning. Ask a benchrest shooter how often a rifle is cleaned and it won’t be at the end of a range session, rather between shot strings.
So what’s your average shooter and in particular a beginner to make of all this? What’s the correct approach? Let’s start by busting some myths. Assuming the bore and moving parts of a rifle aren’t excessively dirty and that rifle hasn’t been in the rain or otherwise subjected to excessive moisture, there’s no immediate need to clean it after use. It can go into the safe and happily remain uncleaned for two or three months (modern propellant powders and primers are non-corrosive).
As for excessive cleaning there’s zero risk of extreme wear and negligible chance of damage provided cleaning is done correctly. Consider wear – quality cleaning equipment can’t possibly impart anything approaching the extreme stresses of firing metal projectiles through a bore at the pressures, velocities and temperatures typical in modern rifles. The erosive force of a bullet spiralling down a bore at supersonic speeds is enormous, the friction and heat tremendous, yet barrels take this in their stride.
How is it possible a cleaning rod with a bronze brush occasionally pushed along a steel rifle bore at less than 2ft per second could cause any wear, let alone excessively so? Yet improper cleaning practice does present risk. Ham-fisted, overly vigorous or clumsy technique have ruined many a rifle bore and using some solvents incorrectly can also produce sorry outcomes. The good news is using the appropriate equipment and materials correctly will all but eliminate any possibility of damage – the benefits of regular cleaning outweigh the effort required.
Target shooters will tell you regular cleaning is essential for optimum accuracy. For the average hunter, tack-driving precision is unnecessary as given the relatively low number of shots fired compared to target shooting, cleaning isn’t required every time a rifle is used. Less intensive use requires less cleaning but it’s prudent to clean rifles at least occasionally, like any other valuable possession. There are essential items and other pieces of kit we can deem optional, though I personally use them.
Essential
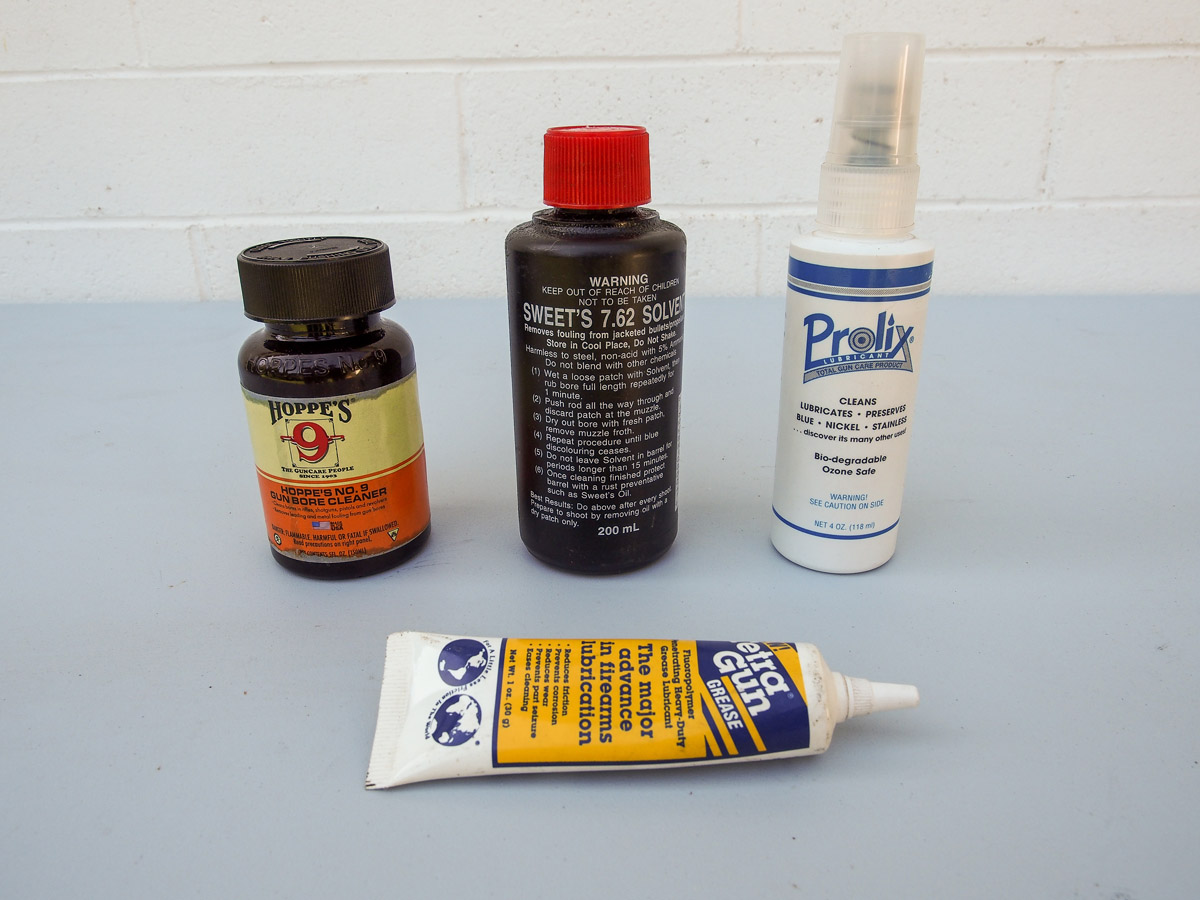
A quality single-piece cleaning rod of diameter matched to calibre – if you own different calibre rifles you’ll likely need a rod to suit each. It should be plastic-coated steel or stainless steel with rotating ball bearing handle – multi-piece rods and ‘pull-throughs’ are inferior and could damage the bore; brass jag (for patches – spear type’s best); bronze brush; bore mop; flannelette bore patches available in pre-cut sizes to suit all calibres or in rolls you cut to size; powder residue solvent; copper residue solvent; gun oil; bolt lube (for lugs and other bearing surfaces); child’s toothbrush; shellite or methylated spirits; clean soft absorbent fabric rags.
Optional
Cradle to support rifle makes the task easier and protects rifle; bore guide – seals chamber and receiver area from the bore, preventing leakage of solvent, powder residue and other grime into the breech and trigger assembly and helps align cleaning rod centrally in the bore, minimising contact by the rod. Essential items will cost less than $200, the most expensive being the rod. For optional items a cradle can be knocked up from timber off-cuts and a bore guide will be $50-$80.
When a rifle is fired
What makes a rifle dirty? When the trigger is squeezed the propellant powder in the cartridge case is ignited by the firing pin striking the primer, the powder expands rapidly into high temperature and pressure gas, driving the projectile down the bore. This process has two immediate results. 1: Residue of predominantly carbon composition is deposited along the bore which accumulates with each shot. 2: The rifling will swage the bullet, leaving a residue of bullet material behind. If jacketed bullets are used (most high velocity centrefire calibres) copper residue will accumulate in the bore. Both are referred to as ‘fouling’.
What’s the problem? The target fraternity will tell you accumulation of fouling will affect accuracy and given the high volume of ammunition they go through that makes sense (a hunter might use 10 per cent or less of the ammo a target shooter will use in an average year). Further, the accuracy of sporter-style rifles is generally inferior to target guns to begin with. Fouling may cause accuracy to drop but won’t be of any consequence unless allowed to accumulate to excess and what’s ‘excessive’ generates much debate. In calibres such as the .223 Rem, .243 and .308 Win my preference is 100 shots maximum before cleaning powder fouling.
Corrosion from bi-metallic electrolysis between the steel bore and copper fouling is a concern for some though actual data is scarce. Some insist on maintaining a bore as free from copper residue as possible, others claiming rifles benefit from a permanent but light copper ‘conditioning’ of the bore – none of my rifles suffered poor accuracy or developed corrosion coincident with copper fouling. For casual shooters, provided a rifle doesn’t exhibit a tendency for heavy copper fouling after relatively few shots, application of copper solvent may only be needed once or twice a year.
Method
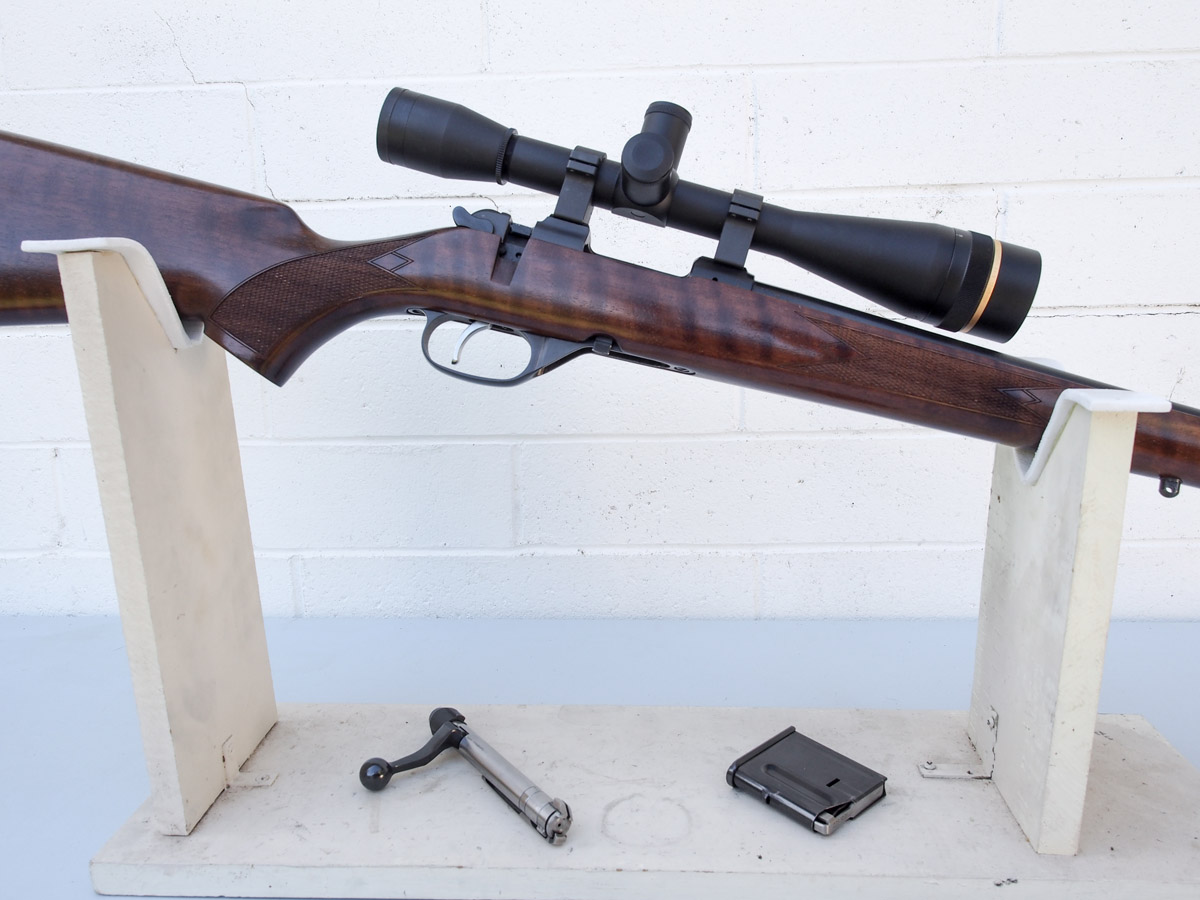
Lever, slide and self-loading types may need to be cleaned from the muzzle. If so, use extreme care as it’s easy to damage the muzzle crown which will ruin accuracy – and never clean a bolt-action rifle from the muzzle. First and foremost, safety: Never work on a loaded rifle, always open the action, remove bolt, remove magazine/drop floorplate and unload before starting. Chemical solvents are toxic and corrosive so comply with manufacturer’s instructions and wear gloves of heavy duty household type at minimum.
1: Place rifle in cradle or other stable support with muzzle lower than breech to prevent solvent flowing back into receiver. 2: Insert bore guide if you have one, checking it’s aligned by looking through it into the bore. 3: Attach brass jag to cleaning rod, spear a patch on the jag, anoint with powder solvent (enough to wet, not saturate). If cutting patches to size, experiment until a patch passes down the bore with some resistance but doesn’t have to be forced (snug fit).
4: Insert into bore guide or chamber. If the latter, position rod centrally as the jag and patch contact the throat of the bore (where the rifling begins). 5: Gently push rod forward and with practice you’ll feel the point where patch exits chamber and contacts the rifling. It’s important the rod is aligned centrally to avoid direct jag contact with rifling. This will be felt as an abrupt stop so don’t force the jag, rather adjust rod alignment until the patch slips into the bore.
6: Push forward with slow steady pressure until the patch exits the muzzle, keeping the rod central all the way. Remove patch which will be black with powder residue and discard. 7: Withdraw rod, spear a clean dry patch on the jag, repeat steps 4-6 until patches come out clean or with little trace of fouling. 8: Insert another wet patch and leave bore wet for 10 minutes. Remove brass jag, install bronze brush on rod and using same technique, run the bronze brush through the bore.
9: Push brush all the way out the muzzle, draw it back gently until bristles just contact the muzzle and again being careful to keep the rod aligned, pull back with slow steady pressure until the brush exits the chamber completely. Repeat three times (brush will agitate remaining fouling in the bore). Trust me, even though your last dry patch was clean, subsequent patches will be filthy.
10: Remove brush, install jag and repeat step 7. Depending on how long since the rifle was last cleaned this may be sufficient. If not, repeat steps 3-7 until patches are clean. 11: Remove jag and install bore mop on rod, sprinkle a few drops of solvent on mop, insert into chamber as far as the throat and rotate to clean any residual fouling in the chamber. Use a clean mop to remove any remaining solvent (if using a bore guide remove it for this step).
Unless you suspect copper fouling build-up you can now clean and lubricate exterior metalwork, oil the bore and put your prized possession in the safe. A wipe with a soft cloth lightly anointed with gun oil is sufficient for exterior surfaces, for the bore, wet a patch with oil and run it through. Due to rifles being stored vertically I insert a plug of patch material in the chamber to stop oil seeping from the bore and chamber into the receiver. Alternatively store muzzle down.
Copper fouling
Carefully following maker’s instructions, anoint a patch with copper solvent and run through the bore, leaving solvent in the bore no longer than prescribed. Run a dry patch through (copper fouling will manifest as blue staining of the patch). Patch out the bore repeatedly until clean and dry – one treatment is usually enough for all but the heaviest fouling so if in doubt, repeat. Copper solvent is highly corrosive, much more than powder solvent and for this reason I follow up with a patch soaked in shellite or meths to neutralise any residual solvent in bore or chamber. Clean and lubricate exterior surfaces and bore and you’re done.
Other parts
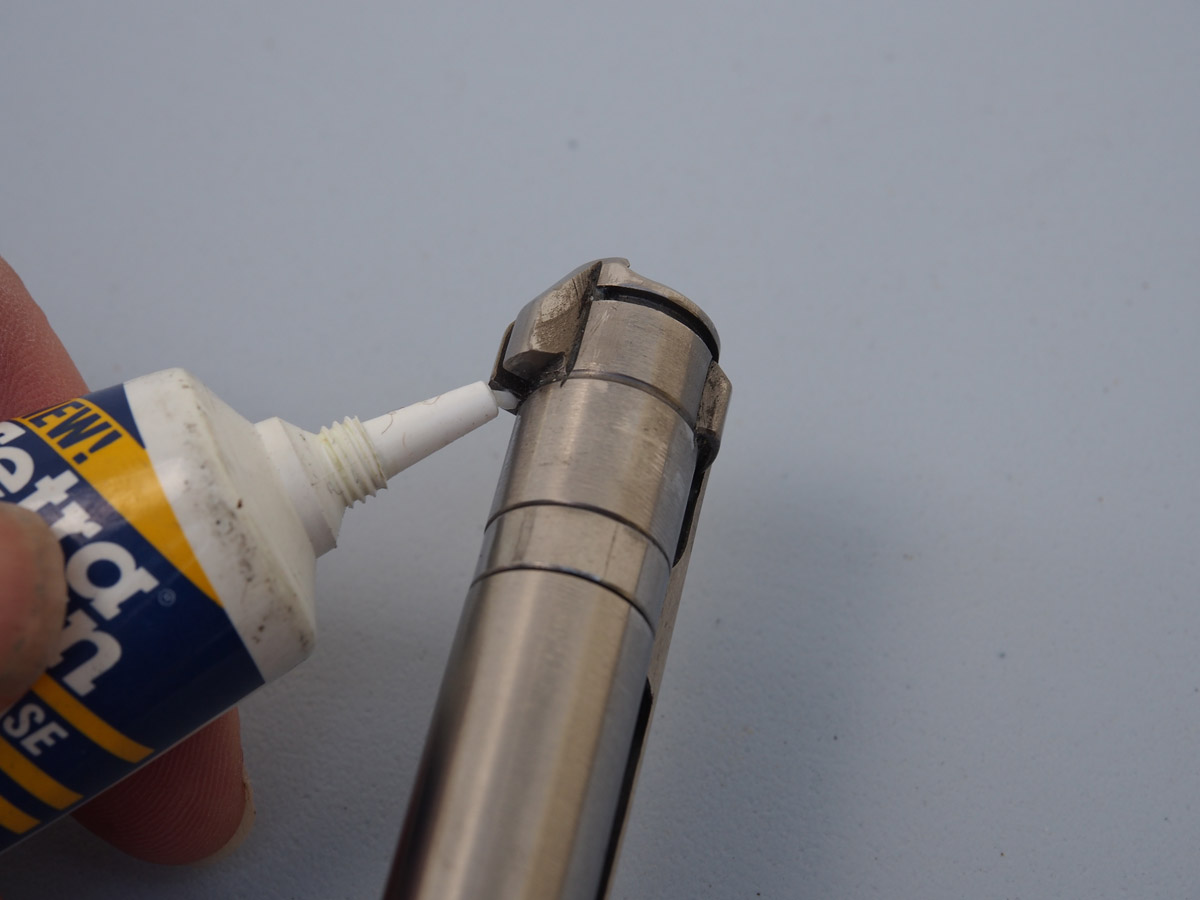
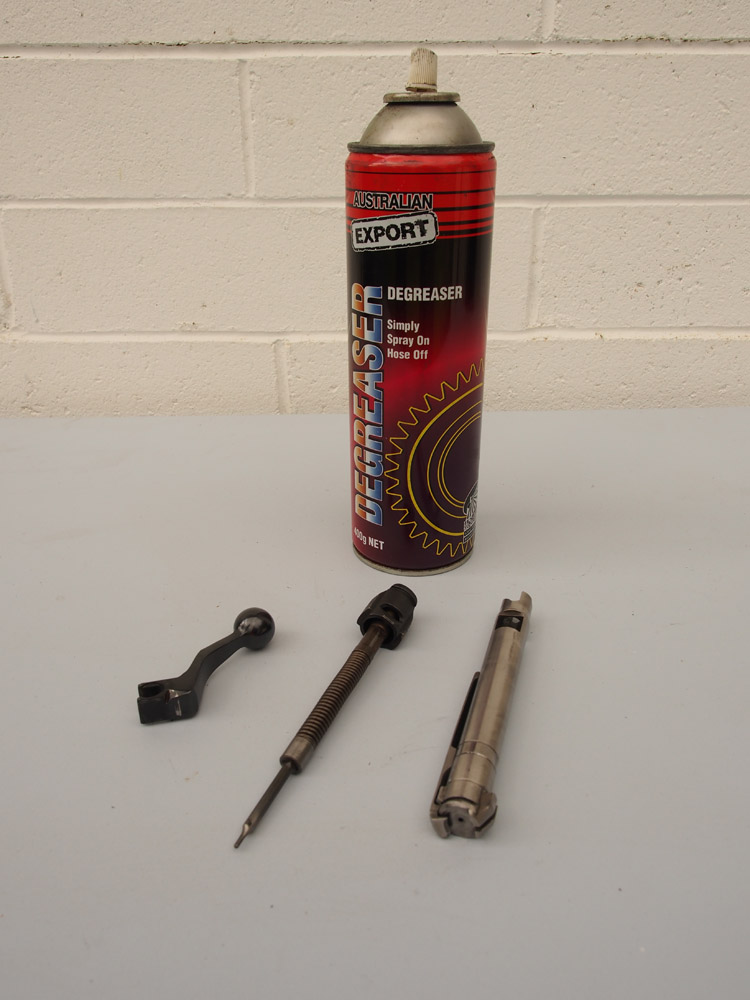
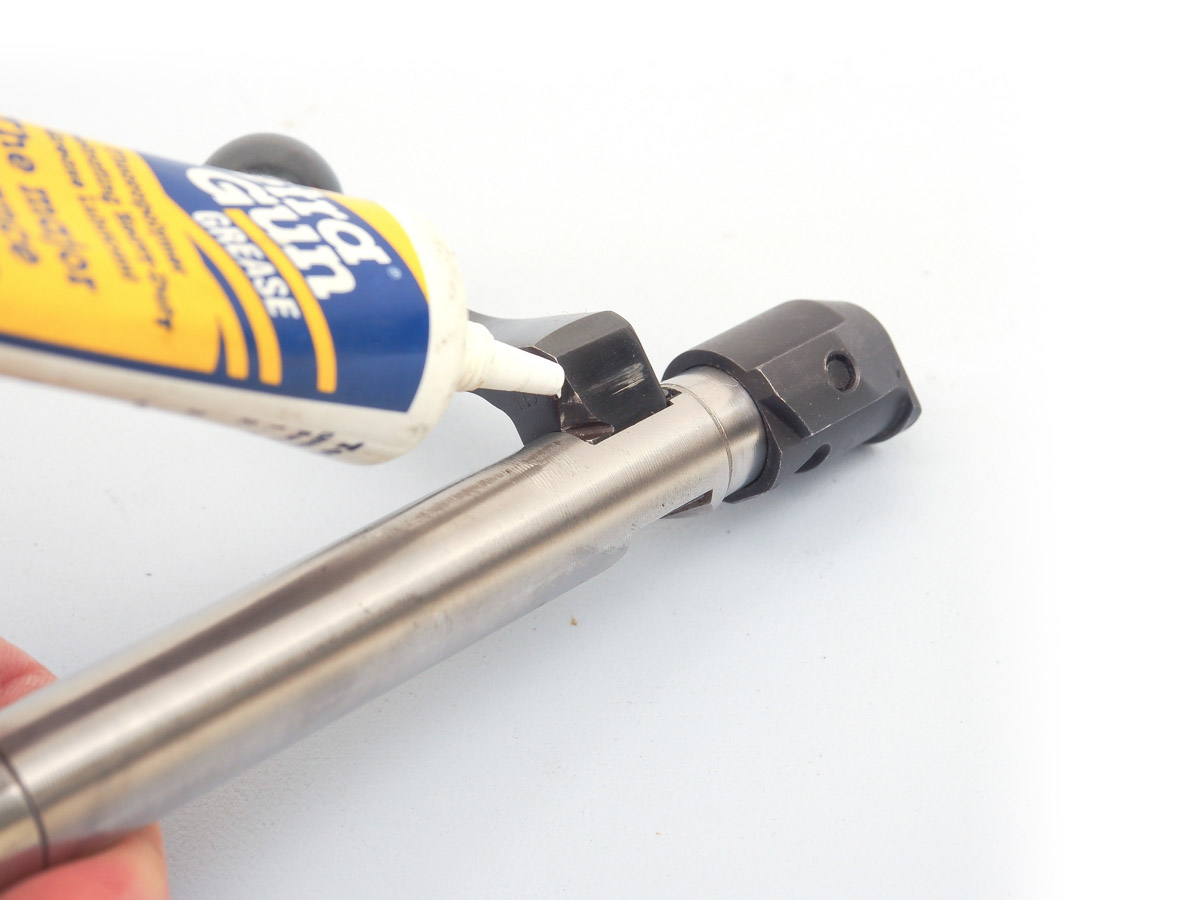
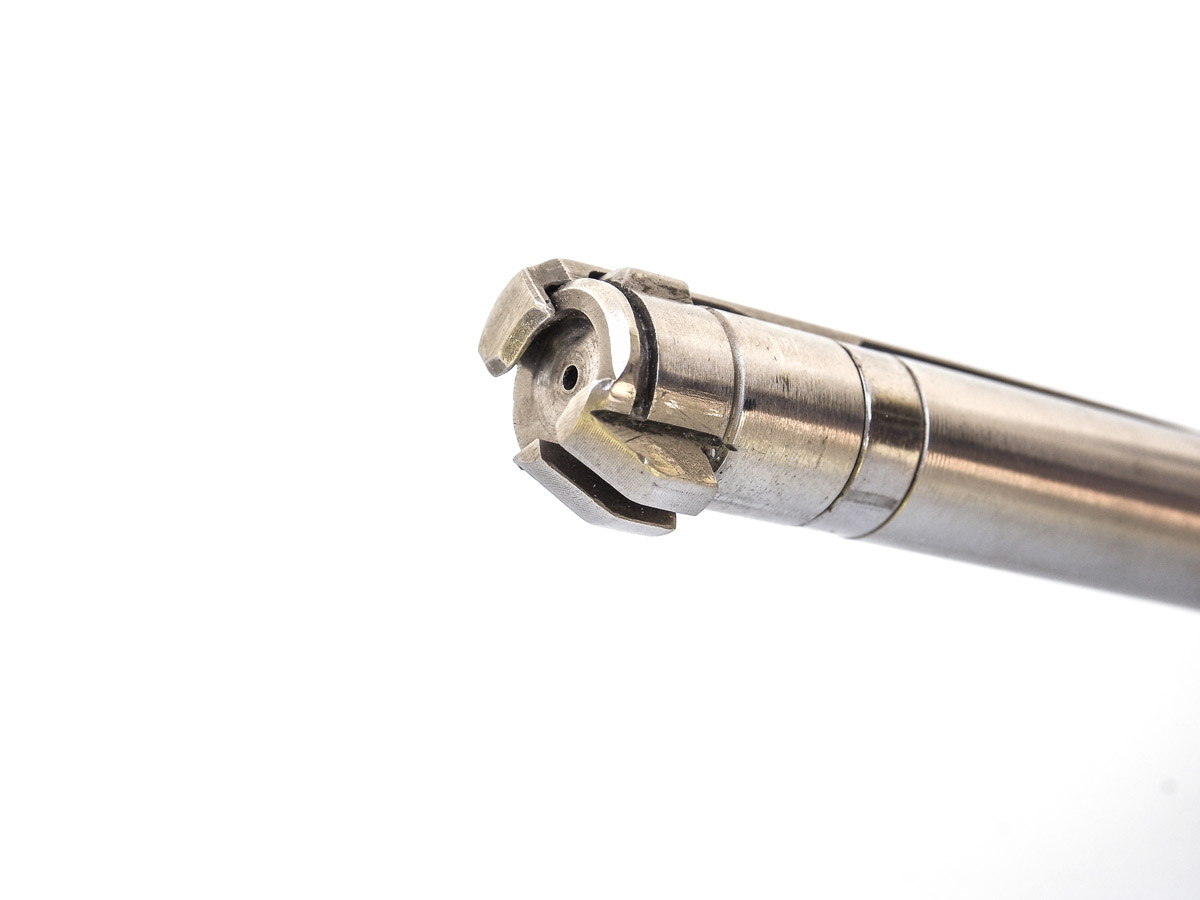
Clean all surfaces paying particular attention to bolt face, extractor, ejector and locking lugs. Use bolt lube sparingly to lubricate lugs and cocking cam. On stripping the bolt if fouling is evident, clean interior of the bolt body, firing pin and spring. If using powder or other solvent, dry thoroughly before re-assembly, lubrication usually unnecessary unless manufacturer prescribes it.
So what’s the toothbrush for? Bolt lugs engage recesses just behind the breech face and over time a mix of powder fouling, residual solvent and other crud will accumulate and cause binding or rough lock-up. Apply powder solvent to the toothbrush and gently scrub out the recesses. To minimise solvent splatter, line the breech area with a rag and dry with soft cloth. There are fancy T-shaped rods, jags and patches for this purpose but a toothbrush is effective and cheaper. Maintenance of bolt and lug recesses is required less frequently than routine bore cleaning.
Equipment care
Solvents, particularly copper, will corrode your rod, jag and bronze brush given time so wipe the rod down with a clean rag, immersing jag and brush in a jar of shellite or meths for 10 minutes. When stored your rod should be hung from the threaded end to ensure it remains perfectly straight, don’t lean it against a safe or cabinet wall as it’ll eventually deform. A bent or pitted rod must be replaced or bore damage is the alternative and barrels cost much more than cleaning rods. Bronze brushes wear quickly and easily bend so when a brush slips down the bore with little resistance, replace it.
Wrap-up
Before using the rifle again patch out oil in the bore and chamber as firing a wet bore could cause damage. Always check the bore for obstructions before firing the first shot regardless of when last cleaned as you’d be surprised how easily foreign objects can find their way unnoticed into a barrel. I reiterate the above is based on my own experience though in time you’ll develop your own preferences and methods.