
by North American correspondent Thomas Tabor
Most shooters understand how an increase in the physical size of a riflescope, and in particular, the diameter of the maintube, can sometimes result in increasing the amount of light drawn into that scope. And, of course, a brighter, more pronounced target image has the ability to sometimes lead to more accurate and effective shooting, particularly when the natural ambient light is in scarce supply.
Unfortunately, many of those same shooters who understand that basic light-gathering concept may not fully understand the equally important role that exit pupil plays in that same arena. My objective here is not to delve into the depths of optic science, as doing so would surely be boring for both you and me. I much prefer to keep things simple when it comes to such matters. Most shooters, and that group includes me, prefer to have their minds centred on the more exciting aspects of hunting and shooting. But in order to progress and become more proficient in our sport, we all need to at least have a rudimentary understanding of such pertinent matters. That said, let’s get into the heart of exit pupil to better understand how important this term is to your proficiency in the field.
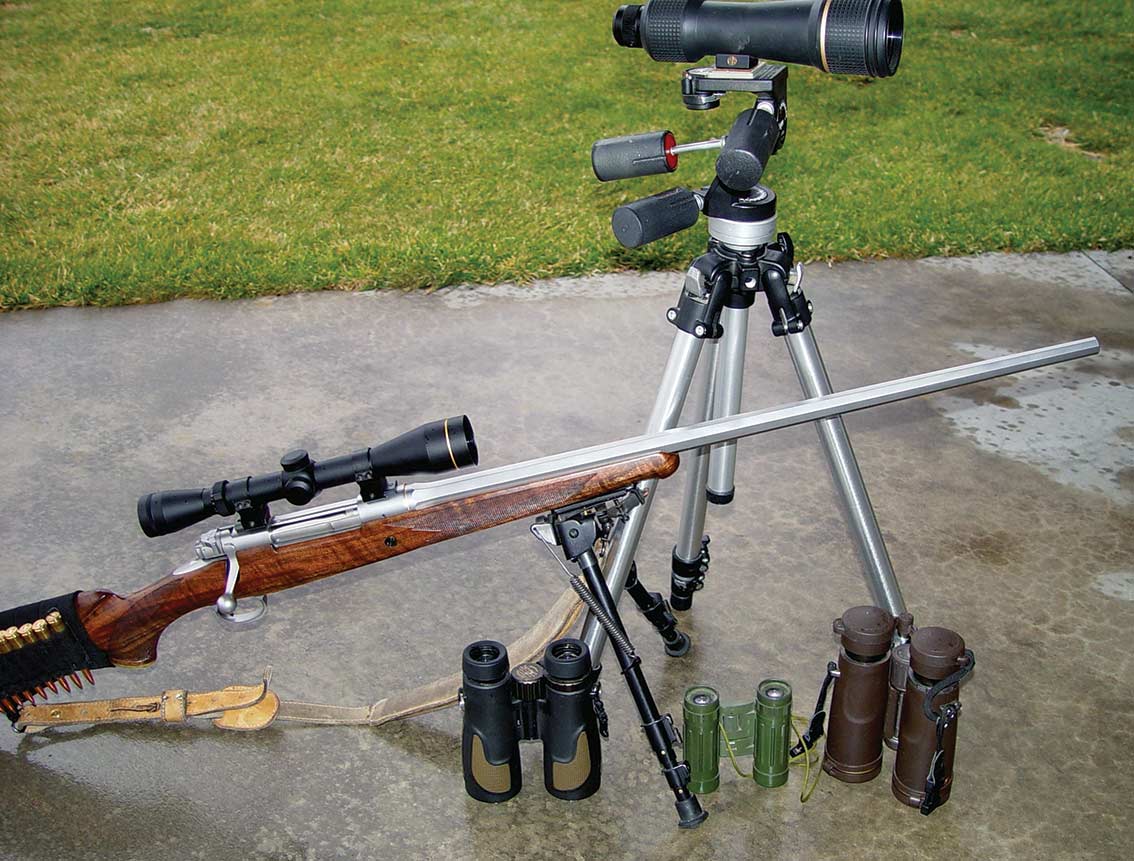
Knowing the exit pupil value of the optics you intend to use can benefit you in a couple of ways. Firstly, when it comes time to purchase a new riflescope, spotting scope, binoculars or sometimes even a rangefinder, knowing what the exit pupil of that product is will allow you to make a more informed decision on which one to buy. In addition, if you are currently using any adjustable magnification optics, such as a variable-powered riflescope, understanding which particular magnification setting provides the best light-gathering abilities can be crucially important.
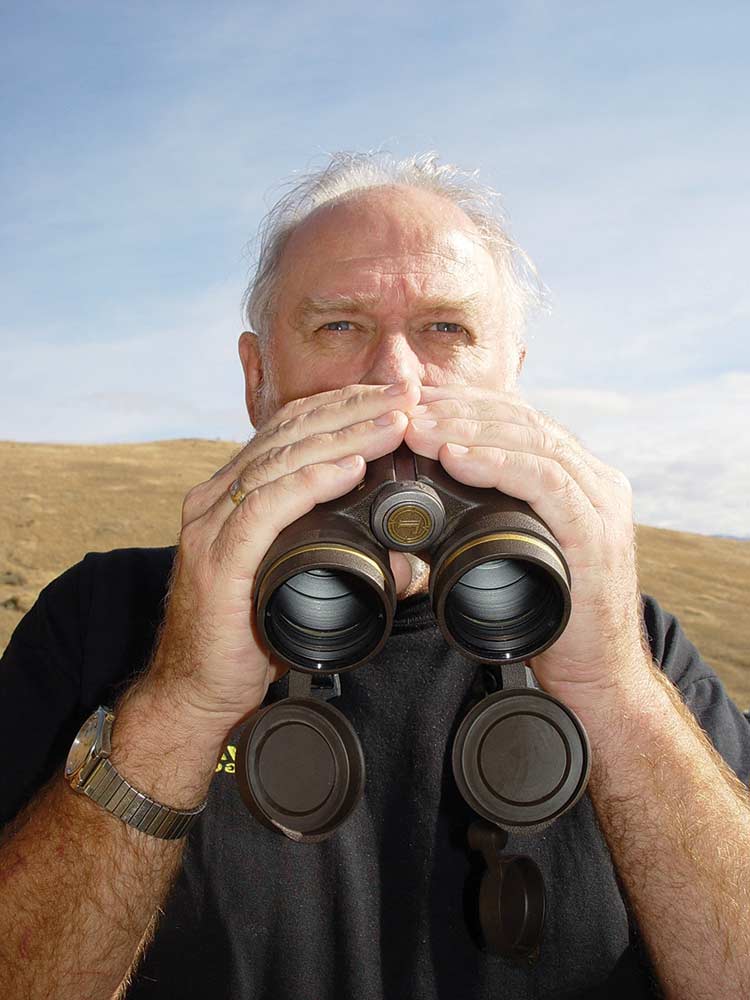
Possibly the best way to cut through a lengthy definition of the term exit pupil would be to start with a very simple exercise. If you have a pair of binoculars, try holding them out at arms length in front of you. When doing so, you will notice that the effective view through the lens appears to have shrunk in size when compared to the full surface area of the eyepiece. Move the binoculars further away, or closer to your face, and that visual image remains exactly the same size. In essence, what you are seeing is the diameter of the exit pupil of that particular lens.
In an ideal situation, that diameter should match precisely the size of the pupil of your own eye. When this occurs, it encourages the highest degree of brightness of the target image. Or, to say it another way, if those two diameters are different, the light-gathering abilities of that lens will be reduced, making it harder to make out details when the natural light is in scarce supply.
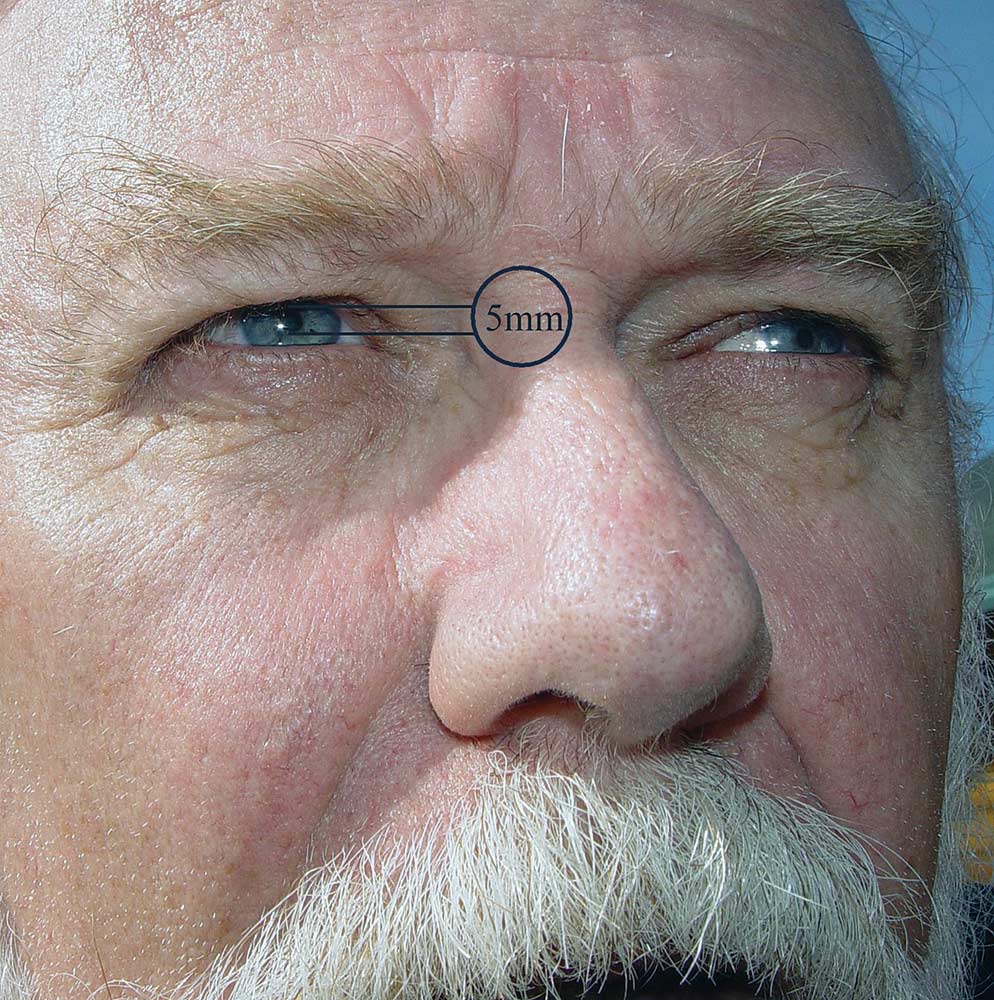
By now, you are probably wondering how you would determine what your own eye pupil diameter is, or how you could measure it. Well, that’s the easy part of this exercise. While the pupil size of some teenagers or young adults may sometimes dilate to around 7mm, as adulthood is reached, that size gradually lessens, eventually reaching in most cases the lower limit of about 5mm. Because of this, 5mm is generally accepted as the standard most optical product performances are judged against.
For ease of demonstration, we used a pair of binoculars to explain the basis behind exit pupil, but that same concept would also apply to riflescopes, spotting scopes and other optical devices. Armed with the understanding that the target value of 5mm is considered optimum, the wise shooter will utilise that as the basis to judge new optical products against. And when in the outback, as the natural light begins to wane, that same 5mm standard can be used as an indicator of the best possible magnification setting to use on your variable-powered optics.
Even a slight deviation from the preferred standard can sometimes result in a significant visual impediment. That’s because the light-gathering ability of a lens is based on the square of those values. That would mean an optical product possessing an exit pupil value of 5mm actually would deliver four times the light-gathering qualities that a 2.5mm exit pupil lens would provide.
It seems it has only been in the past few years that some manufacturers have begun to list the exit pupil levels within their product specifications. I suppose it’s similar to how some bullet and ammunition manufacturers have in the past resisted listing the ballistic coefficient of their bullets. But as consumers have become more knowledgeable about the crucial importance of such factors, those details have become more readily available.
However, unlike the ballistic coefficient of bullets, which can be difficult to calculate on your own, determining the exit pupil of an optical product is quite easy. A simple understanding of basic maths will get the job done with little effort on your part. All you need to do is to take the objective diameter in millimetres and divide it by the magnification. Or as an equation, it would look like this: (objective diameter in millimetres) divided by (magnification) = exit pupil.
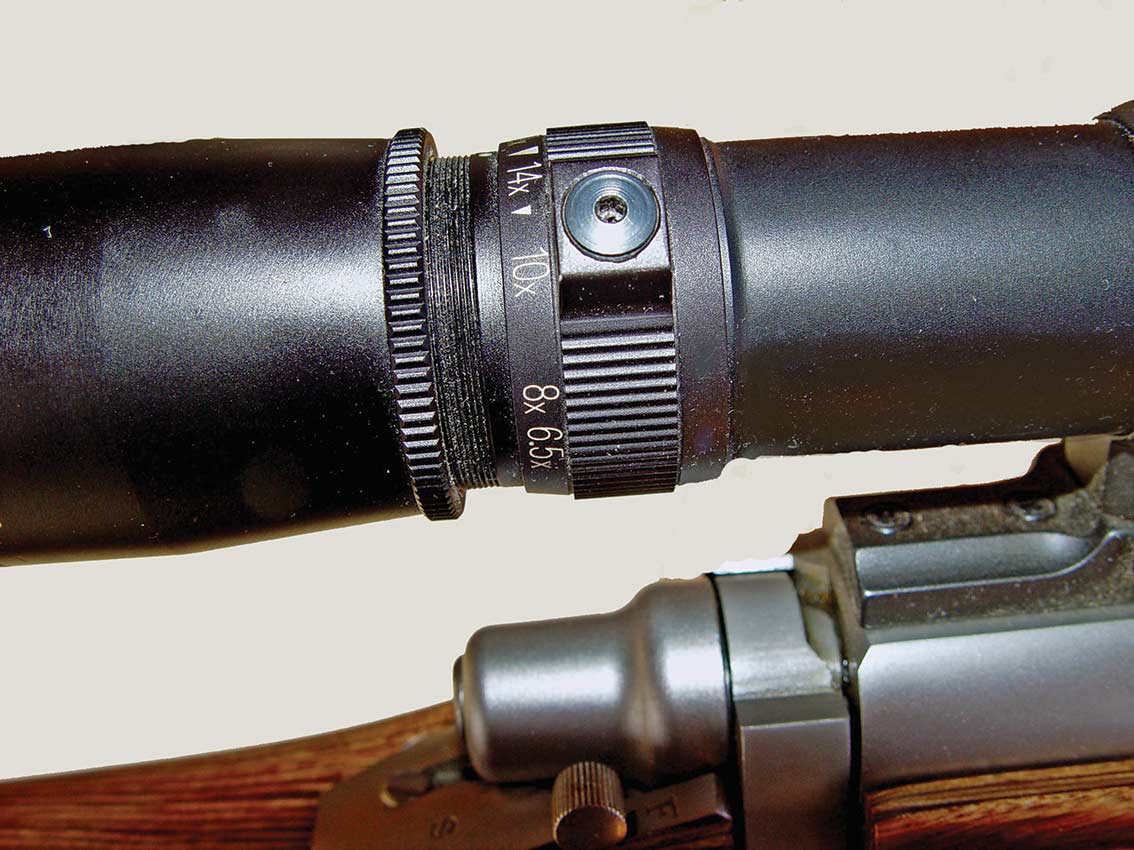
If we use this formula to determine what the best setting would be in a poor light situation on, for example, a Leupold 4.5-14x56mm variable-powered scope, we might begin with the highest power setting and that would look like this: (56mm objective diameter) divided by (14x) = 4mm exit pupil. In this particular case, it would be logical to assume that a lower setting of 11x would be more appropriate when things appear a little on the dark side. In this case, that setting would produce an exit pupil of 5.09mm and a slightly higher setting of about 1/4x would get you even closer to that magic number of 5mm.
In some cases, the best setting in low light situations can vary considerably. For example, if we applied the same equation to a Weaver Superslam 3-15x42mm riflescope, we would find that under those same conditions, the best setting for this scope would be 8.4x. In this case, the smaller objective diameter of 42mm was largely responsible for the difference. That shouldn’t be looked at as a negative thing in the case of the Weaver; it only demonstrates how the user should be knowledgeable about exit pupil and the important role it plays, then utilise that knowledge to their benefit.
In the above examples, I actually took a bit of a backdoor approach to showing how a person can calculate the exit pupil of a lens, as I thought it helped demonstrate better the inherent differences in the various products. A simpler and a bit more of a straightforward means to reach the same end would be to simply divide the desirable exit pupil value of 5mm directly into objective diameter of the optical product. Doing so would tell you exactly the best poor light setting.
If we used this formula to evaluate binoculars, we would find that both 10x50mm and 7x35mm models hit the target value of 5mm perfectly. On the other hand, those tiny binoculars that are so convenient because they fold up to fit in your shirt pocket may not be the best choice at times of sunset, sunrise or when hunting under a dense canopy of vegetation. My own pair of 8x21mm only produces an exit pupil value of 2.6mm, which clearly isn’t ideal under those conditions.
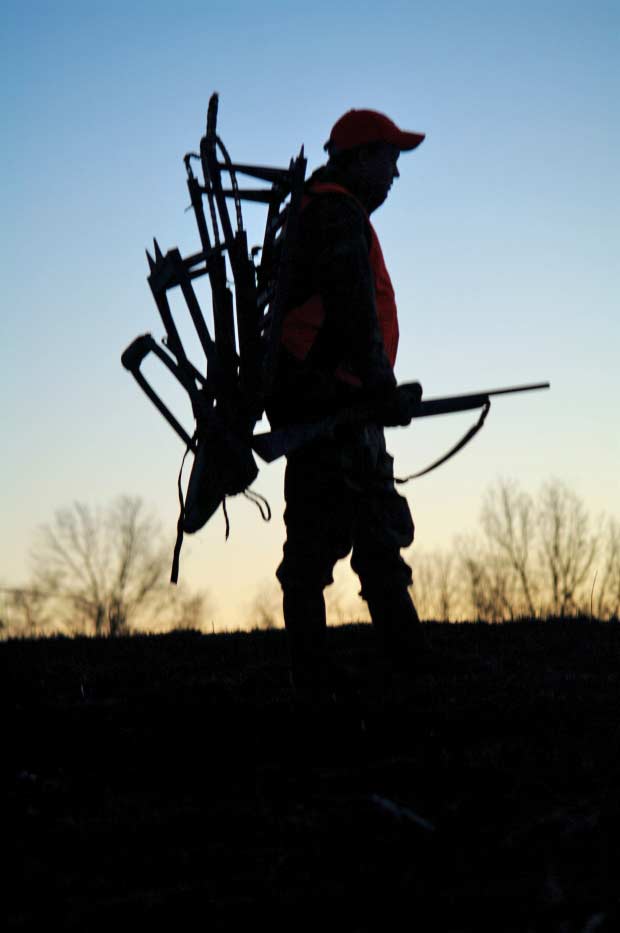
Prior to the hills growing steeper and harder for me to climb, and before I understood about the light-gathering abilities of lenses, I had a few occasions while hunting where I was forced to pass on a shot due to failing light conditions. One such incident occurred while hunting pigs on Hawaii’s Big Island. The shots in the area we were hunting promised to be quick and close, so I had turned my 3-9x40mm riflescope down to one of the lower setting. I can’t recall today precisely what the setting was, but it was likely 3x or slightly higher.
As the sun had already dropped out of sight, darkness was quickly descending when a gnarly old hog, one of the largest I’d ever encountered in the wild, appeared broadside at only about 75m away. My mate spotted the pig first and pointed it out to me, encouraging me to take the shot. Instinctively, I brought the scope up to my eye, but it was almost as if a curtain had been drawn around me and I could not find the animal within the view of the scope. Panicking, I dropped the rifle back down, repositioned my eye on the pig and then returned the rifle to my shoulder. There was no time to think about the situation, or to make adjustments to the scope setting, even if I would have known what the best setting would have been. In an instant, the pig was gone, having vanished into the thick cover.
Since that time, many decades ago, I have often played that scene over in my mind and wondered if the outcome would have been different if I had the scope set to the best possible magnification for those conditions. Of course, there is no way to tell now, but for sure, I won’t be repeating that situation again.
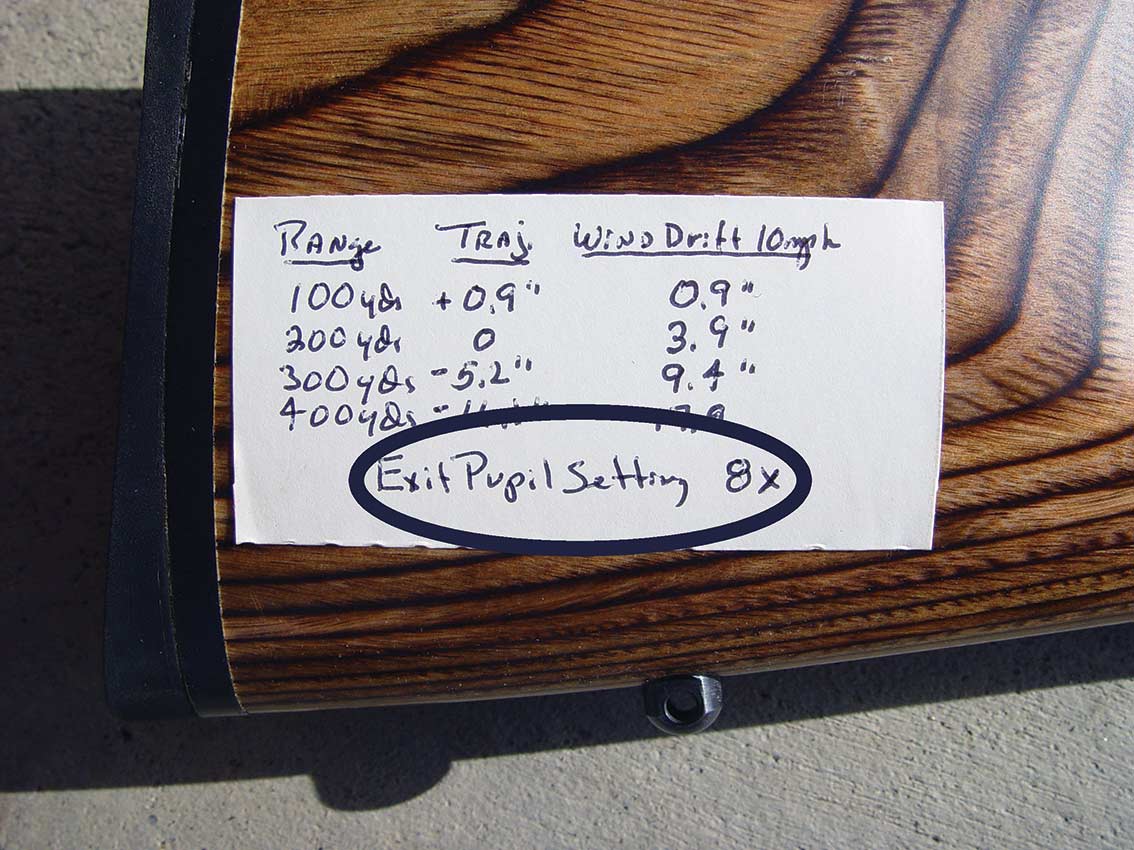
Knowing now the proper setting for all my scopes will always allow me the highest possible degree of advantage when it comes to situations like that one. And just so my sometimes-fading memory doesn’t get in the way, I frequently place a sticker on the buttstock of my rifles, which lists the best possible magnification setting for poor light. While I’m at it, I usually include the trajectory drop of the bullet in 100-yard increments, as well as wind drift information based on 15kph crosswinds. Doings so simply removes the burden of having to remember such things when your heart is pounding and you have a trophy awaiting a shot.