
Con Kapralos
When out in the field hunting, sometimes shooting free-hand is the only way you can engage your quarry. When a bipod doesn’t give you the right height or there isn’t a tree in sight, don’t despair – quad shooting sticks can be the answer.
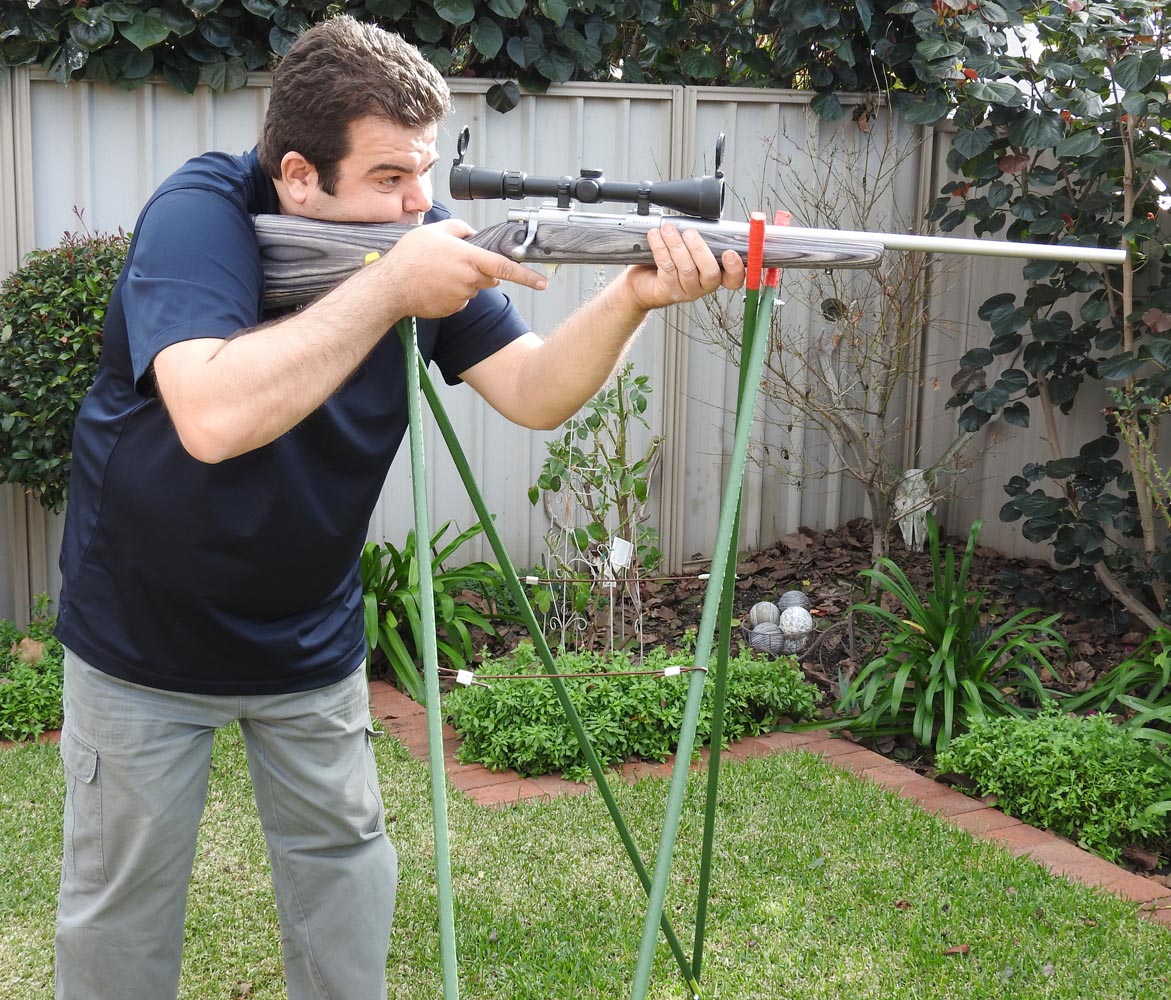
Quad sticks are basically two cross-sticks that are joined together and are designed to support both the fore-end and buttstock of the rifle and used in the standing position. They are easy to carry and set up to give you a super-stable shooting platform.
While there are a few manufacturers of fine quad shooting sticks, mainly in the United Kingdom, I discovered a video on YouTube in which renowned British chef and hunter Mark Gilchrist fabricates a set of quad sticks from a few bits and pieces you can easily source from any hardware and craft shop. I have tailored Mark’s design somewhat and would like to share my strategic process and tips with other shooters and hunters.
Components
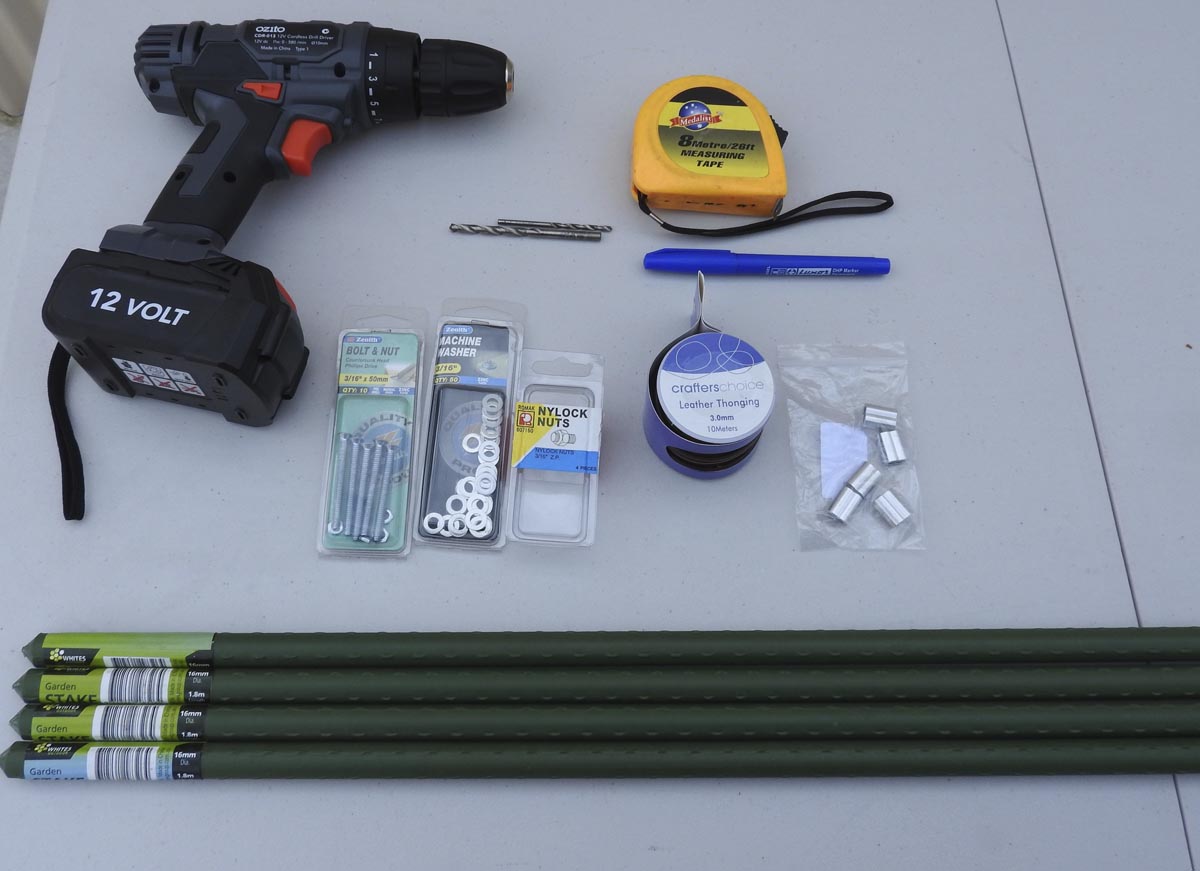
You will require the following items:
- Four 1.8m garden stakes (ideally the solid plastic ones are better than the plastic-coated steel)
- 10 countersunk head Philips drive 3/16″ 50mm bolts and nuts
- 50 zinc-plated 3/16″ machine washers
- Four 3/16″ nylock nuts
- 10m spool 3mm leather thonging
- Four aluminium crimps or similar
- Electrical tape – red and another colour
- Cordless drill and drill-bits
- Hacksaw
- Hammer
- Tape measure
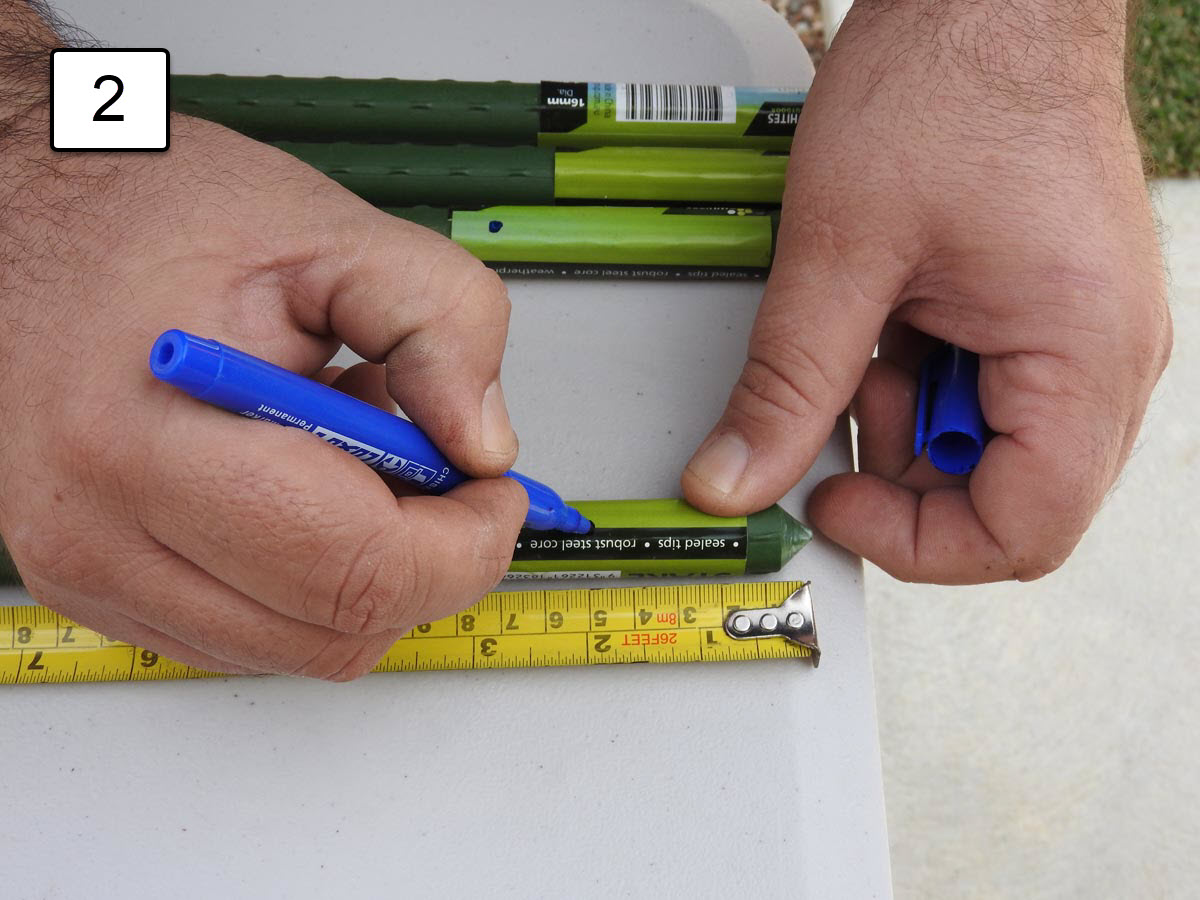
- Texta marker
The procedure
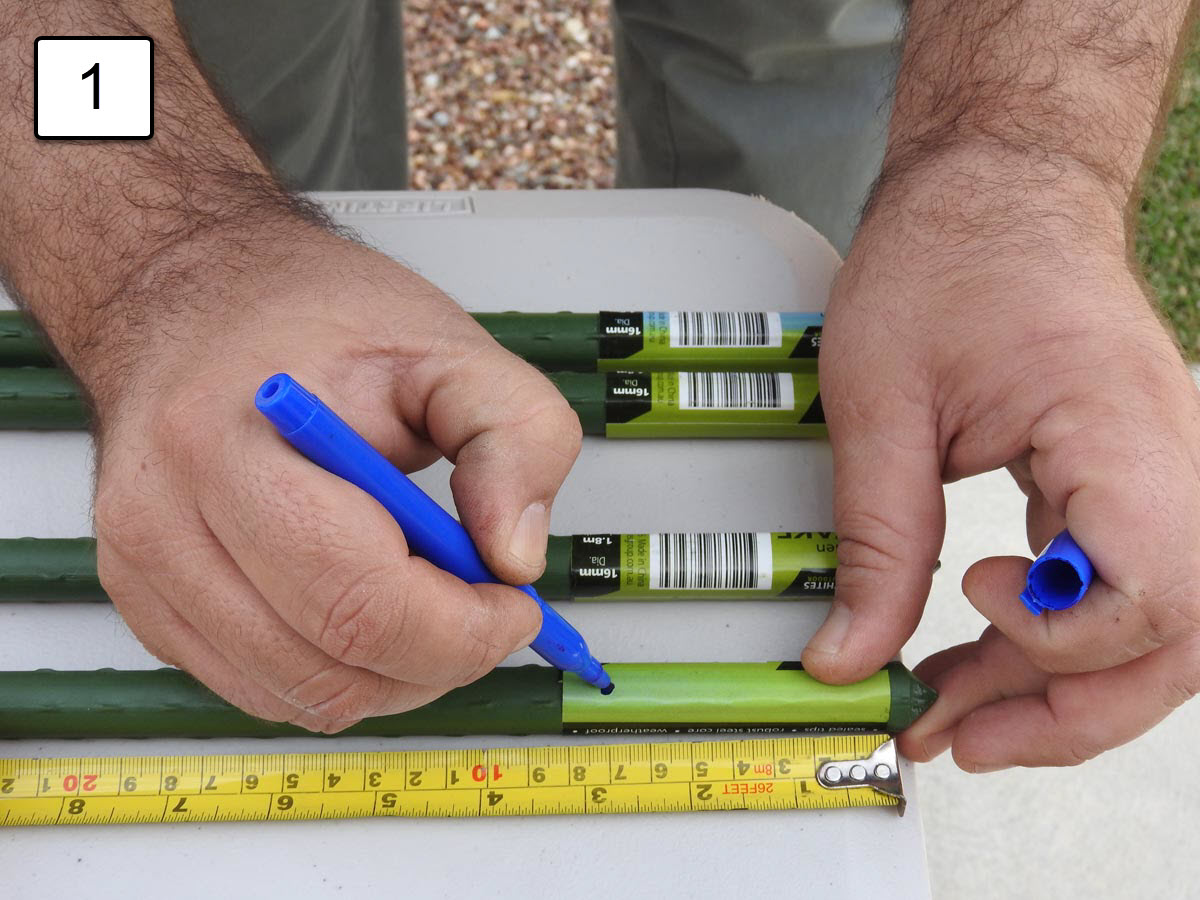
- Take two garden stakes and mark a point in each (the end with the point) 3″ above from the point.
- With the other two stakes, mark a hole 2″ above the point. Differing drill heights are used at the base of the stakes so that when you position the quad sticks on the ground, there is only one contact point per side and the sticks can easily open without any undue issues.
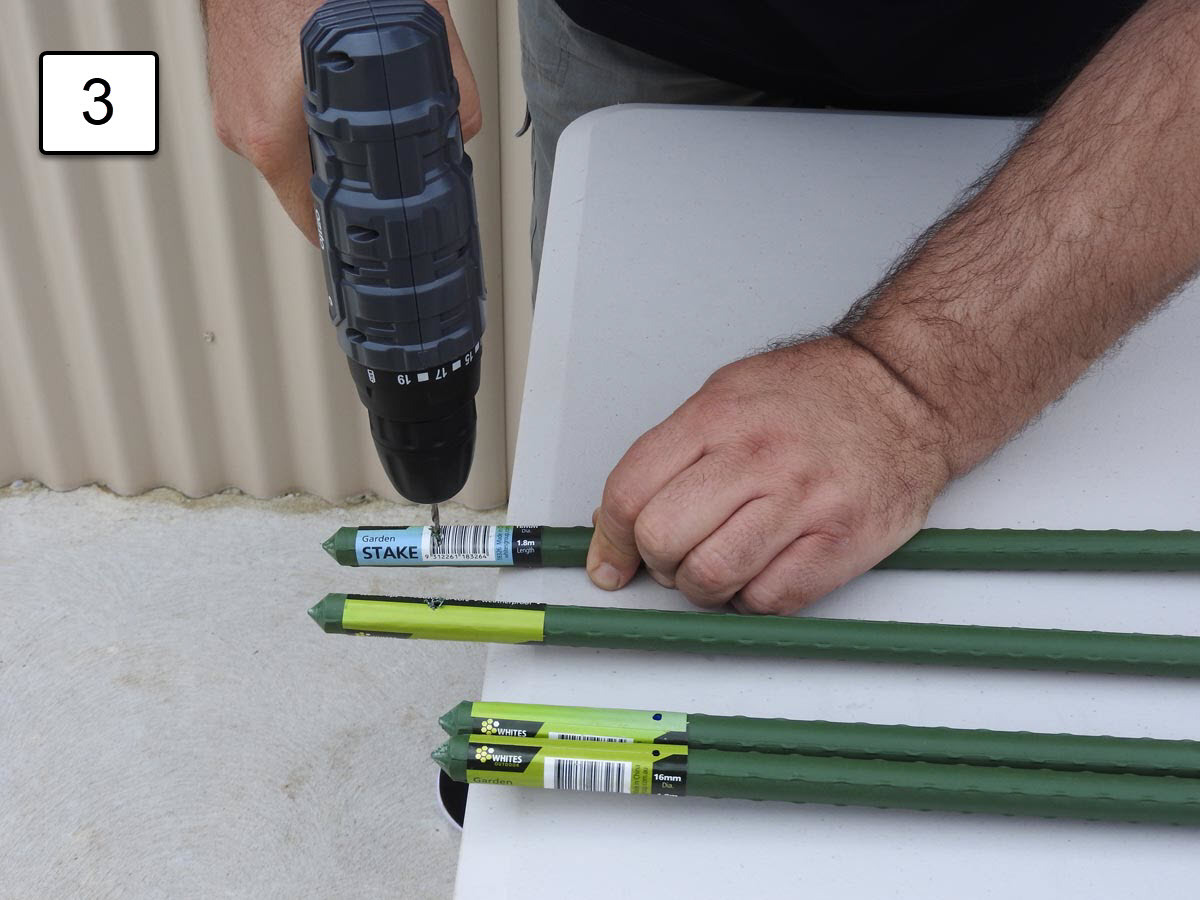
- Drill the holes marked with a 3/16″ drill bit.
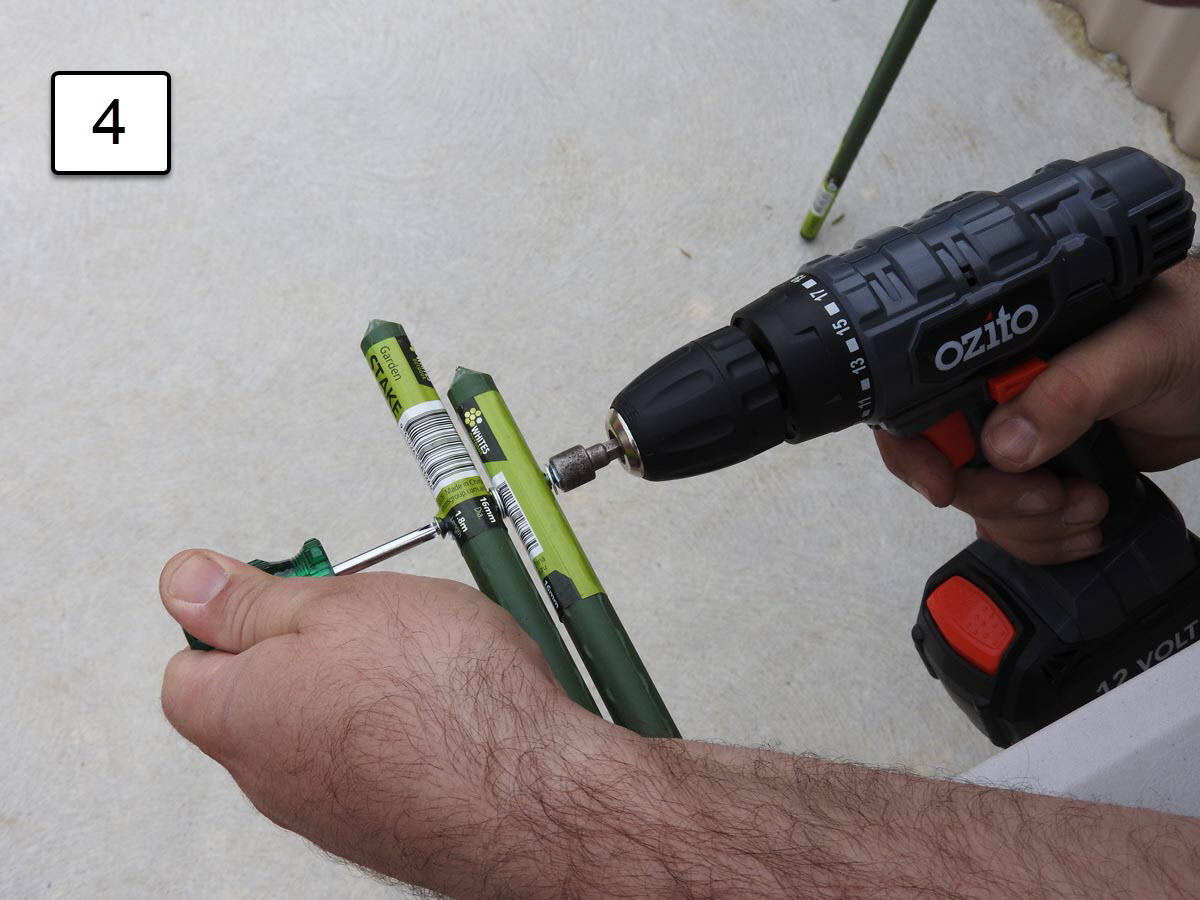
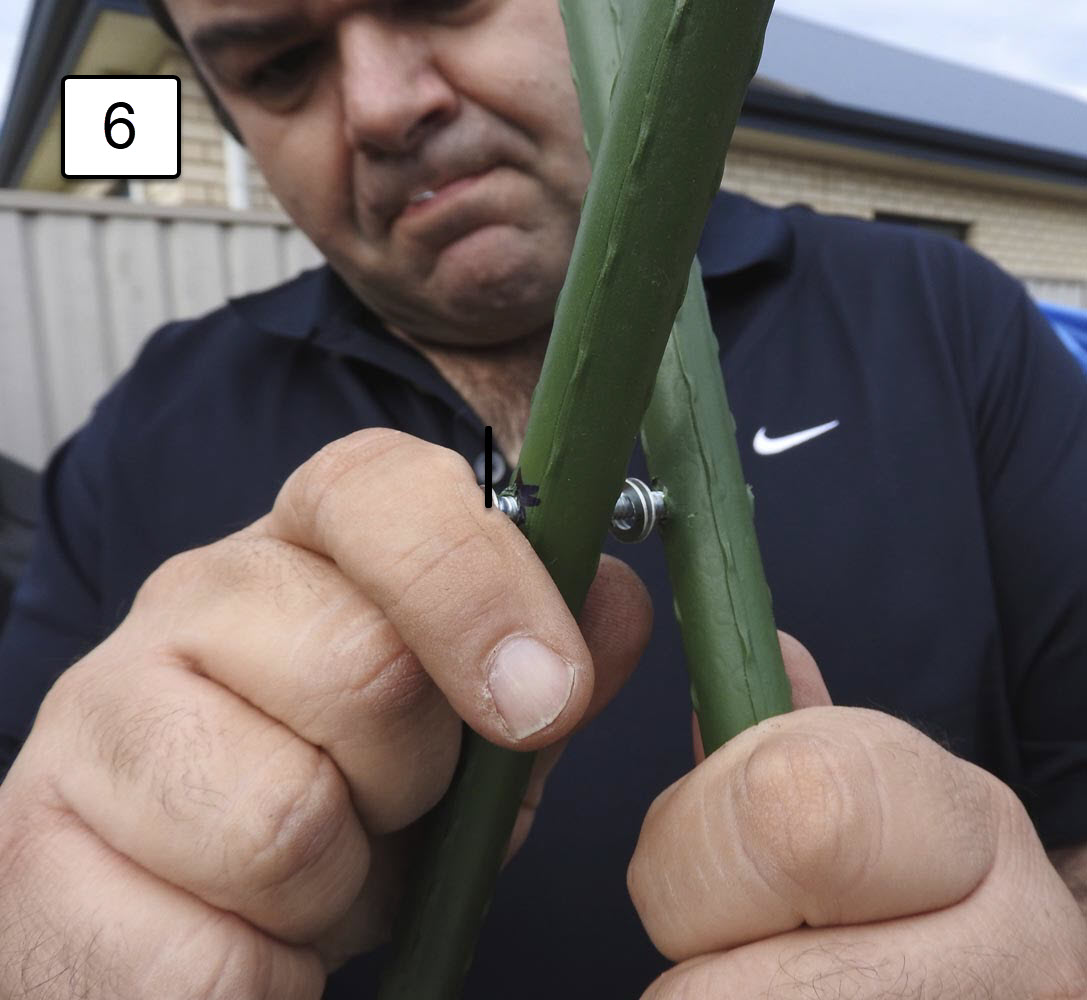
- Take one stake with a 3″-height drilled hole and one with the 2″-height drilled hole and bolt these together using a 3/16″ 50mm countersunk bolt. Position two of the machined washers between the two stakes and another before screwing on the nylock nut. Tighten the nylock nut just enough to bring the two stakes firmly together, but do not over-tighten. The poles should open easily. Repeat this with the other two poles. I used my cordless drill and a Philips head screwdriver to tighten the nylock nut.
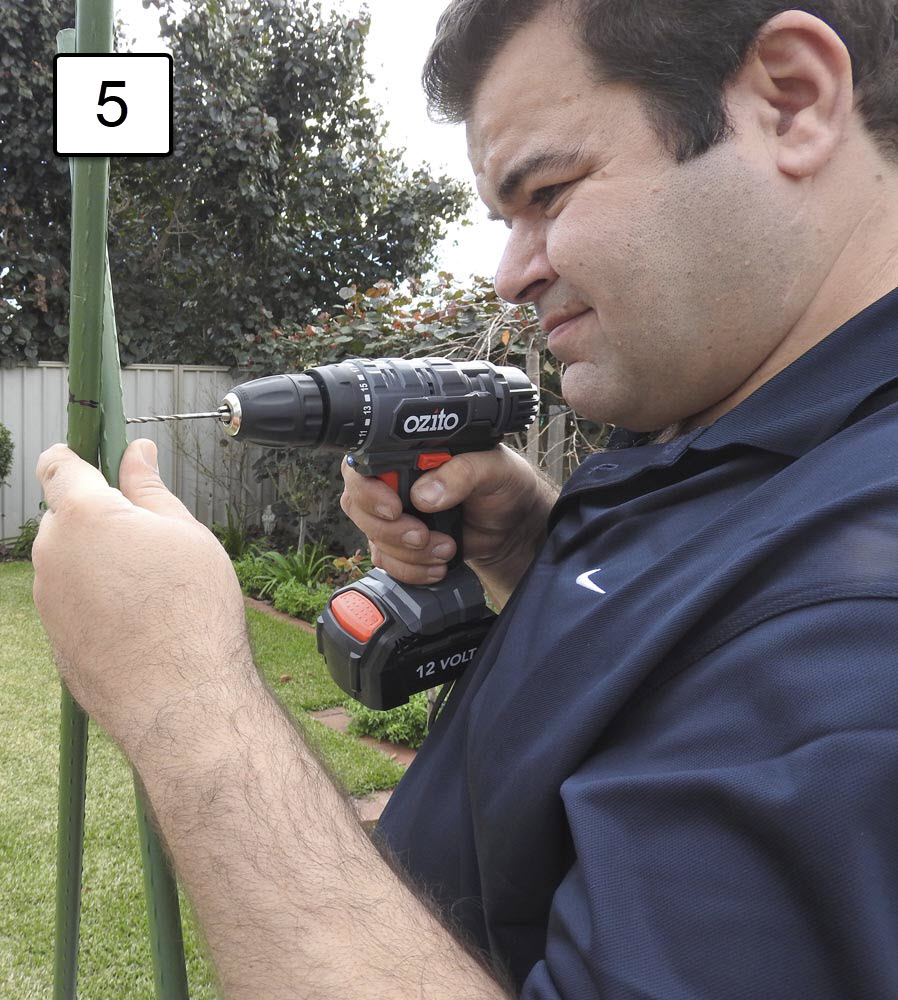
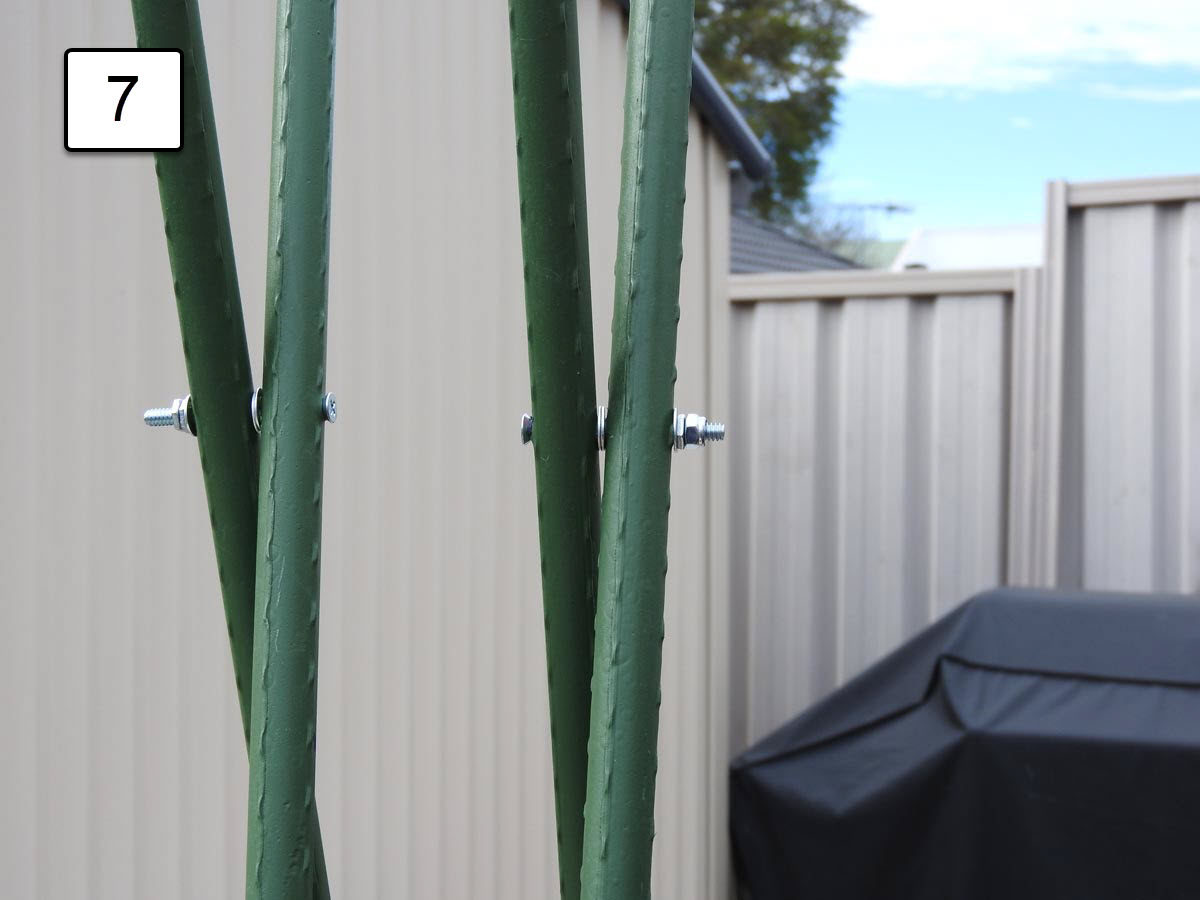
- You now have two V-sticks which pivot from the bottom. Here comes the important step in drilling your top pivot points to form the basis for the rifle rest. From the top of the sticks, measure a point 200mm down and mark this with a texta. A hole must be drilled to accommodate a 3/16″ 50mm bolt, but it is critical that the hole is drilled to allow the quad sticks to open, taking into account that they still need to pivot from the bottom.
- Once your holes are drilled, place a 3/16″ 50mm bolt with two machine washers between each pole and another washer before positioning and tightening a nylock nut.
- Your two V-poles are now linked together and you will see how they can open both for width and height. Height is always adjustable but the opening width, which is imperative for positioning the rifle on the sticks, needs to be adjusted to permit a maximum opening. This is where the leather thonging and crimps come into use.
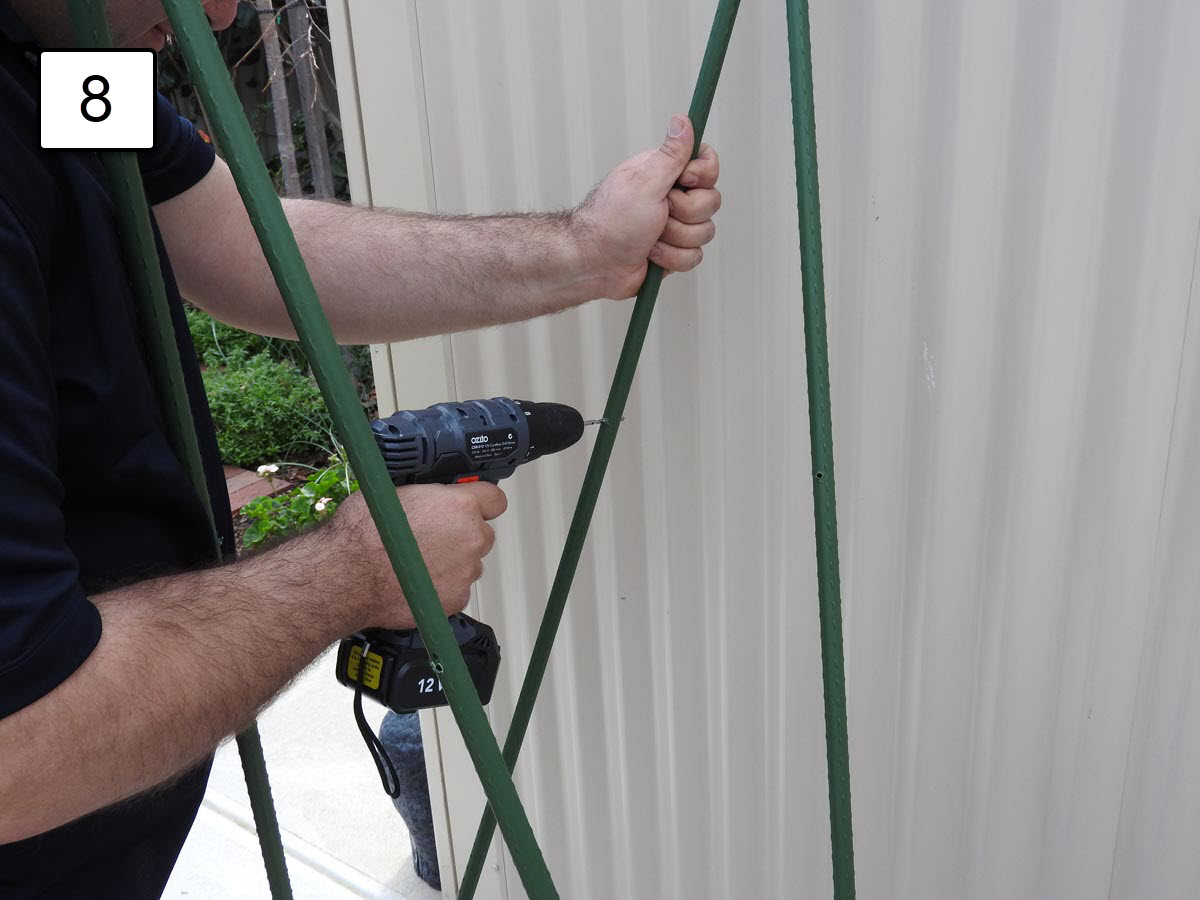
- From the top pivot points, drill a hole to accept the 3mm leather thonging (ie, 5mm) 500mm down. The hole should be drilled facing forwards/backwards.
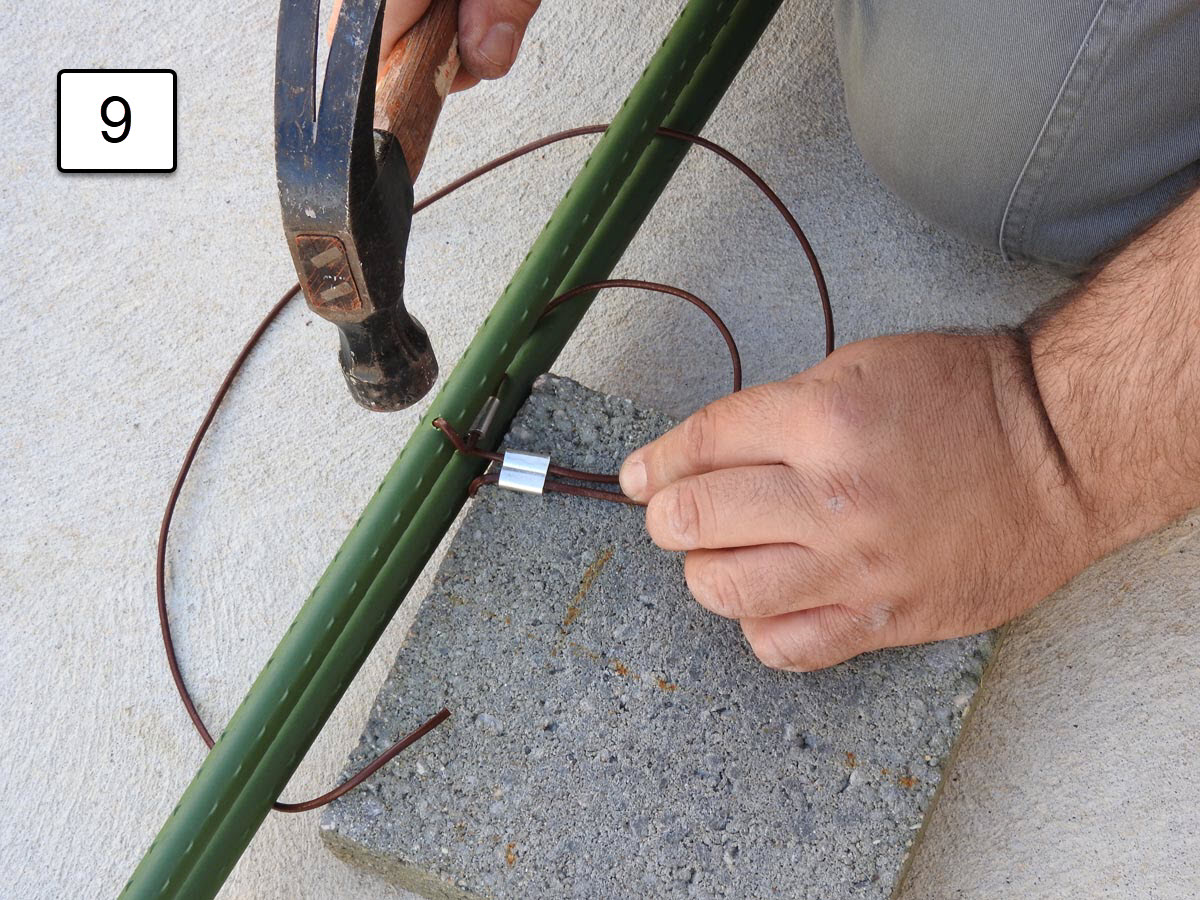
- Cut a 1500mm length of the leather thonging and pass it through the holes you just drilled on one of the V-sticks (call this the forward V-stick). Pass two crimps through the leather thonging. Using a hammer, crimp the leather thonging around the forward V-stick poles using only one crimp. The other crimp should not be touched at this point, but the other end of the leather thonging can be passed through the rear V-stick holes and the crimp passed through the leather thonging.
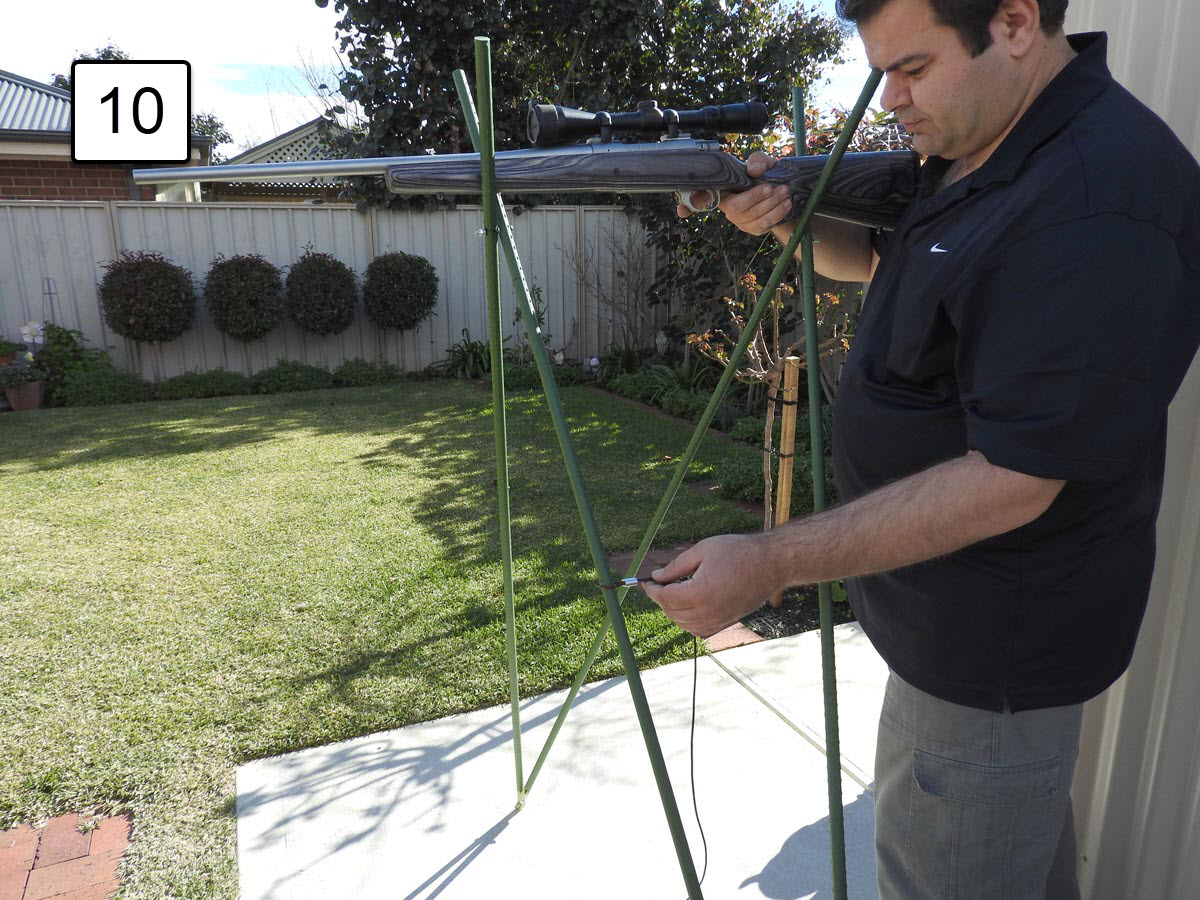
- The opening width must now be ascertained in order that when we open the quad sticks in the field, they move to their maximum gape to allow for the rifle to rest. Using your favourite hunting rifle, position it on the quad sticks and once the correct gape is achieved, gently tighten any slack on the rear leather thonging/crimp loop and mark the thonging on either side of the crimp with a texta. This will be the correct opening gape. Do the same with the other rear leather thonging/crimp loop. Hammer down the crimps on the leather thonging on the positions you just marked. The quad sticks are now ready for their final trim-up and finishing.
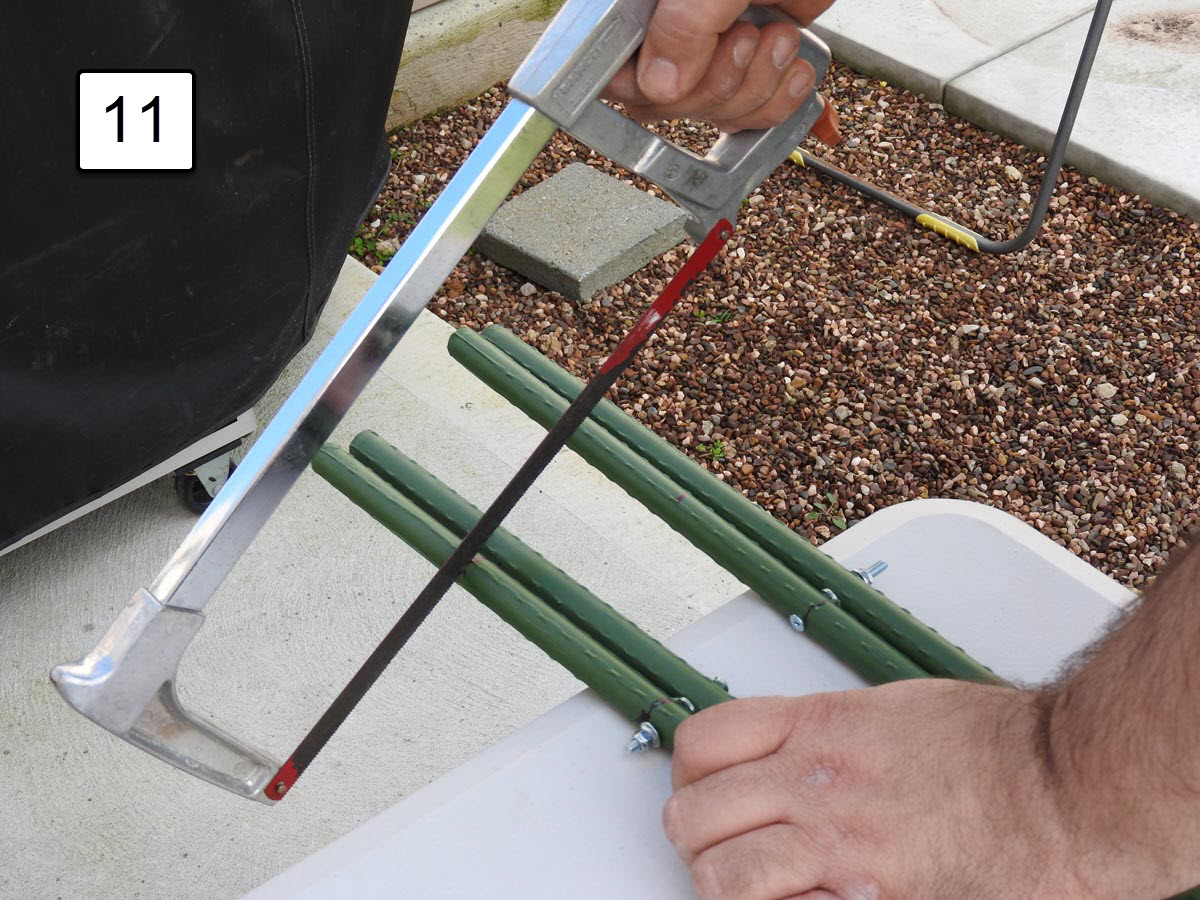
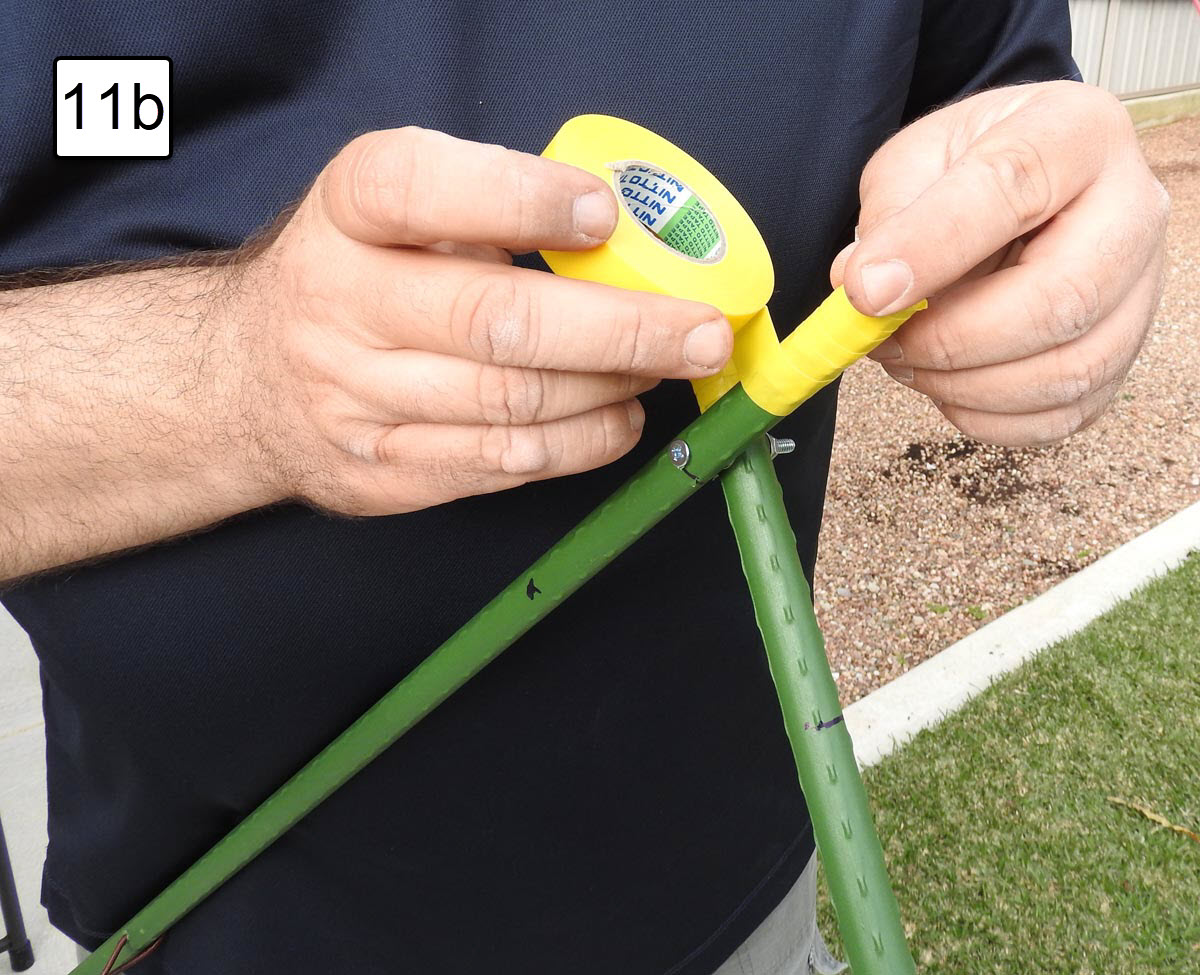
- The quad sticks can be adjusted for the user’s height by opening the stocks outwards and inwards, but you will notice that the V-section which cradles the rifle will also open and close. This generally isn’t an issue as the section upon which the rifle leans will be padded with the electrical tape, or even foam tube padding if you wish. Before you pad the V-section rests, trim down the excess tubing. On the forward section of the sticks 100mm is plenty enough but for the rear V-section rest 50mm is sufficient, as you don’t wish to have the V-rest digging into your cheek when you shoulder the rifle. Trim with your hacksaw. I padded the forward V-section with red electrical tape and the rear V-section with yellow.
- With the quad sticks now complete, they can be carried folded up in a trim manner (I use a little Velcro tape to hold them together) and easily deployed for action. This takes a few seconds to set up and this is where the red tape on the V-rest will immediately alert you to which way it has to be up front.
Summary
These quad shooting sticks have come in very handy for all manner of field shooting, even at night when sniping rabbits with a scope-mounted LED flashlight. It allows for an extremely stable shooting platform while in a standing position and is light enough to carry with your rifle slung over your shoulder. I have even used it once to carry out a fallow deer taken in the middle of a bean field with a hunting buddy. The poles held up well to the extra weight, which surprised us no end. They are an extremely useful piece of kit you can easily whip up in a few hours out in the shed for a few dollars.