

Don Caswell uncovers how to get the most out of trail cameras
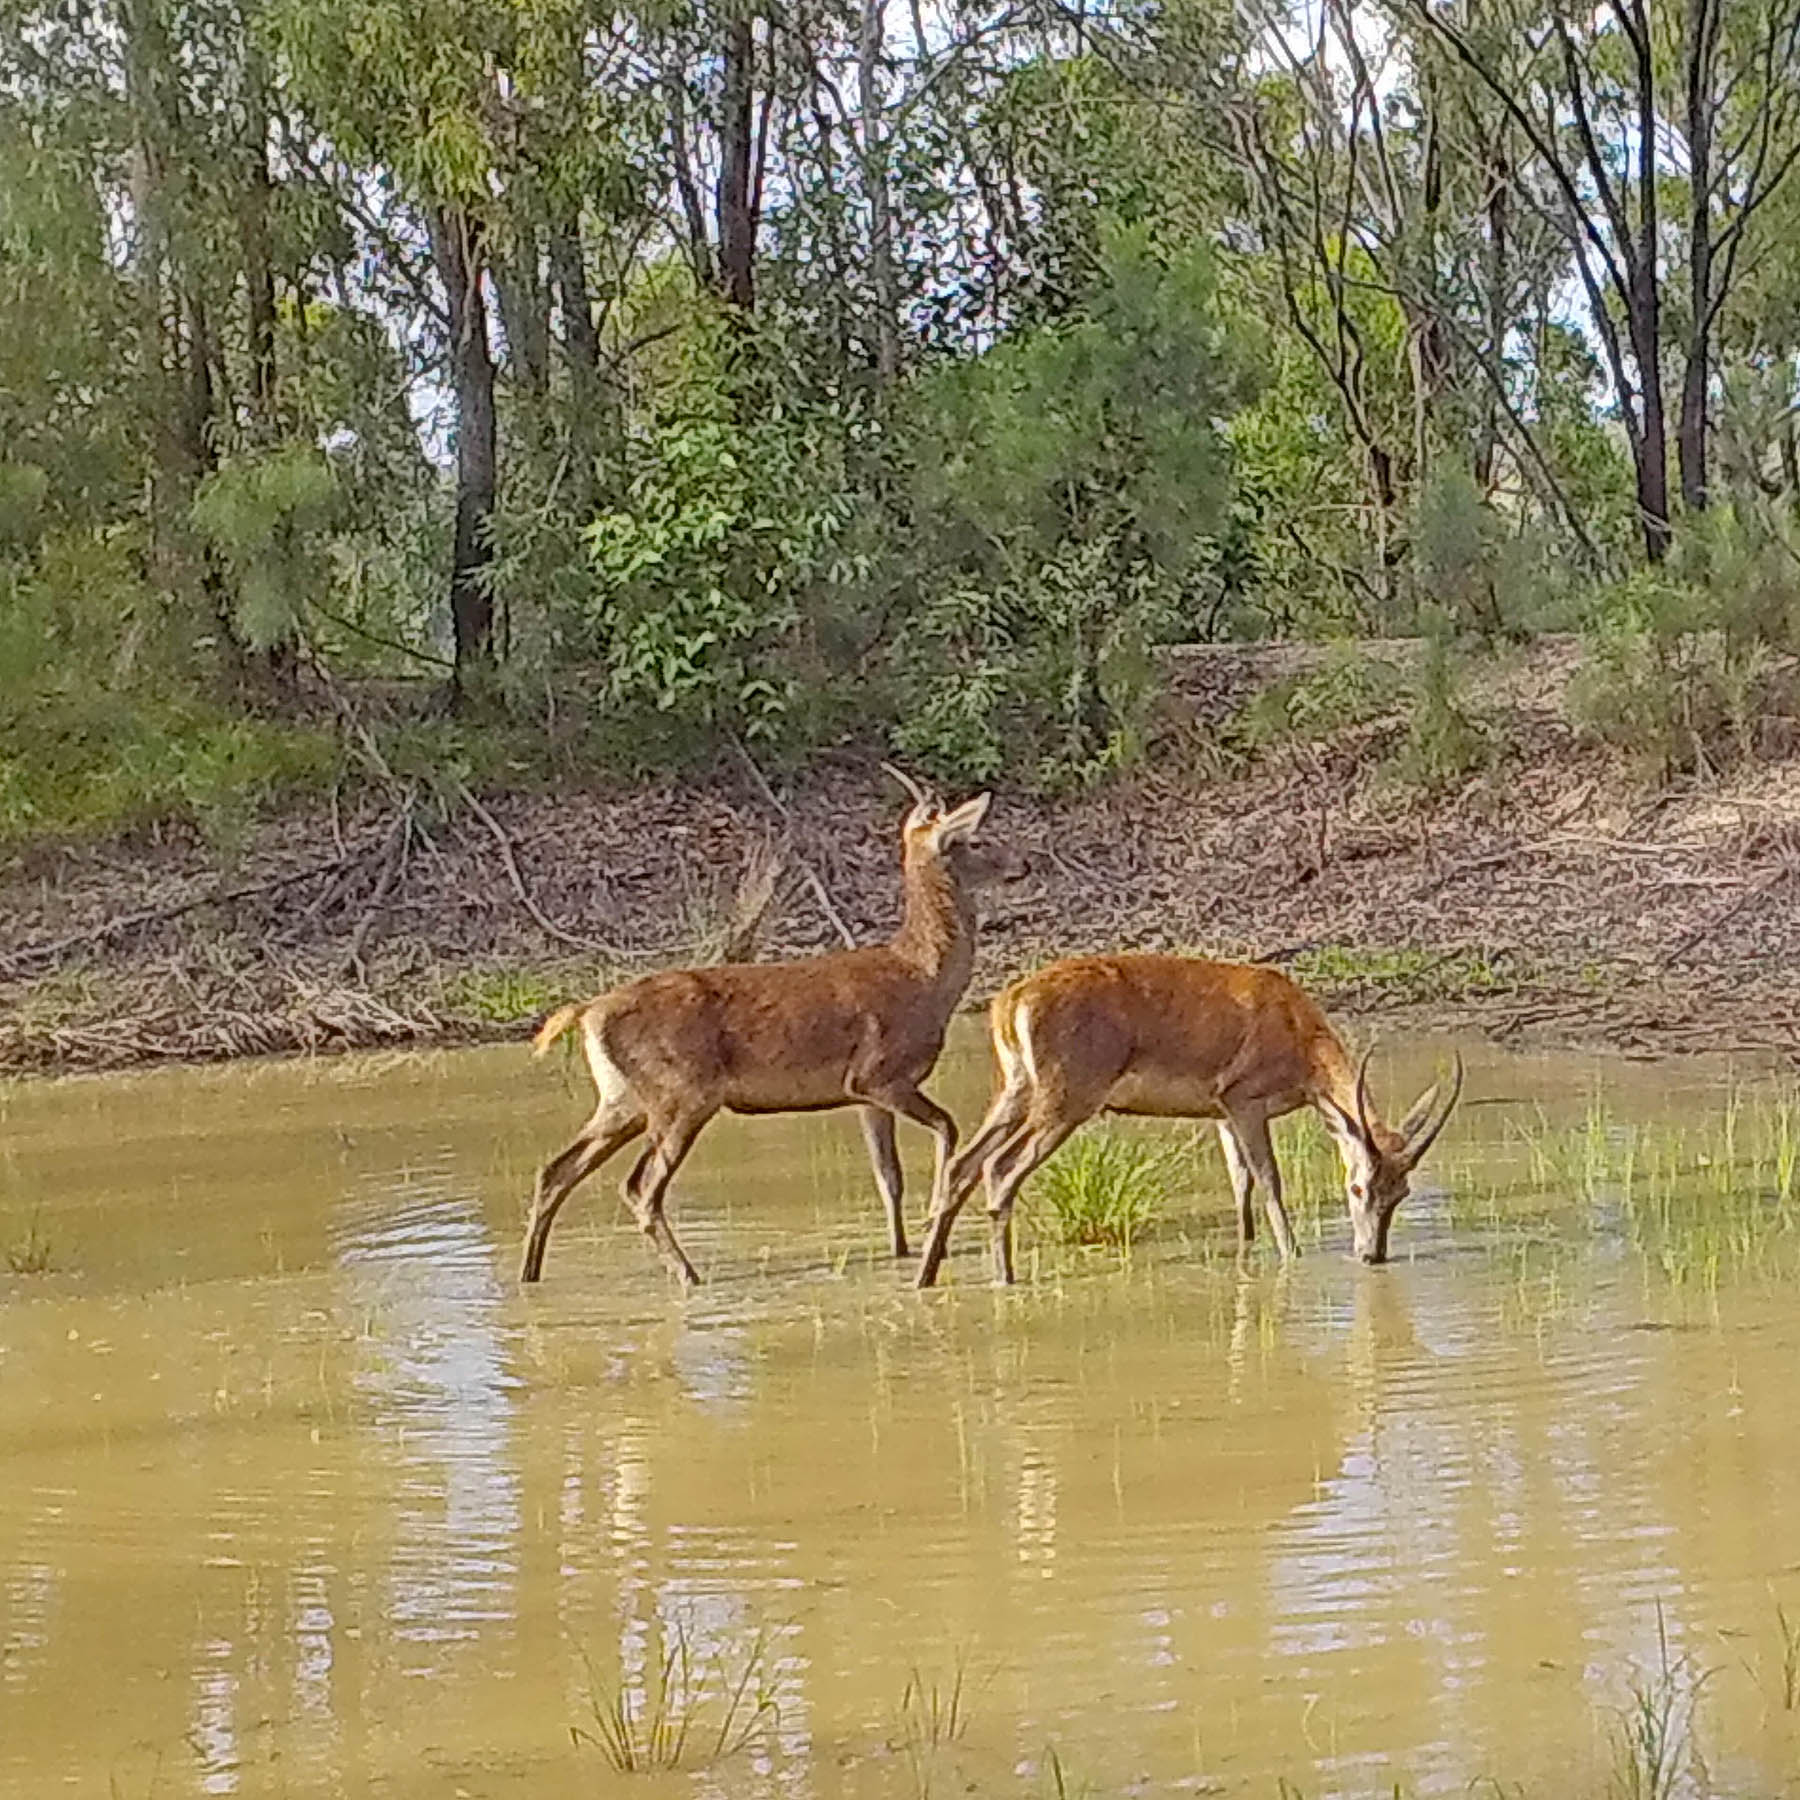
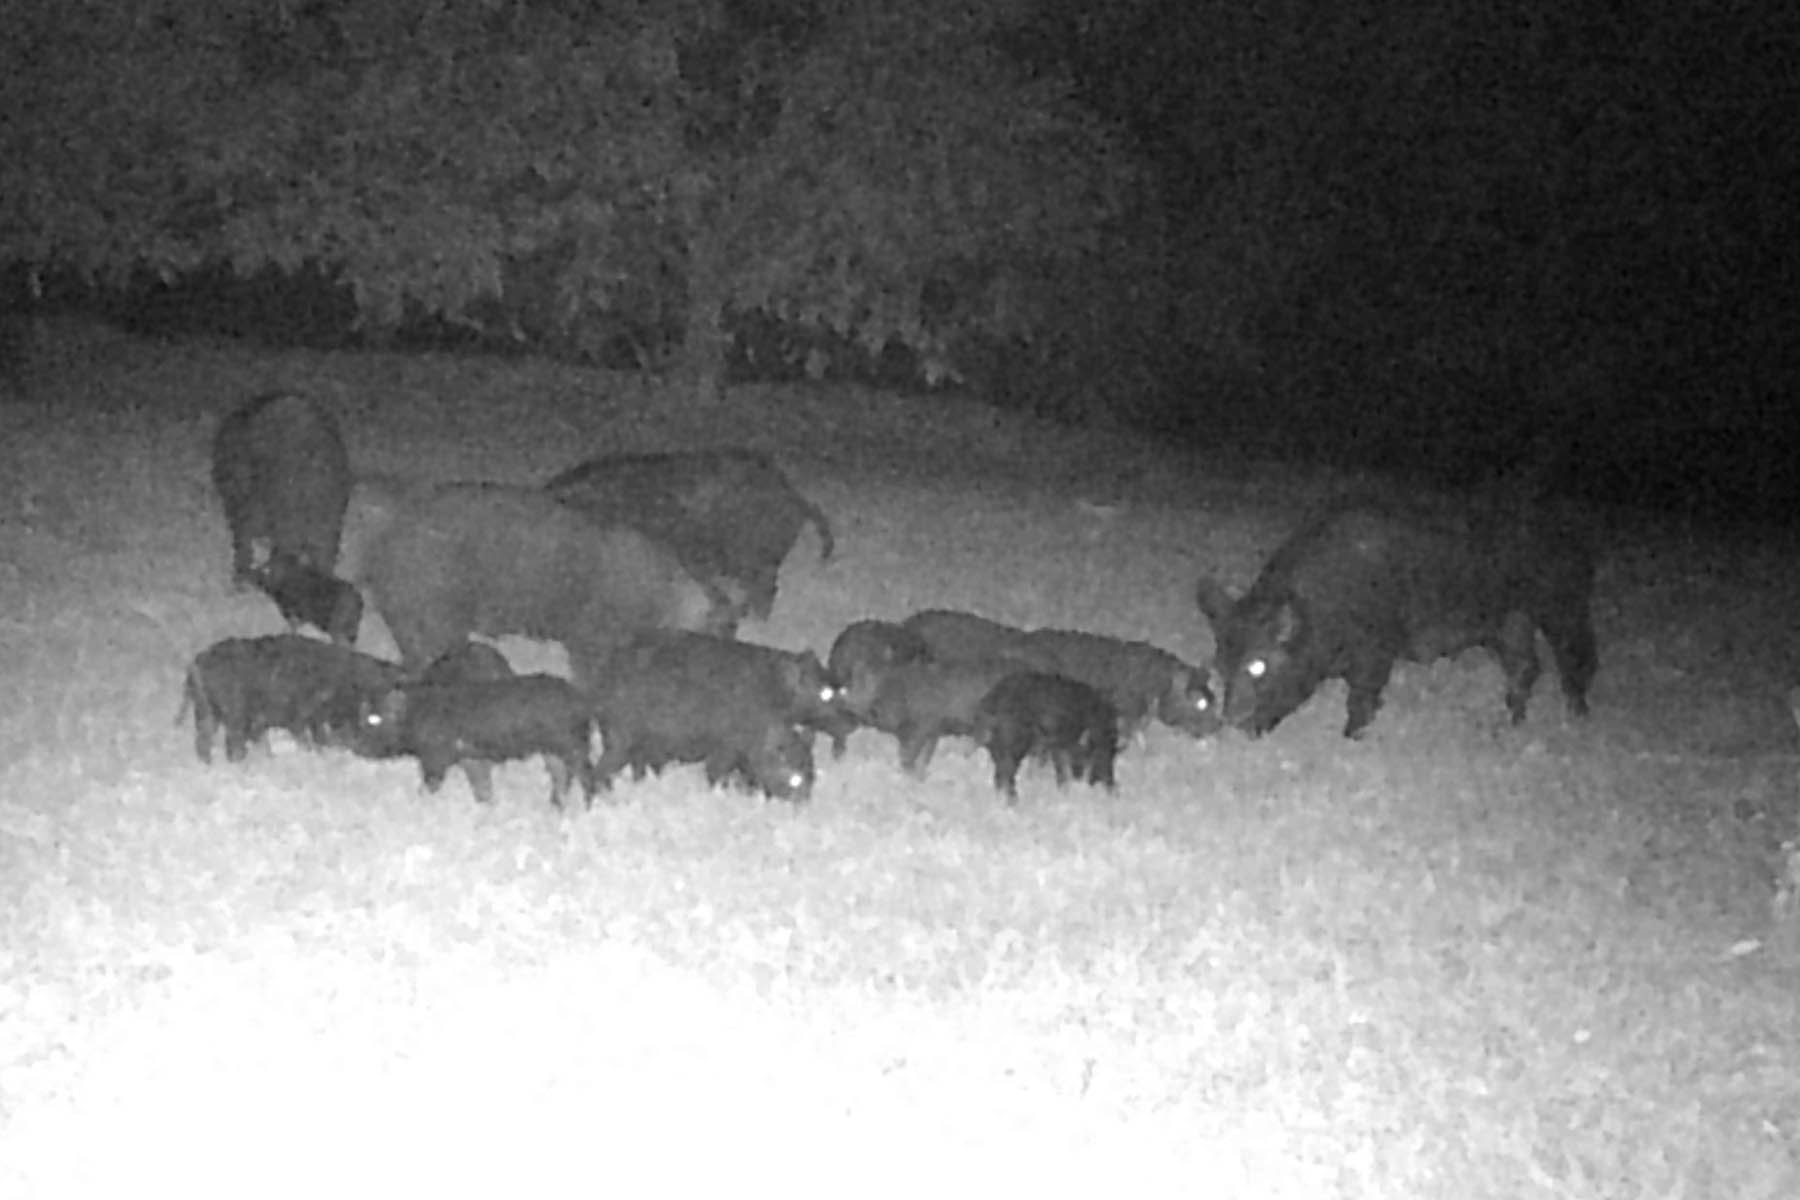
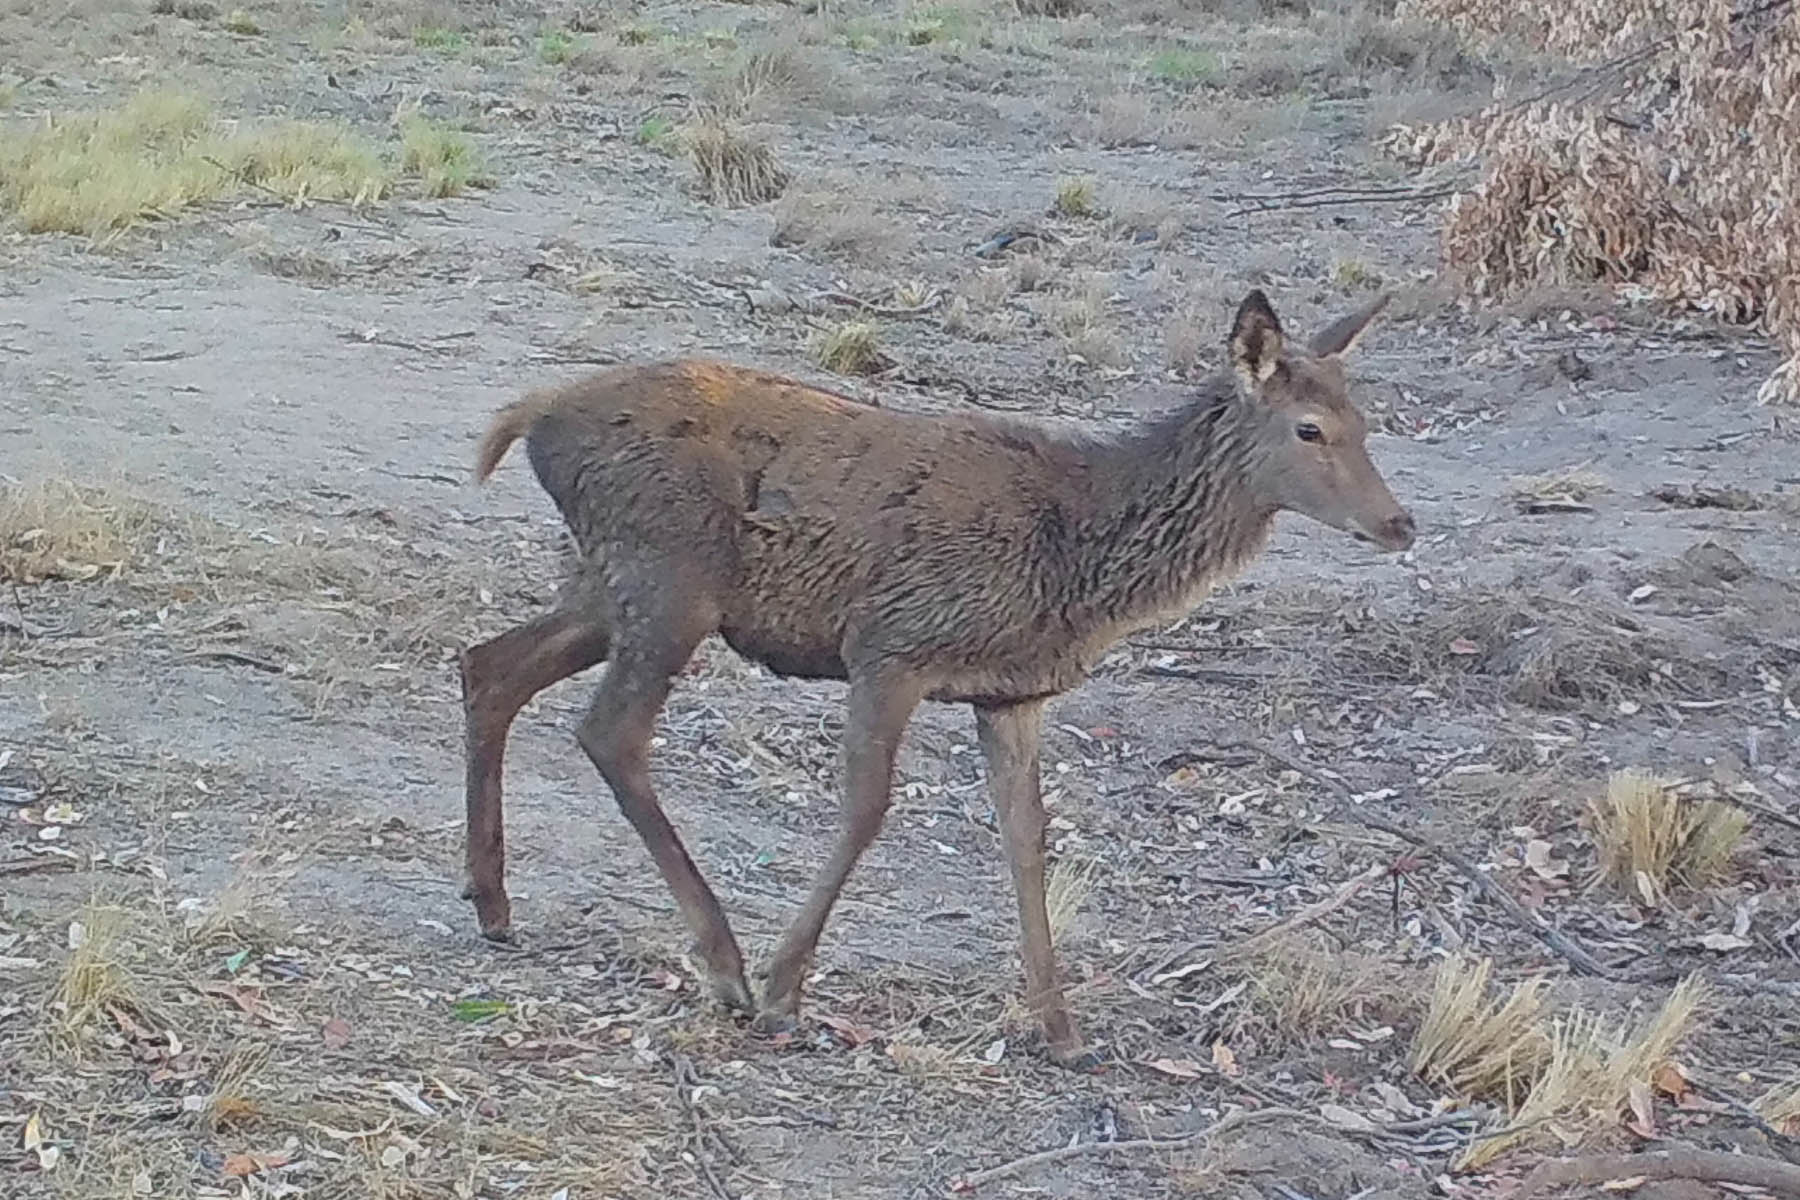
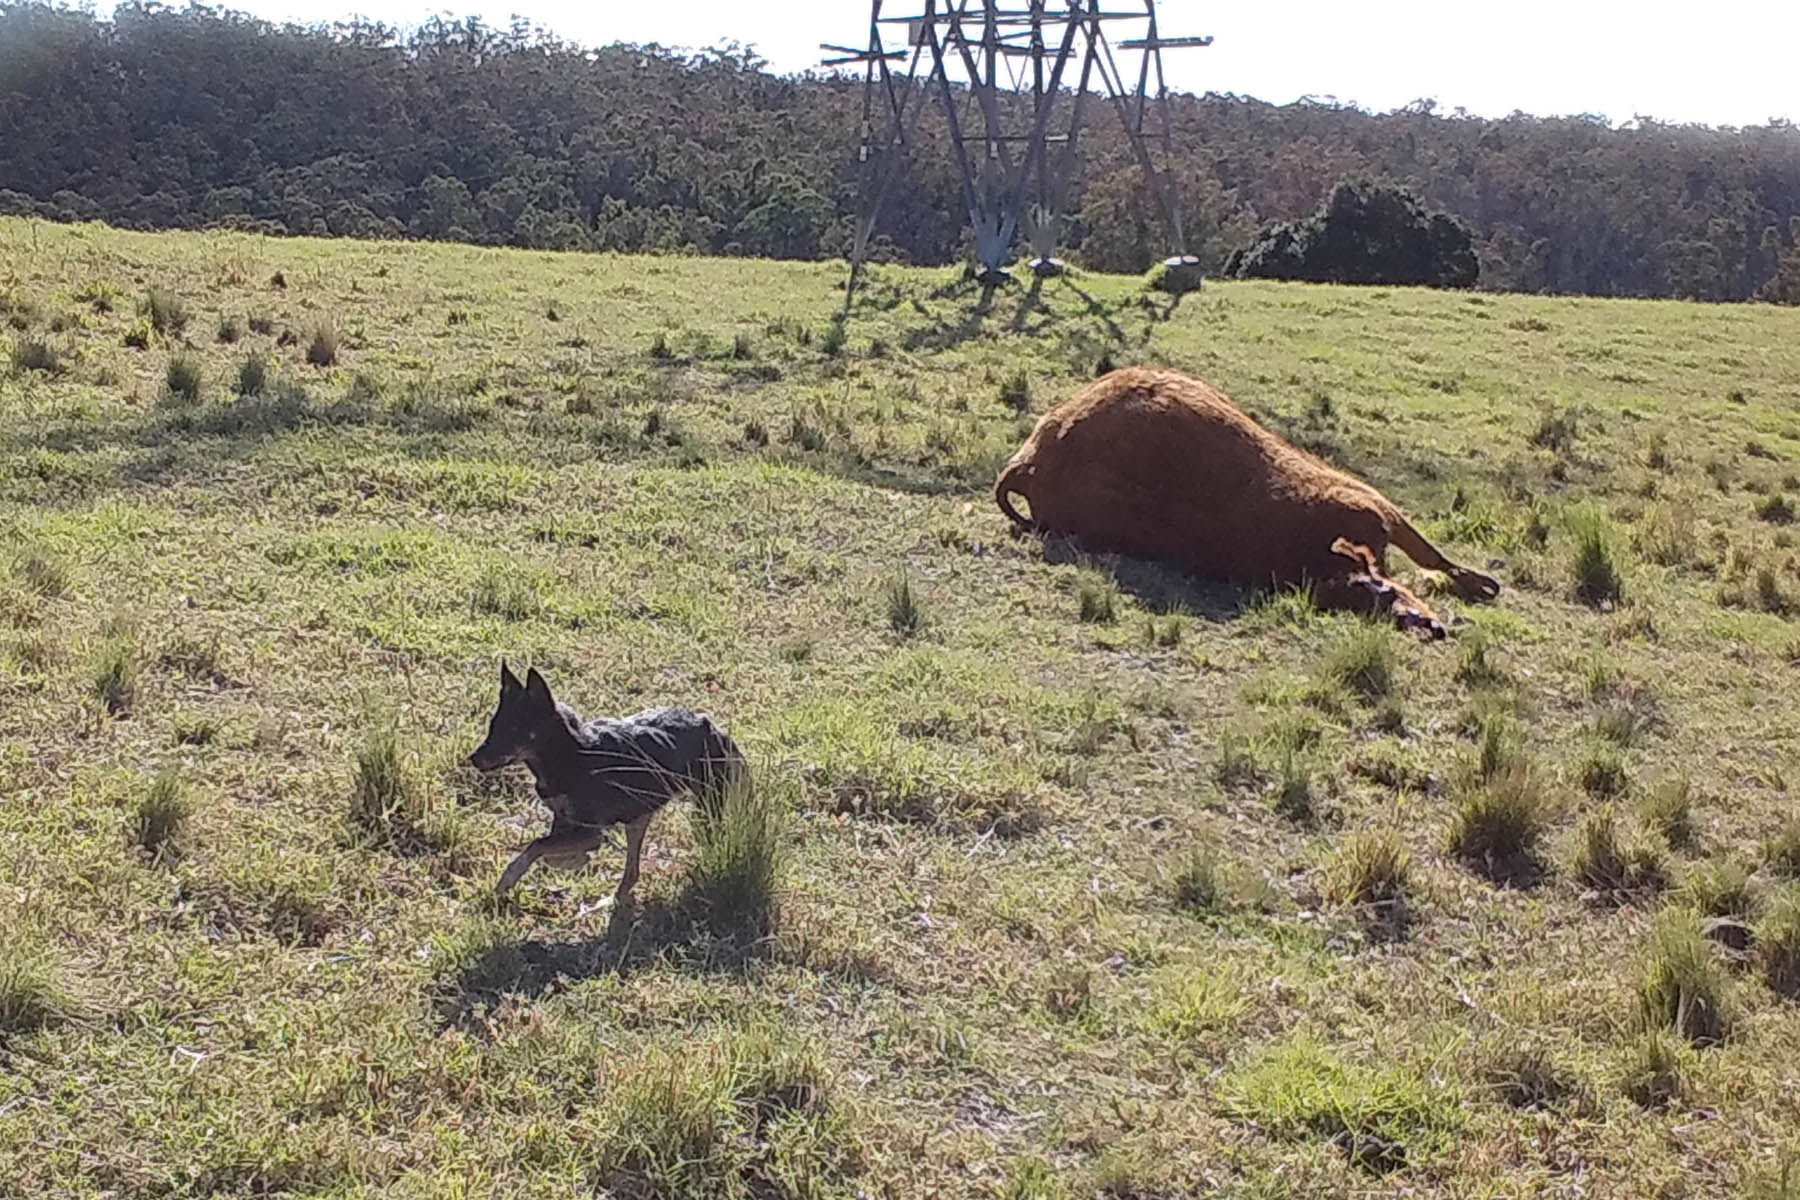
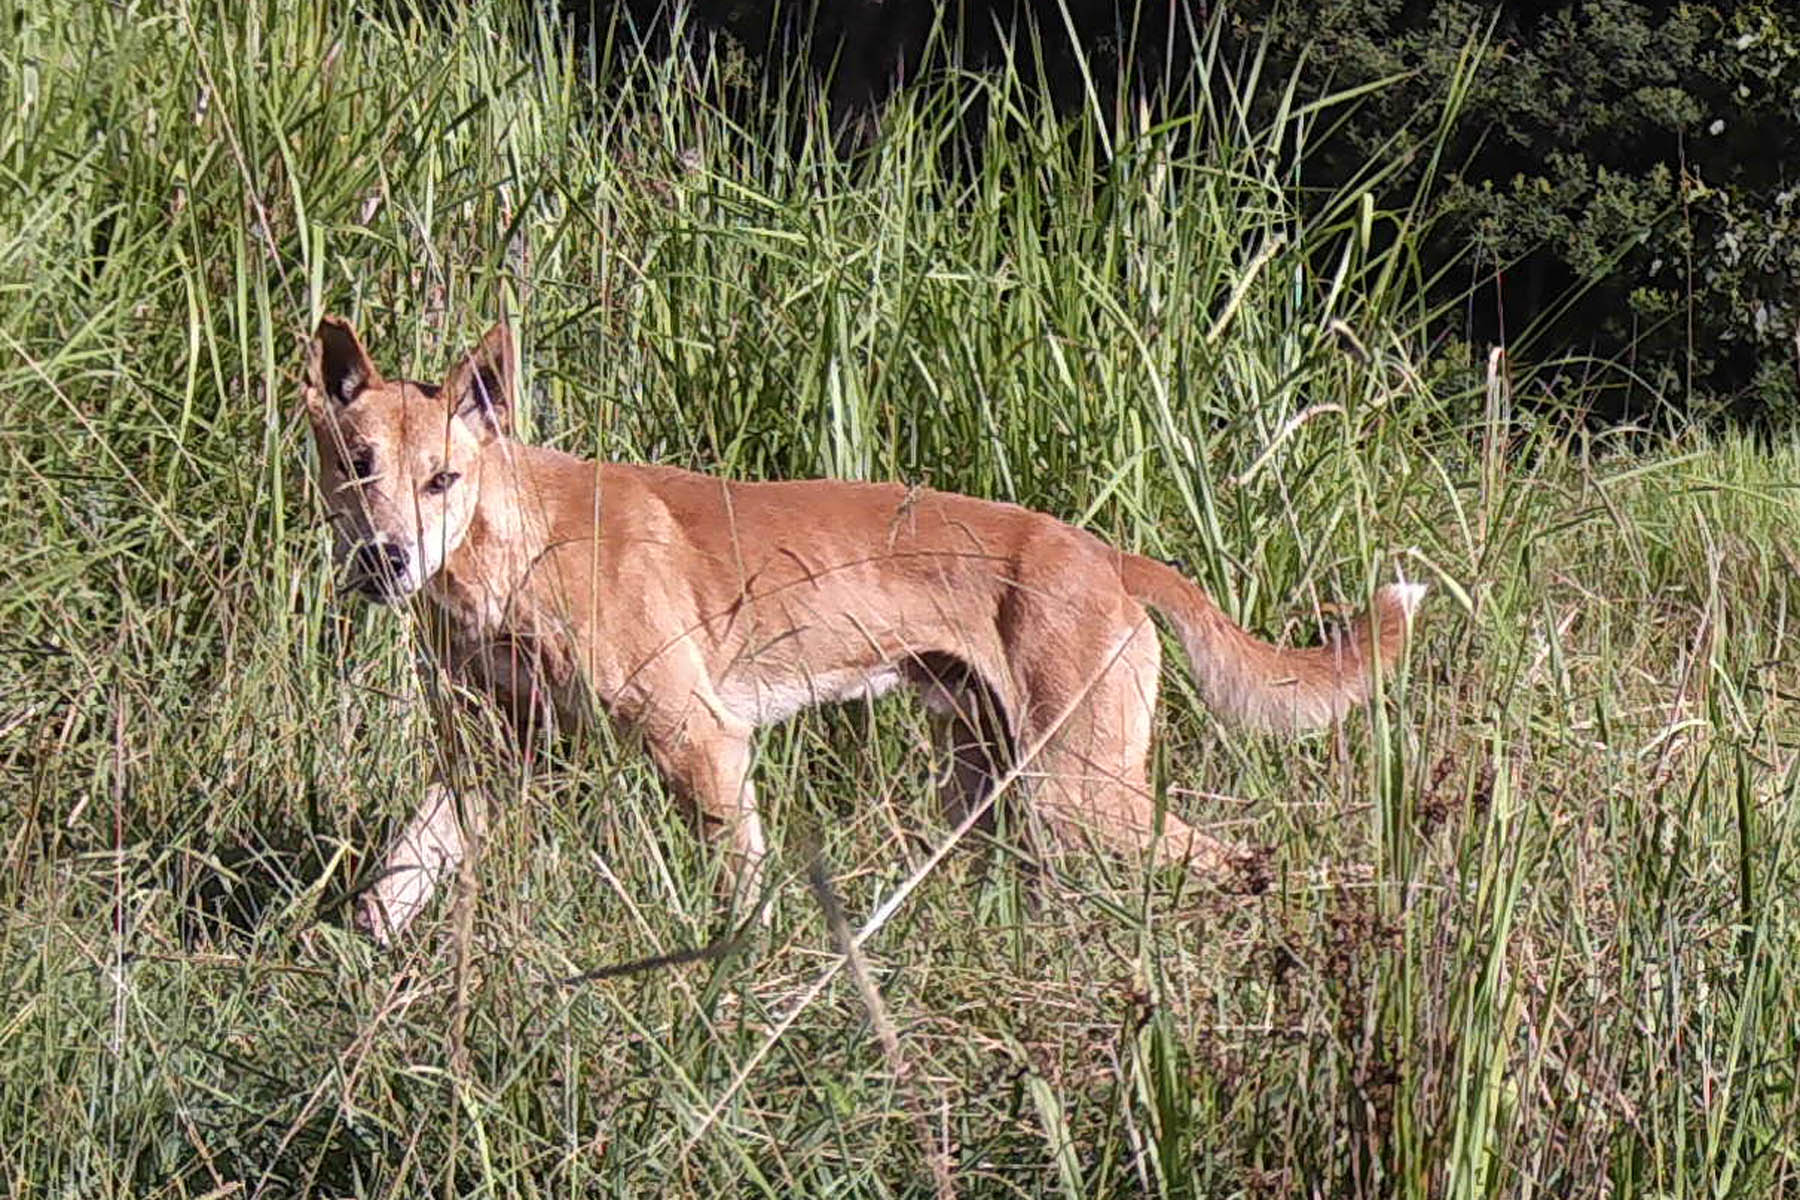
Trail cameras are a wonderful resource. I constantly have them in the bush to check the presence and movement of animals. They can be useful at home as well to see what has been visiting the porch and veggie garden during the night. Whether it be the camera sitting on a patio chair or one fixed to a tree in a deep, dark gorge, there is always a thrill in seeing just what images and video has been captured.
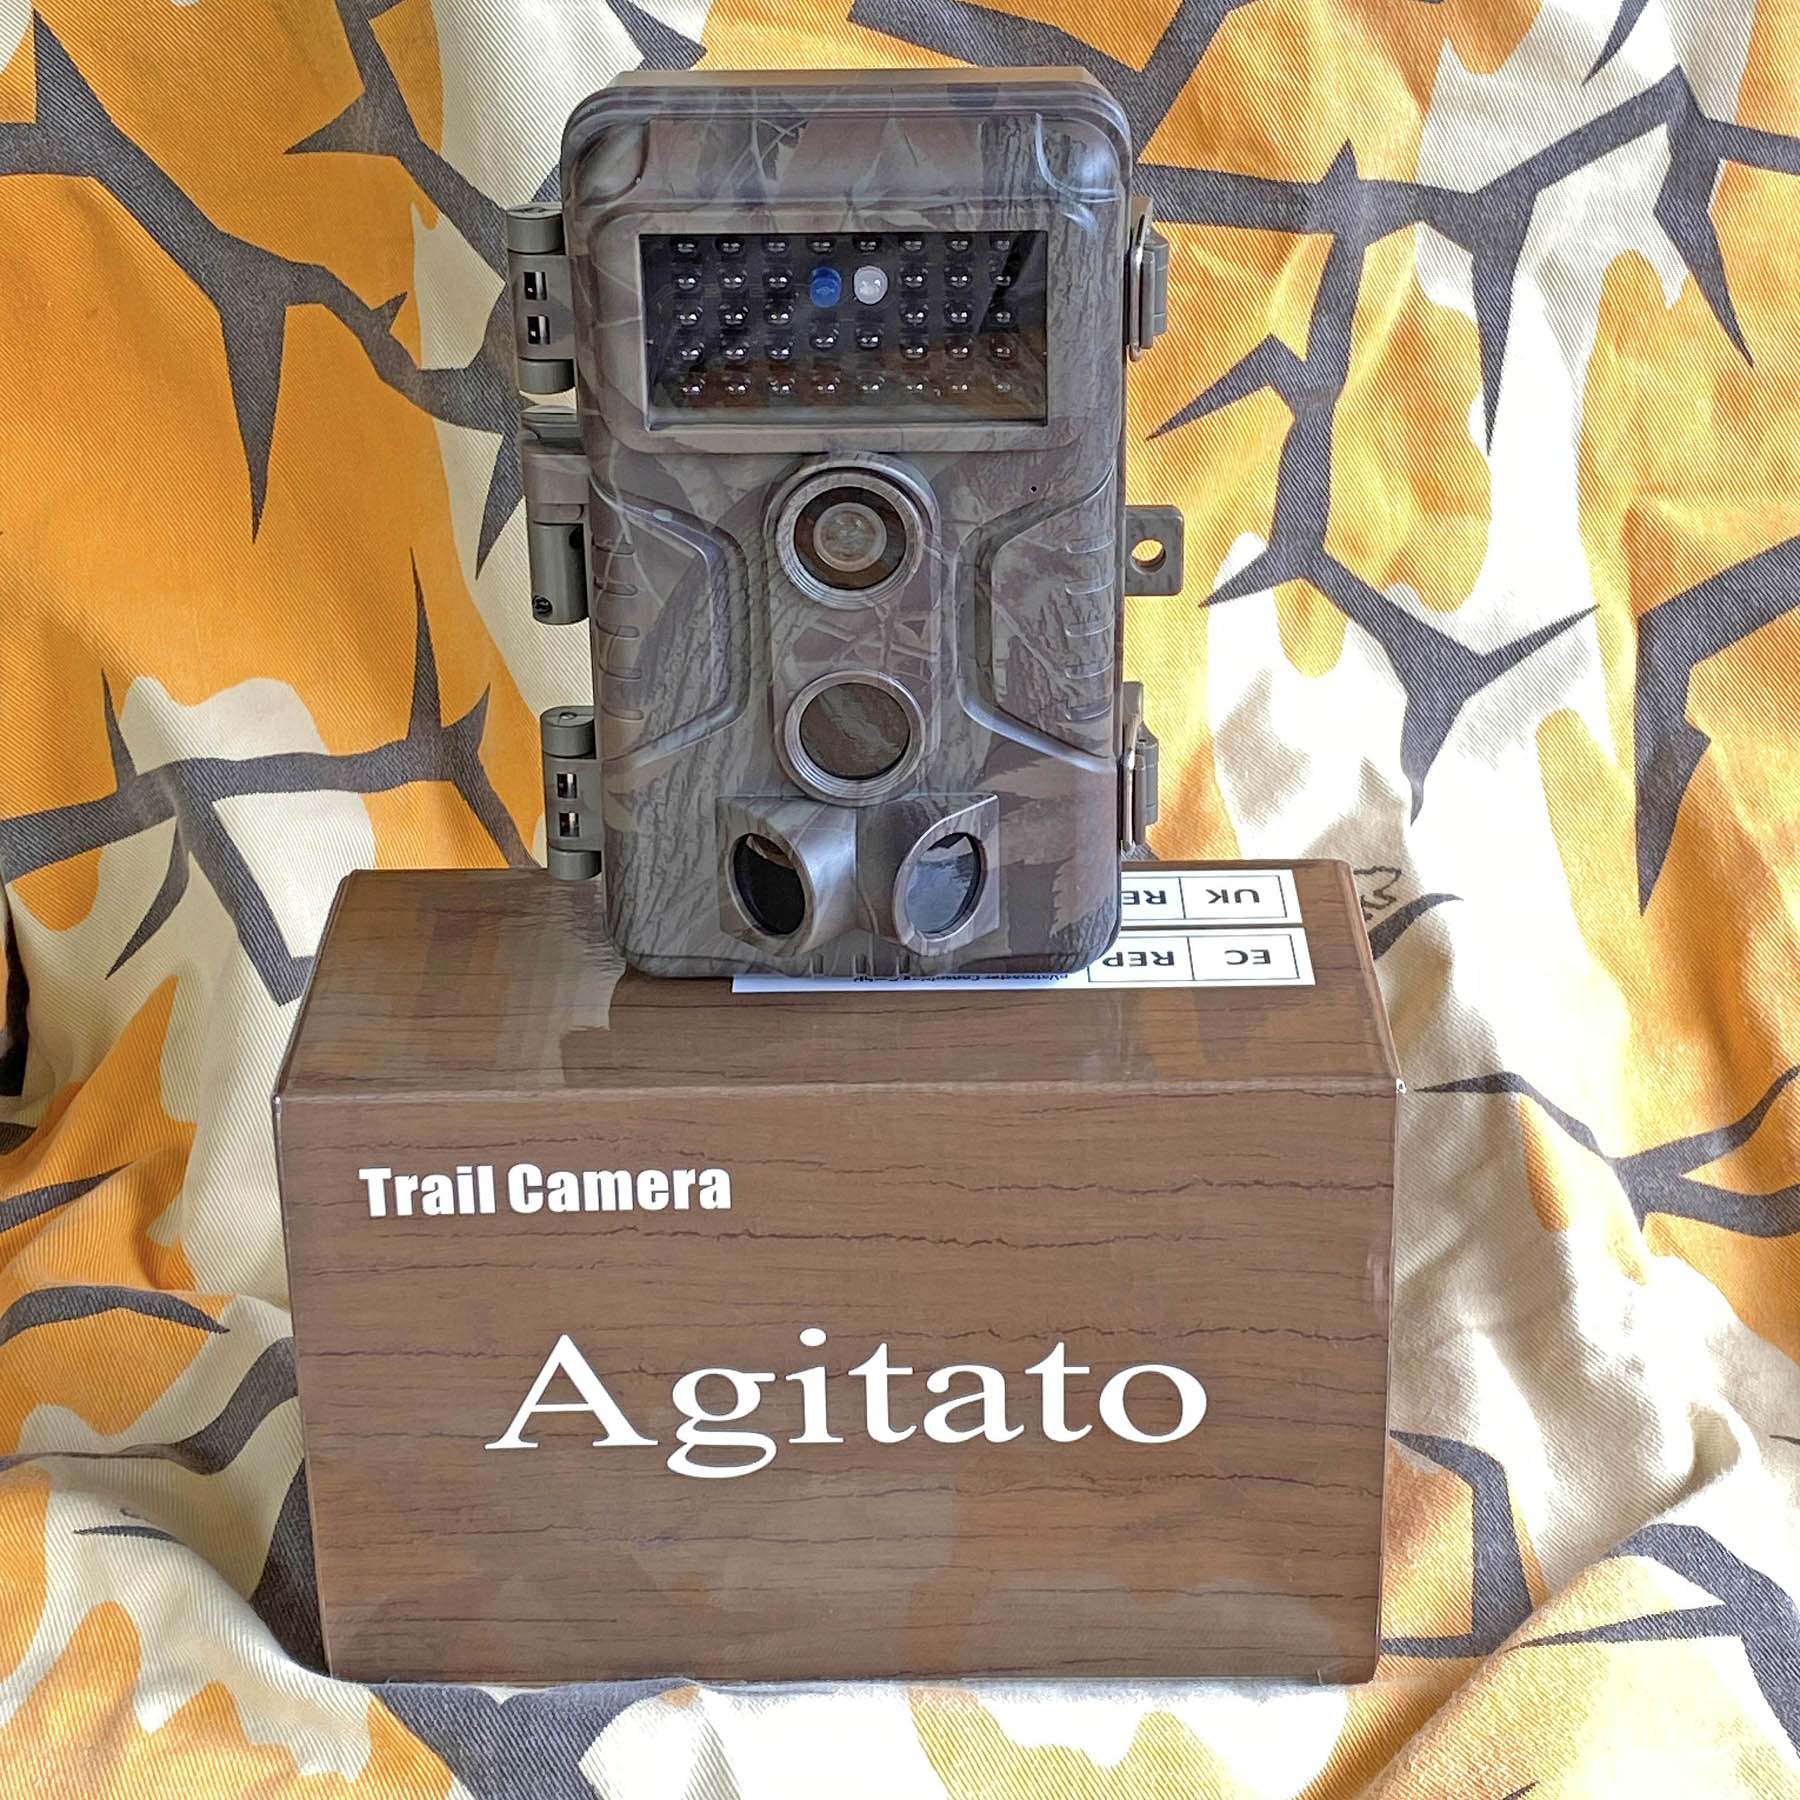
Readily available from a variety of retail shops and online, there is a wealth of models to choose from. Prices range from $35 to $1000 and more. Out of curiosity, I tried a $35 specimen and discovered that it took passable photos but was made from frail plastic, clunky to use and had a complicated programming system that had to be accessed via a computer.
Most trail cameras are made in China. The bigger well-known brands have models featuring specific geometry that identifies them at a glance. Outside of those, there are a lot of trail cameras that are ‘badge engineered’. That is, the only difference between brands and models is the company logo on the case. The design, construction and operating specs are identical.
I find that the cheaper trail cameras are often good performers and makers are quick to embrace the latest improvements in technology, presumably because there is a lot of competition in that sphere.
So how much do you need to pay for a reasonable trail camera that is easy to operate and takes good images and video? From little more than $100 you will get a decent unit. There have been significant improvements on several trail camera aspects that greatly improve the functionality and performance of units across the price spectrum. For me, key aspects of design and technology are as follows.
Full clamshell
A design that seals the whole unit, batteries and all. Some trail cameras have their batteries in a pop-out tray. That is convenient for sure, but these trays are not sealed and invariably ants set up home in there, packing the terminal end with eggs and pupae that prevent power getting to the unit.
What’s more, the viewing screen shares the same unsealed space as the batteries and the ants will set up their mini ant farms between the viewing screen and its glass window, blocking your vision of the screen readouts. In that location they are impossible to remove.
Fast trigger time down to 0.1 sec
This is essential for maximising your chances of capturing fleeting animal movements. The old trigger speeds were 5 seconds (some trail cameras still have that) which means that a lot can be missed between the camera sensing an animal and actually taking the photo.
Trail camera supports SD/SDHC/SDXC memory cards up to 512GB capacity
Trail cameras have long only supported memory cards to 32GB, and many still do. For a camera set to sensitive mode, with maximum image/video size, and left for a week or more, you can expect thousands of photos per day and may run out of card memory. Bigger is better.
On memory cards, I prefer full SD sized cards because they are easier to handle in the field. If the smaller micro cards drop, they are near impossible to find in grass. If possible, check out just how easy it is to pop the SD cards in and out of the camera, remembering you will most times be doing this in the bush, not the comfort of your lounge room. Some units place their card access in the most inconvenient and hard to reach places on the camera. I swear there must be a secret competition between the makers to see who can design the most difficult card access.
Trigger detection distance to 90ft
This greatly increases your chances of obtaining images/video of that elusive critter. Early models were less the 50ft. Most are now 60ft, while the newer cameras are offering 90ft.
Standby mode power draw down to 0.1mA
This will give up to eight months operation. In really cold climates that will be less, and the manufacturers recommend the use of Li-ion batteries for such chilly weather usage. Sure, most times you will be checking your cameras and swapping cards much more often than that. But it is convenient to avoid the need to be changing batteries often and the day will come that, for whatever reason, your camera may remain unattended for a month or two. It’s nice to know it is still functioning under those circumstances.
Most makers recommend high-quality alkaline batteries and avoiding rechargeable batteries that run to slightly different voltage levels and have functionality issues. I buy AA high-performance alkaline batteries in blocks of 100, which minimises the unit cost per battery and ensures I have plenty of fresh spares on hand.
Image enhancing technology
Advancements such as Sony ultra-clear imaging technology and blur reduction, and their Starlight sensor and smart illumination technology out to 100ft at night, make a difference. The newer trail cameras offer this, and it certainly does deliver sharp, high-quality images and video, whatever image quality you opt for.
Image quality options
Your choice of image quality depends on what you want and your SD card capacity. Most times I run photo only and deselect video, plus I chose image quality of 4-8 MB, or less. That is when I am just interested in knowing what animal was there.
Occasionally, given repeated visits by a photogenic animal in a picturesque location, I will opt for maximum quality in both photo and video mode. Most recent cameras now let you choose image quality up to 32MP and high-definition video of 1296P at 20fps. Combined with the image enhancement technology, cheap cameras can deliver some outstanding photos and videos.
Colour screen, intuitive menu and clear user guide
Some cameras have tiny control screens and cryptic text control information that can be frustrating. A large, colour screen with well-presented menu options can be a real asset, especially when combined with a comprehensive and well-written user guide.
Also, some models have a series of pre-programmed options for setting up the camera. That is convenient, perhaps, for folks new to trail cameras but soon becomes irksome once you know what you are doing and what you want. I like to be able to control all the variable aspects of the camera.
FIELD DEPLOYMENT TIPS
Orientation
In summer I try to locate my cameras looking to the north or the south. In winter I prefer mostly a southerly aspect. Why? The early morning and late afternoon sun will flare-out any photos and videos. And it is dawn and dusk when animals are mostly on the move.
The summer sun is angled overhead through the day, so N or S is fine. In winter, the sun swings well to the north and can still flare-out the camera in late morning and early afternoon.
Placement
Low placement gives a larger field of operation and images of animals look better from a low vantage point. However, if there are cattle in the area it is best to mount your cameras at head height. Cattle are inquisitive, much more so than they let on when you are there, and they will want to look closely at, sniff and lick your camera, if they can reach it.
If it is lower, cattle will want to rub against it to satisfy a hard-to-reach itch. Your camera will be dislodged and then trampled. To catch game on the move, it is obviously better to angle your camera along a game trail rather than at right angles (especially if you have 5 sec trigger response). You will get a lot more good footage.
Fixing in place
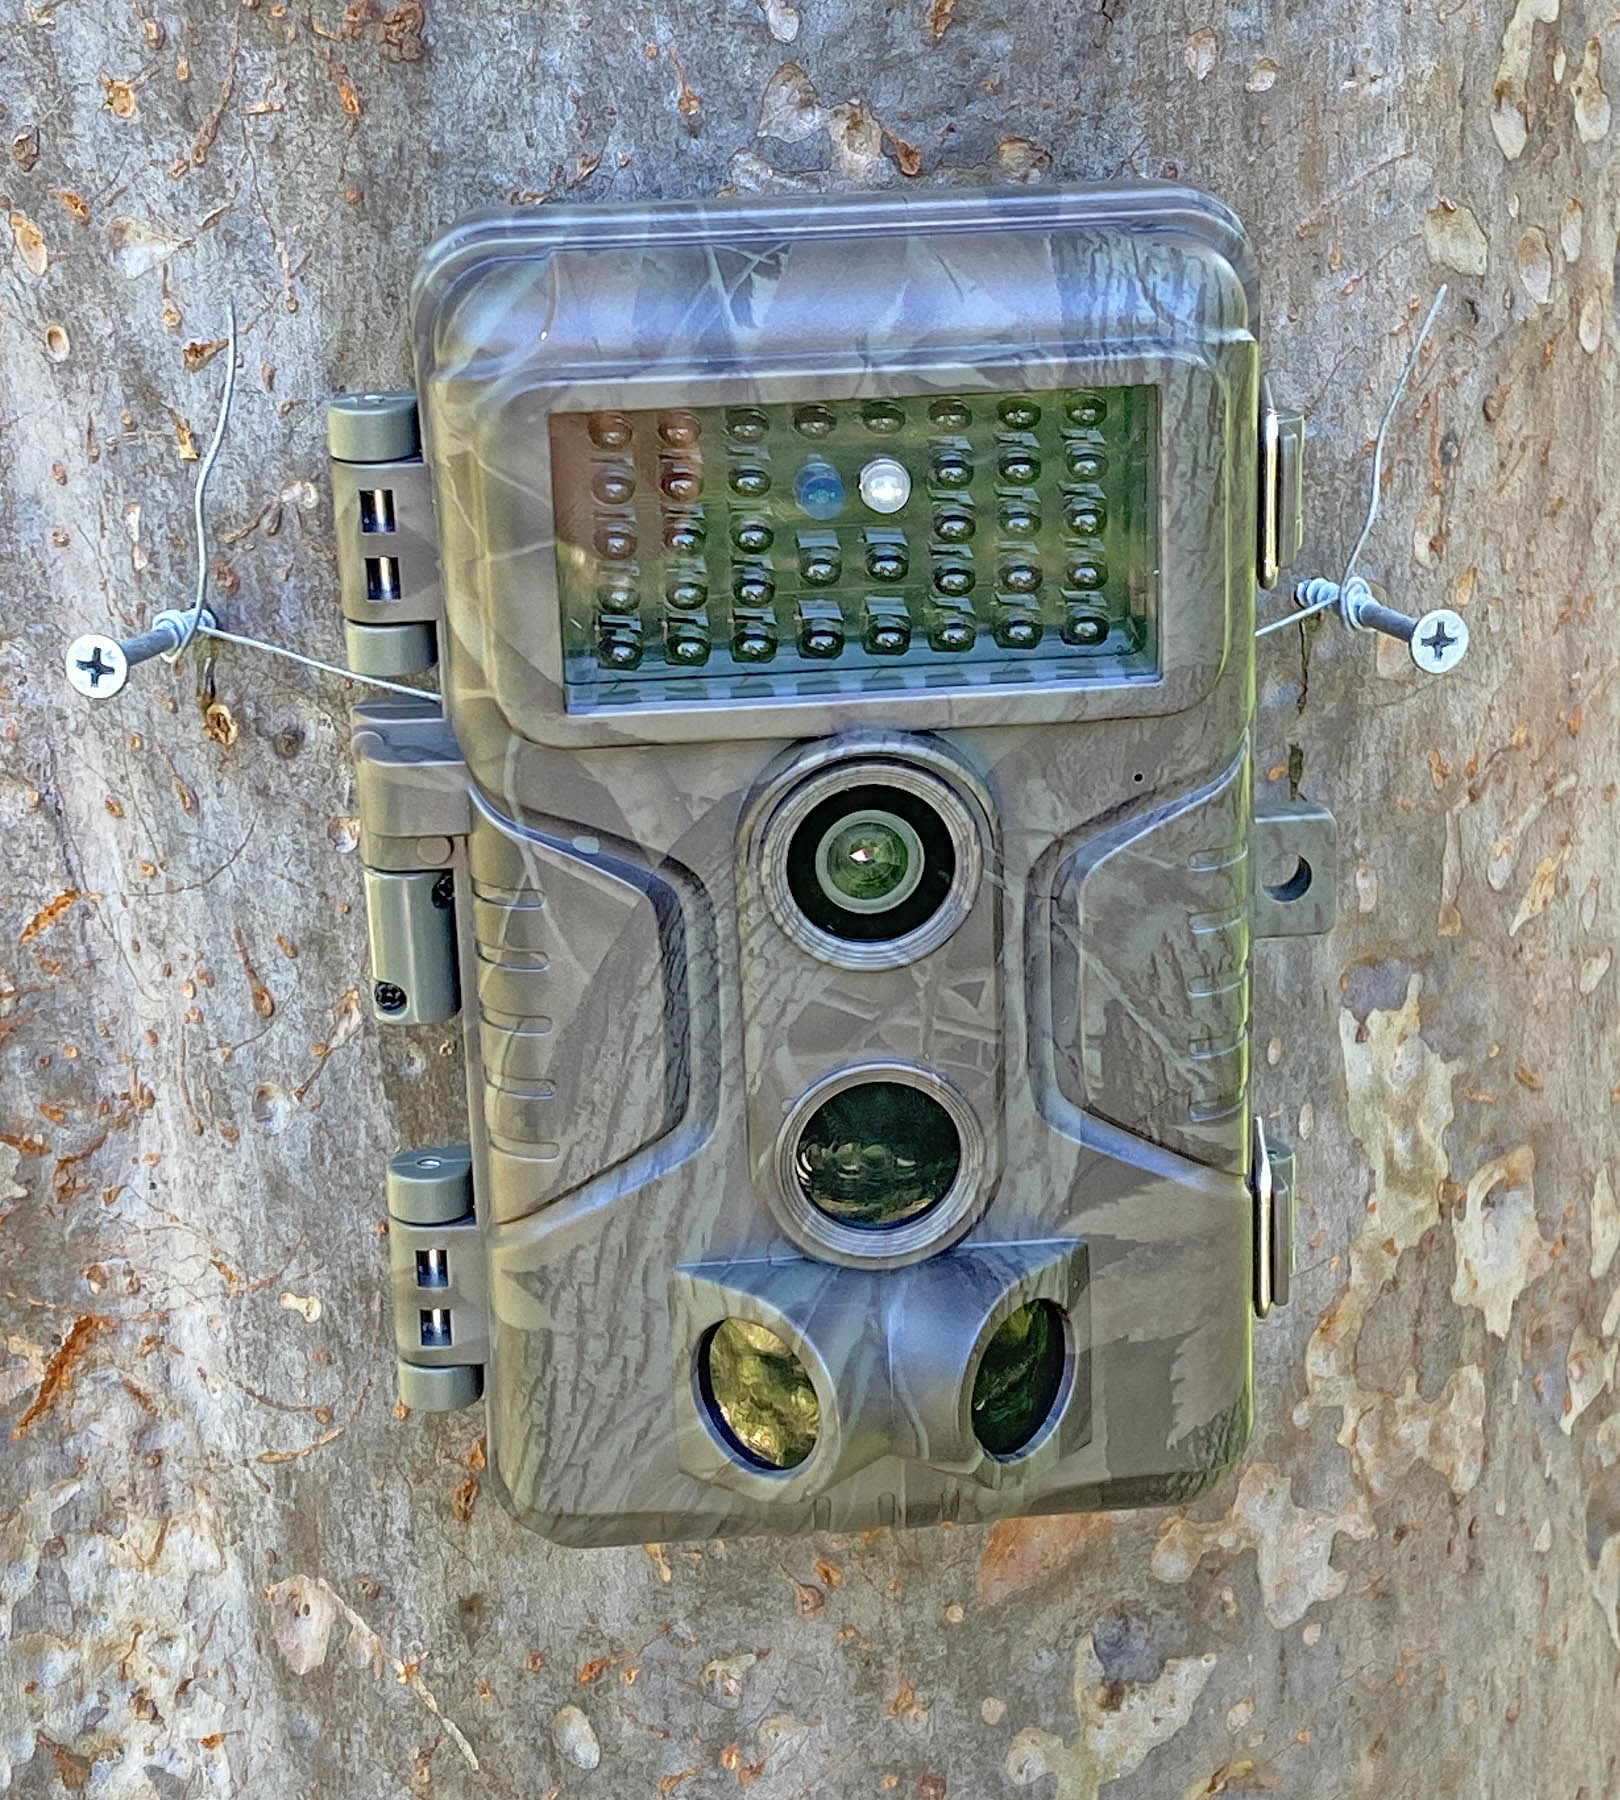
I do not use the straps that trail cameras come with. I find that often they are slippery and hard to pull up tight. Also, most often, the tree I am seeking to put the camera on is either too large or too small to use the strap. Additionally, straps really stand out in the bush and highlight your camera’s location.
Mostly, I use self-tapping galvo screws and cord or thin galvo wire to mount my trail cameras. I have used cable-ties in the past but stopped doing that when I found that the glossy plastic ties can sometimes reflect strongly in sunlight. Wild dogs in particular are constantly spooked by such reflections.
Synchronise the date and time
I am constantly amazed at how many people do not bother to set the time and date. To me, it is useful to have all my trail cameras synchronised. For that I use my iPhone time and reset the time on cameras as required. The time keeping of trail cameras is prone to drift, so I check the time whenever I swap out SD cards.
Why synchronise the cameras? If synchronised, and you have a few of them spread out over a property, it is useful to know when photos/videos were taken relative to the other cameras. That immediately tells you the direction the animals are moving and lets you reposition your cameras to better define that, or to set up a bushwhack.
Expect surprises
You go to swap trail camera cards and see that two stags have torn up the ground right in front of the camera. Clearly, they have tussled there for hours. You know your camera has delivered thousands of photos in this location, of passing rabbits, fleeting birds, falling leaves, butterflies and the like. You expect to harvest a treasure trove of outstanding deer images and video.
When you check, there are plenty of images on that card, day and night, but they just feature all those bunnies etc. There is not one, not even one, of those stags. On the other hand, your sneak in to swap cards on another camera. You examine the ground carefully as you approach. All the tracks are old, the same ones that you saw previously. There are not even any fresh bird or bunny tracks.
Disappointed, it is days before you check that SD card, expecting it to be mostly empty. When you do though, wow, there are some amazing wildlife images and videos. Get used to all that, it is part of the magic and fun of using of trail cameras.